If you’ve ever opened a cabinet and had a avalanche of lids tumble out at you, you already know the struggle. Mismatched containers, orphaned lids, and a chaotic jumble of plastic — it’s one of the most frustrating spots in any kitchen. The good news? A few simple systems can turn that disaster zone into a beautifully organized space where every container finds its lid on the first try.
Sort Everything First — Yes, Everything
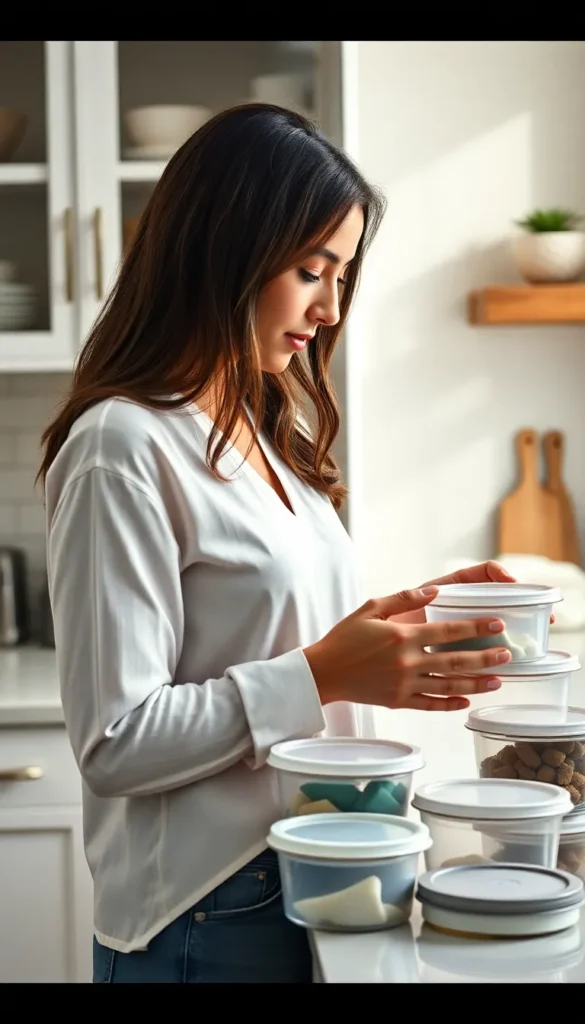
Before you organize, you need to purge. Pull every single container and lid out of the cabinet and lay them on the counter.
- Match pairs: Set aside anything that has a confirmed lid-container match.
- Toss the orphans: If a lid or container has been sitting solo for more than a month, it’s time to let it go.
- Check for damage: Warped lids, cracked containers, and stained plastic can all go in the recycling bin.
This step feels tedious, but it’s the foundation of a system that actually lasts. You can’t organize clutter — you can only clear it.
Store Containers and Lids Separately
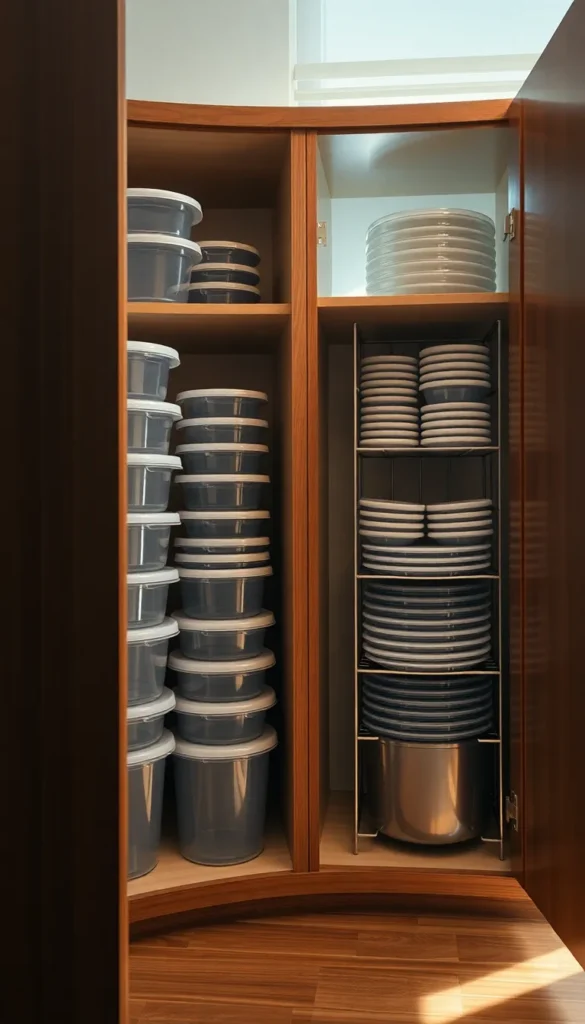
This is the single biggest game-changer for plastic container organization. Nesting containers inside each other by size and storing lids in their own dedicated spot keeps everything accessible without the avalanche effect.
For containers:
- Nest them by size — small inside medium inside large.
- Stack same-brand sets together since they’re designed to nest cleanly.
- Use a deep drawer or a single shelf section so stacks stay upright.
For lids:
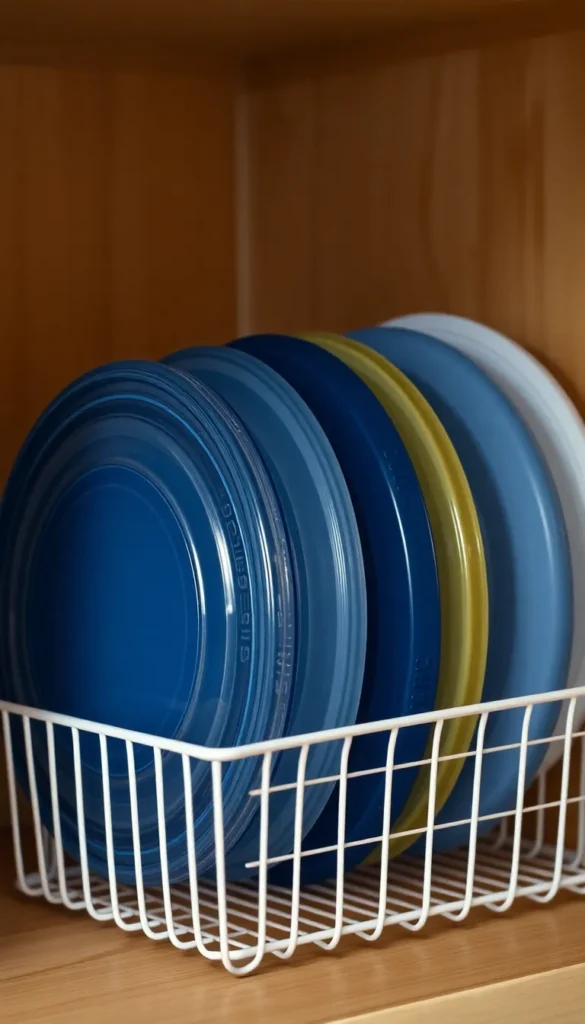
- Stand them vertically in a lid organizer or dish rack insert.
- Group by size: round lids together, rectangular lids together.
- A tension rod placed across a cabinet shelf works brilliantly as a DIY lid divider.
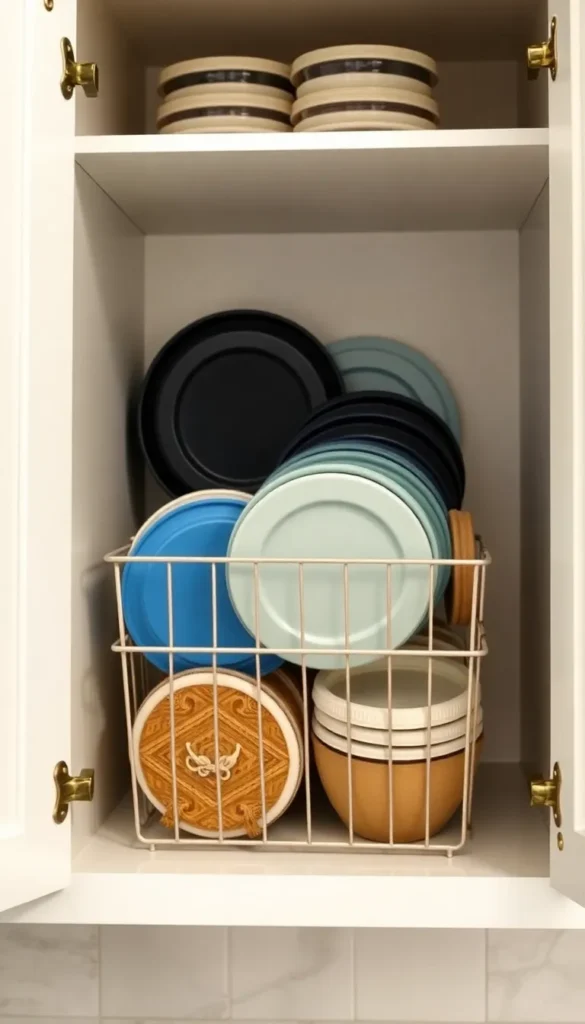
Use a Lid Organizer (Or DIY One)
You don’t need to spend a lot to make this work. There are plenty of options at every budget:
- Dedicated lid racks from brands like YouCopia or Linus slide right into a cabinet and hold lids vertically — no more flopping piles.
- A small tension rod across a lower cabinet shelf creates a natural slot for lids to lean against.
- A magazine holder laid on its side inside a drawer holds lids perfectly upright and costs almost nothing.
- Binder clips on a shelf edge can corral small lids in a pinch.
The goal is simply that every lid has a slot it lives in — not just a pile it gets tossed onto.
Label or Color-Code If You Have Multiple Brands
If your collection is a mix of different brands and sizes, matching can still feel chaotic even after organizing. A quick labeling trick solves this fast:
- Use a small dot of colored nail polish or a dot sticker on both the container and its matching lid.
- Assign one color per size group — for example, red dots for small round containers, blue for large rectangles.
- This takes five minutes once and saves you five minutes every single day.
It sounds extra, but anyone who’s ever tried to find a lid while dinner is boiling over will appreciate the system immediately.
Reassess Every Few Months
Even the best system needs a reset. Every three to four months, do a quick 10-minute check:
- Did any new containers enter without a matching lid?
- Are there orphans that have overstayed their welcome?
- Is the lid organizer still working, or has it turned back into a pile?
Staying on top of this in small bursts means you never face the full-scale disaster again.
The Result: A Cabinet That Works With You
Once you have containers nested by size, lids standing upright in their own organizer, and a simple color-coding system in place, opening that cabinet becomes genuinely satisfying instead of stressful.
You’ll spend less time hunting, less time reorganizing after every meal, and a lot less time buying replacement sets because you thought you were “out” of containers.
Save this article and share it with someone whose kitchen cabinet situation you’ve witnessed. A little structure goes a long way — and your future self will thank you every single time you cook.