Opening your fridge shouldn’t feel like a guessing game. When food gets buried, forgotten, or crammed into random spots, it spoils faster — and your grocery budget takes the hit. A well-organized refrigerator isn’t just satisfying to look at. It actively helps food stay fresher longer, cuts down on waste, and saves you real money every week. These 29 methods are simple, practical, and easy to start today — no expensive gadgets required.
1. Use the “First In, First Out” Rule
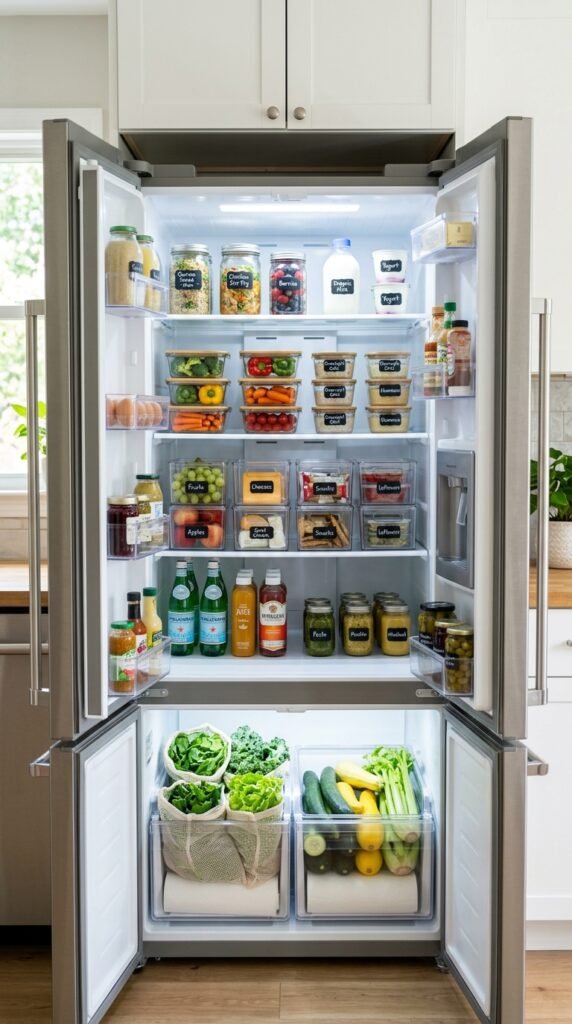
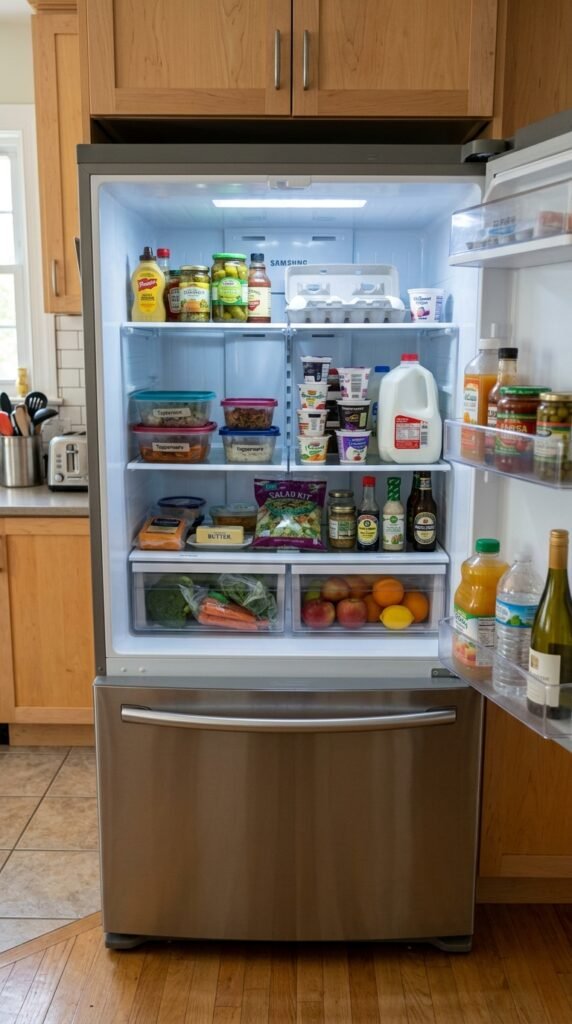
[Image Prompt: A home refrigerator shelf photographed from the front, showing older food items placed visibly at the front and newer groceries stacked neatly behind them. Clear glass containers and labeled leftovers are arranged in a deliberate front-to-back order. Warm kitchen ambient light. Shot with a mirrorless camera at eye level, shallow depth of field, realistic home setting.]
This is the same method grocery stores use — and it works just as well at home. When you bring new groceries in, push older items to the front. New items go behind them. That way, you naturally grab what’s about to expire first. It takes ten seconds during unboxing. No labels needed. No bins required. Just a simple habit that stops perfectly good food from hiding in the back until it goes bad.
2. Assign Zones to Every Shelf
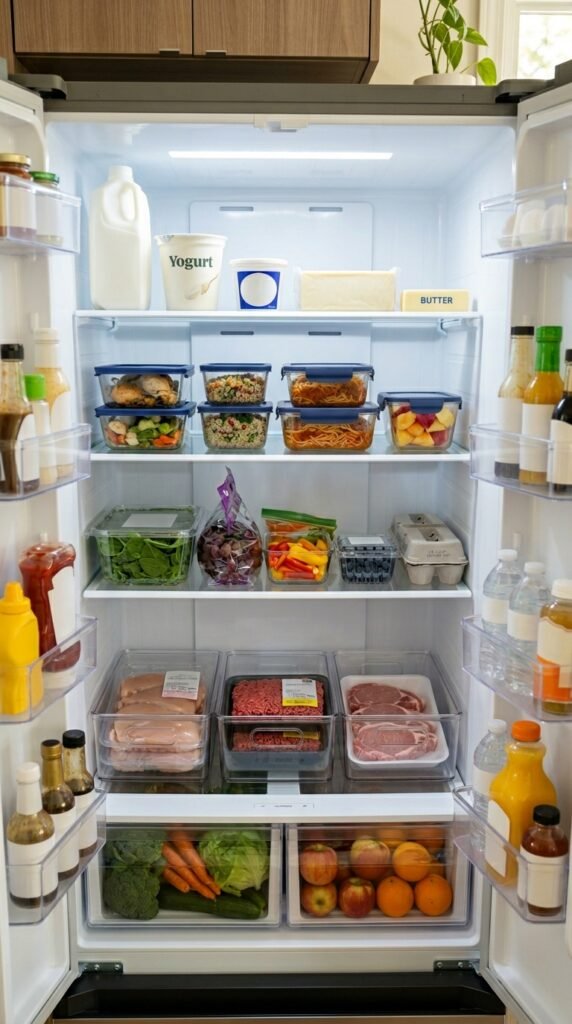
Stop letting food land wherever it fits. Instead, give every shelf a job. Top shelf for leftovers and drinks. Middle for dairy and deli items. Bottom shelf for raw meat — always. This keeps cross-contamination low and makes finding things instant. Stick a small piece of masking tape on each shelf edge and write the zone name with a marker. Takes five minutes and completely changes how you use the space.
3. Line Crisper Drawers with Paper Towels
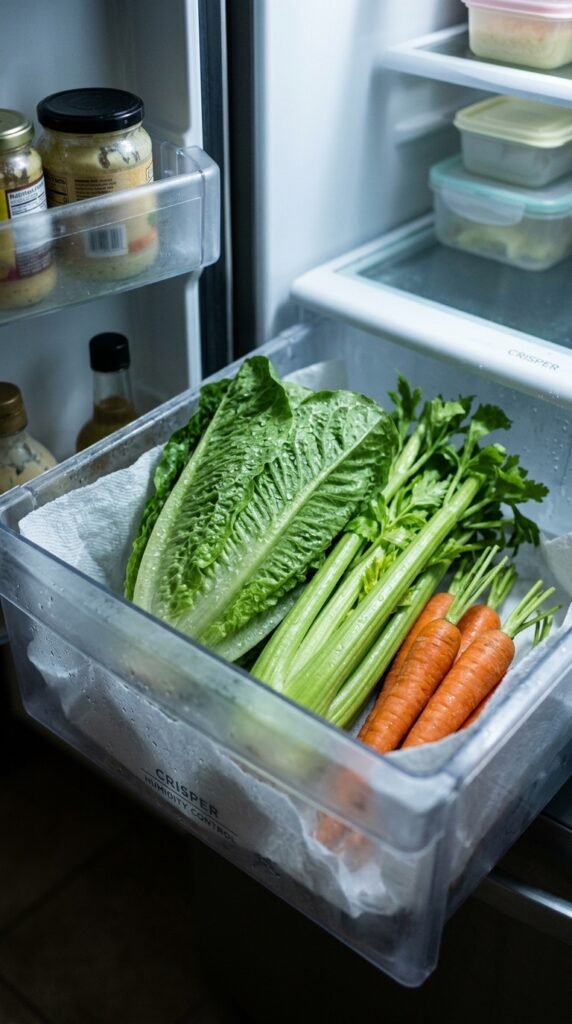
Crisper drawers trap moisture, and that moisture is what turns lettuce slimy and carrots soft. A simple fix: lay a paper towel flat at the bottom of each drawer before adding produce. It absorbs the extra moisture and keeps your vegetables crisper for days longer. Change it every week or whenever it gets damp. This hack costs pennies and is one of the easiest wins you can get from your fridge.
4. Store Herbs Like Flowers
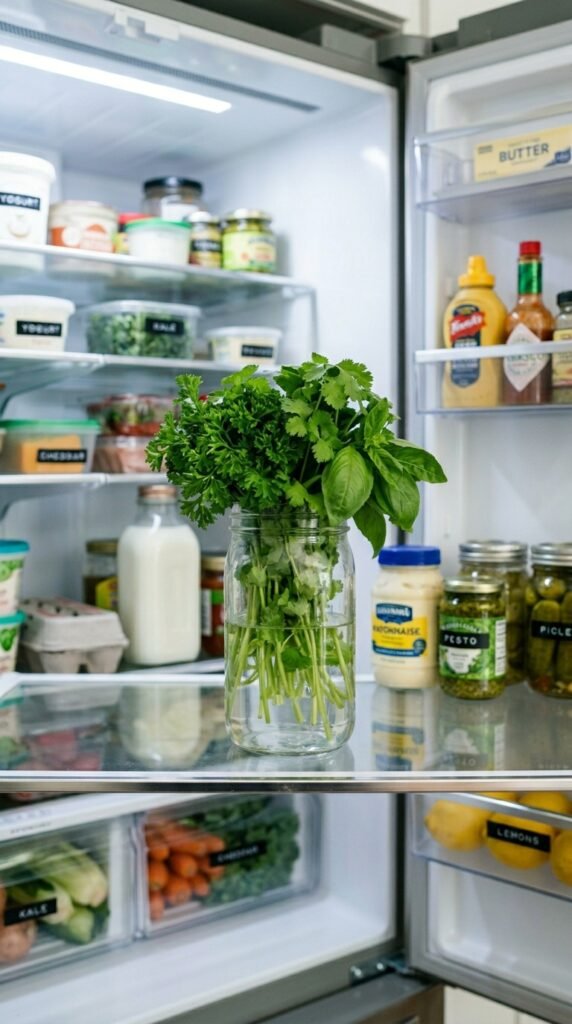
Fresh herbs wilt fast when tossed loosely in a drawer. Instead, treat them like a bouquet. Trim the stems slightly, place them in a small jar or glass with an inch of water, and cover loosely with a plastic bag. Store upright in the fridge door or on a shelf. Parsley, cilantro, and mint can last two to three weeks this way instead of a few days. Basil prefers room temperature — keep that one on the counter.
5. Keep a “Use First” Bin

Designate one small bin or basket as your “Use First” zone. Anything about to expire — open sauces, half-used produce, leftover portions — goes here. Every time you open the fridge, your eyes go straight to that bin. It becomes your default spot to start when cooking or snacking. Grab a small dollar-store bin or repurpose a shoebox-style container you already have. This one habit alone can cut your food waste significantly.
6. Decant Leftovers into Clear Containers
Leftovers stored in pots, pans, or opaque containers become invisible — and invisible food gets wasted. Decant leftovers into clear containers as soon as they cool. When you can see what’s inside at a glance, you’re far more likely to actually eat it. You don’t need a matching set. Any clear container with a tight lid works. Dollar stores and discount bins often have decent options that won’t break the budget.
7. Label Everything with Dates

You don’t need a label maker. A strip of masking tape and a permanent marker is all it takes. Write the date something was made or opened directly on the container. This is especially useful for sauces, broths, dressings, and meal-prepped foods. No more sniff tests or guesswork. You’ll know exactly how old something is, and you’ll be more likely to prioritize eating it before it turns. It takes three seconds per item.
8. Organize the Door Strategically
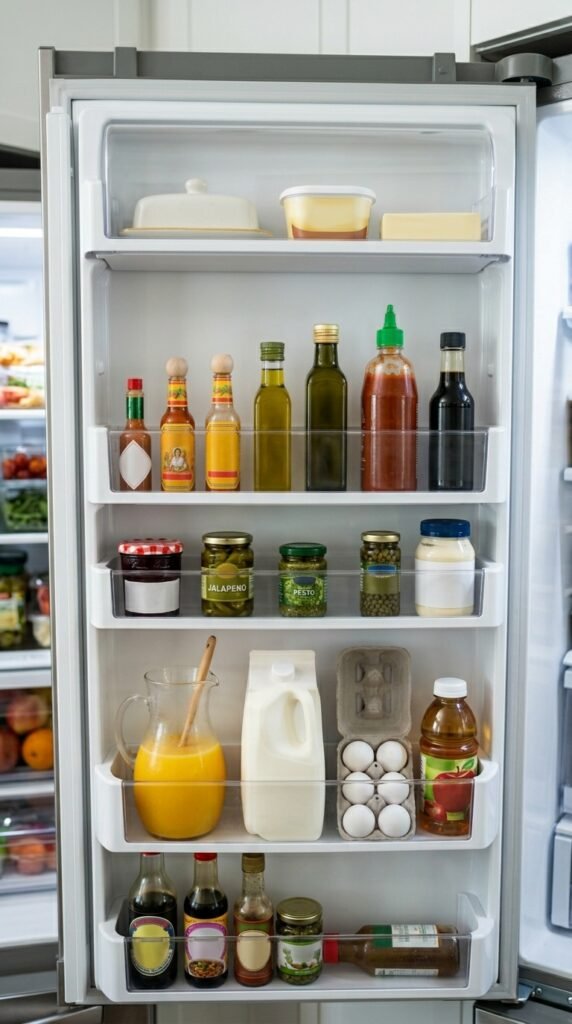
The fridge door is the warmest part of the refrigerator — temperatures there fluctuate the most. Don’t store milk or eggs here. Those need more stable, cooler spots. Save the door for condiments, hot sauces, butter, and juices you cycle through regularly. Organize by height — shorter bottles in upper compartments, taller ones below. This simple shuffle protects temperature-sensitive foods and keeps your most-used condiments easy to grab.
9. Use a Lazy Susan for Condiments
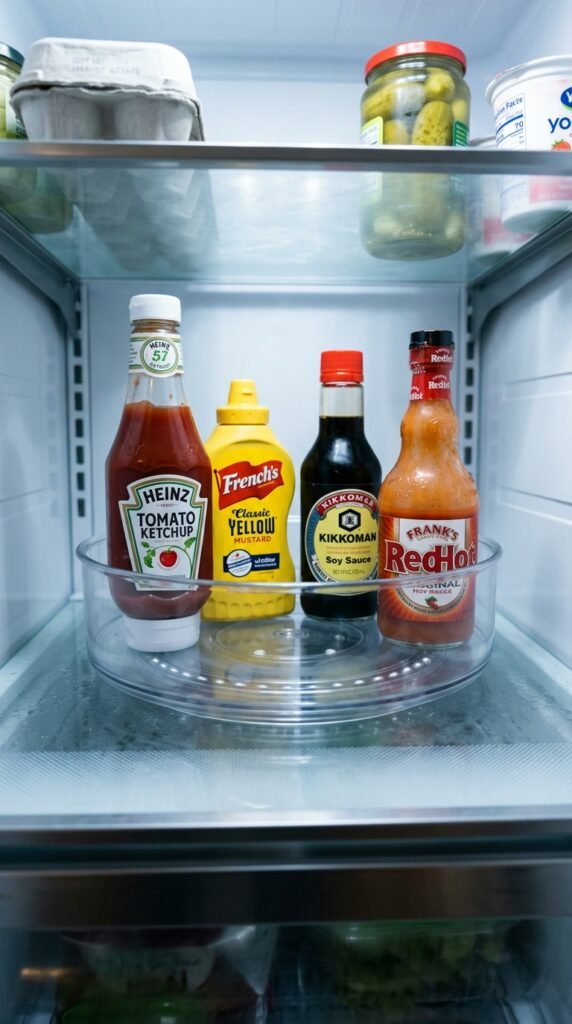
Nothing hides faster than a jar shoved behind three other jars. A small lazy Susan turntable on one shelf lets you spin through your condiments instantly. No digging, no knocking things over. You can grab a lazy Susan at dollar stores or discount home shops for a couple of dollars. It’s especially useful for small jars, sauces, and spreads that tend to collect at the back of shelves and never get used.
10. Stack Drinks Horizontally with a Bin
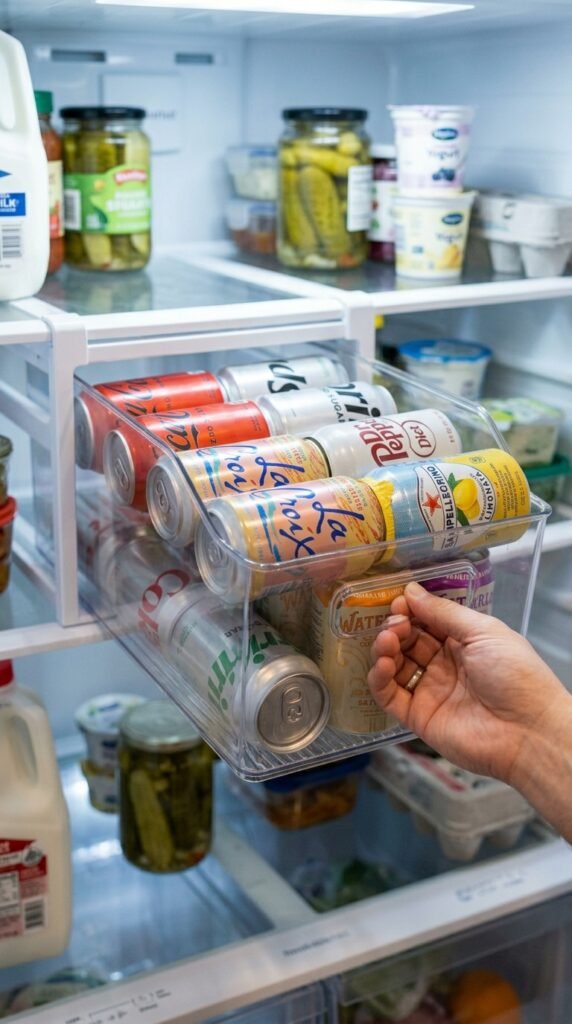
Cans rolling around on a shelf waste space and cause chaos. Use a narrow rectangular bin or a can-dispenser rack to stack drinks on their sides. This frees up vertical space above for other items and keeps cans from rolling to the back. A repurposed container from a kitchen cabinet works too. Just make sure it’s narrow enough to leave room for other items beside it. Instant space saver.
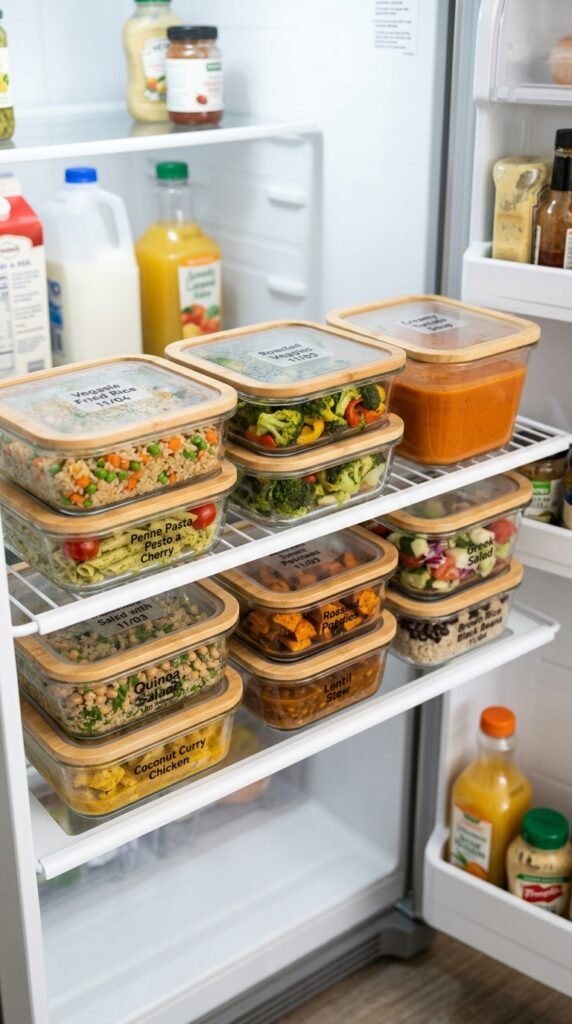
11. Dedicate One Shelf to Meal Prep
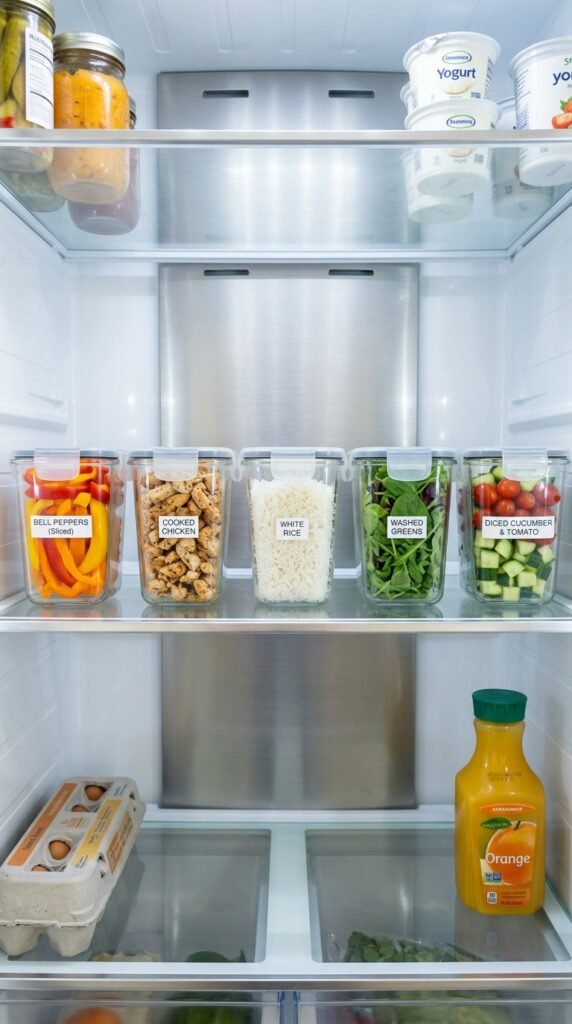
Designate one shelf as your meal prep shelf. All prepped ingredients — chopped veggies, cooked grains, portioned proteins — live here and nowhere else. This removes decision fatigue when cooking during the week. You open the fridge, look at that one shelf, and instantly know what you have to work with. It also makes it easy to spot when something needs to be used up before it loses quality.
12. Wash and Dry Produce Before Storing
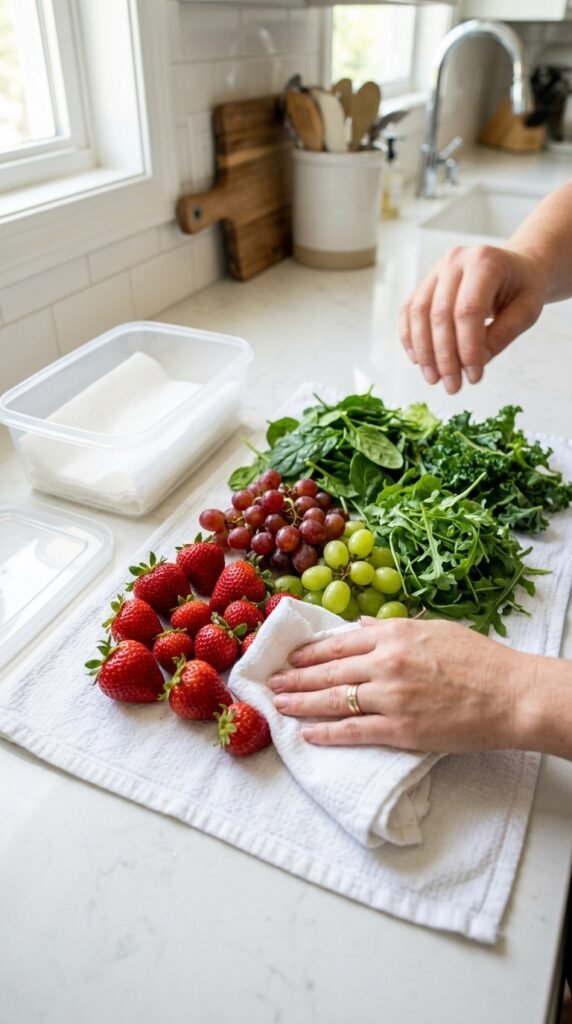
Washing produce before storing — and drying it thoroughly — removes surface bacteria and keeps it from deteriorating quickly. Wet produce in a bag or bin creates the perfect environment for mold. Spin or pat greens dry before refrigerating. Store washed berries in a single layer on a paper-towel-lined container. This small extra step adds days to the life of most produce. No special tools required — just a clean kitchen towel.
13. Separate Ethylene-Producing Fruits
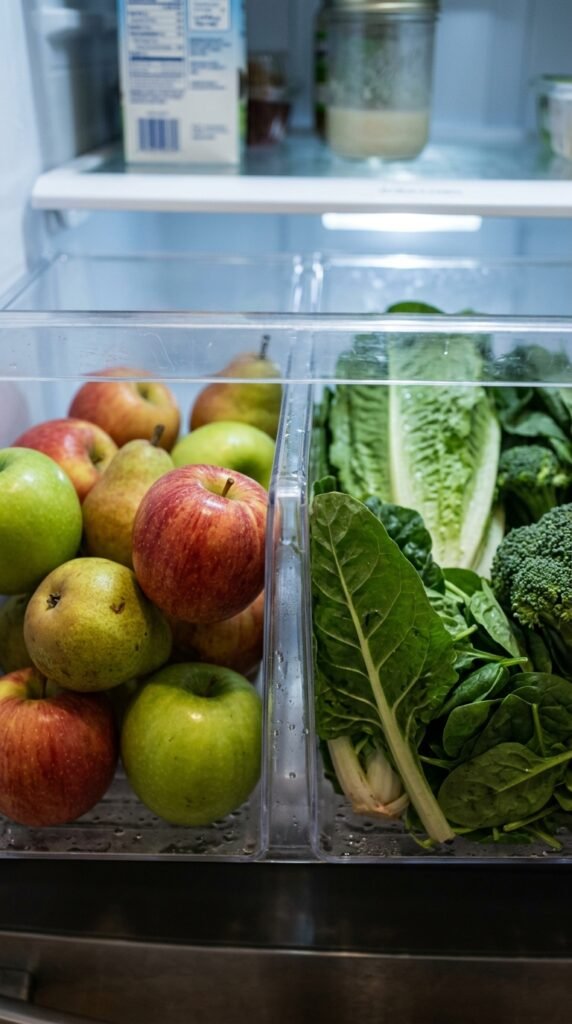
Some fruits — apples, pears, and cantaloupe — release a gas called ethylene that speeds up the ripening (and rotting) of nearby produce. Keep these away from vegetables like broccoli, leafy greens, and carrots. It doesn’t require much — just placing them on opposite sides of the crisper drawer or on different shelves makes a real difference. This simple awareness alone can extend the life of your vegetables by several days.
14. Use Egg Cartons Instead of the Built-In Tray
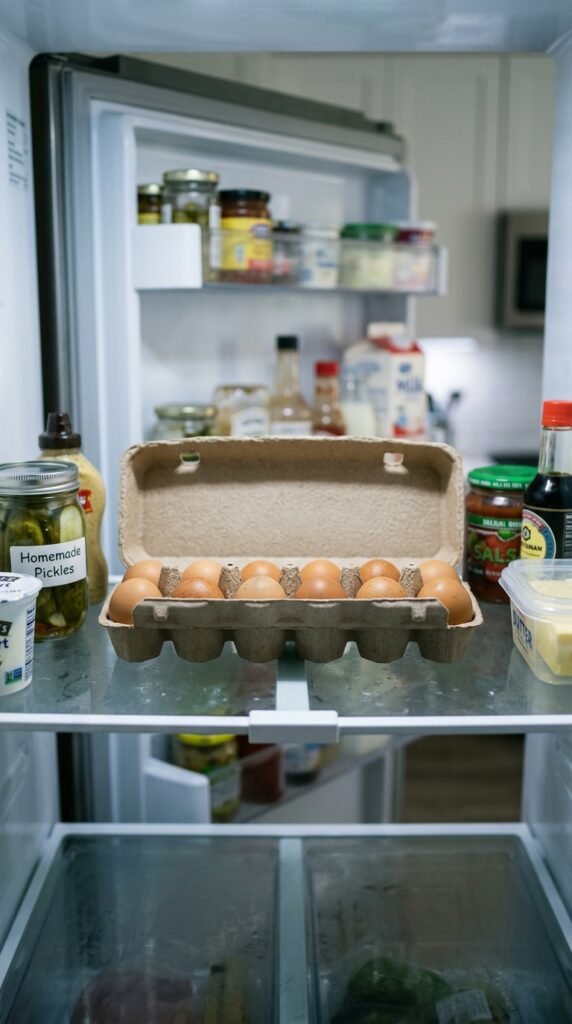
The built-in egg tray on the fridge door is convenient but not ideal. The door is warmest, and eggs need stable, cool temperatures. Keep eggs in their original carton and store them on a middle shelf instead. The carton protects them from absorbing other food smells through their porous shells. It also keeps the date visible so you always know how old they are. A tiny change, but it genuinely extends egg freshness.
15. Store Raw Meat on the Bottom Shelf Only
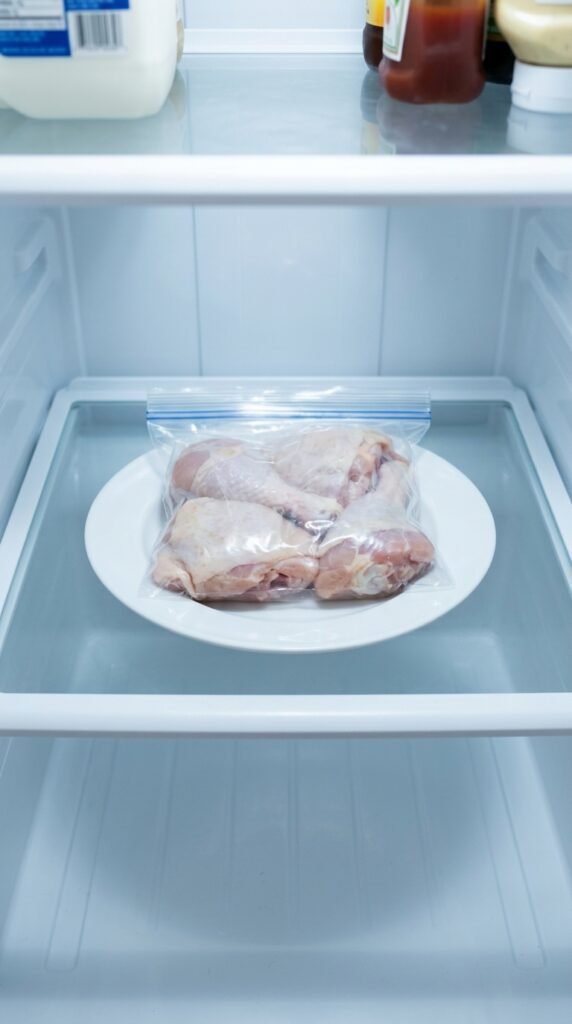
Raw meat should always live on the bottom shelf. If it drips, it only contaminates the shelf — not everything below it. Place raw proteins in a sealed bag or on a rimmed plate or tray to catch any leaks. Never store raw meat on upper shelves where drips can fall onto ready-to-eat food. This is basic food safety, but it’s easy to skip when space is tight. Make it a non-negotiable rule.
16. Use Stackable Bins to Create Sections
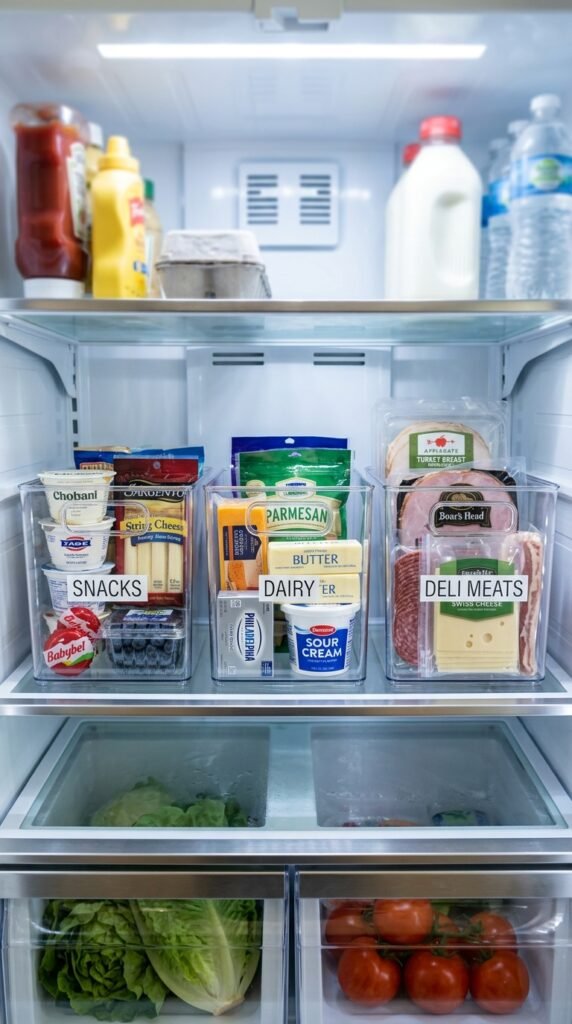
Loose items on a bare shelf slide around and get disorganized fast. Stackable clear bins give every category its own lane. Group snacks in one bin, deli items in another, dairy in a third. When you pull one bin out, everything in it comes with it — no rearranging needed. Bins from dollar stores work perfectly well. They don’t need to match. Consistent use matters more than aesthetics.
17. Keep an Open Box of Baking Soda Inside

Odors from strong foods — onions, fish, leftovers — spread and get absorbed by other items in the fridge. An open box of baking soda on a shelf neutralizes those smells passively. Replace it every one to three months for it to keep working. It’s not a substitute for cleaning, but it makes a noticeable difference in keeping your fridge smelling neutral. A single box costs less than a dollar and lasts for months.
18. Store Cut Onions in a Sealed Container
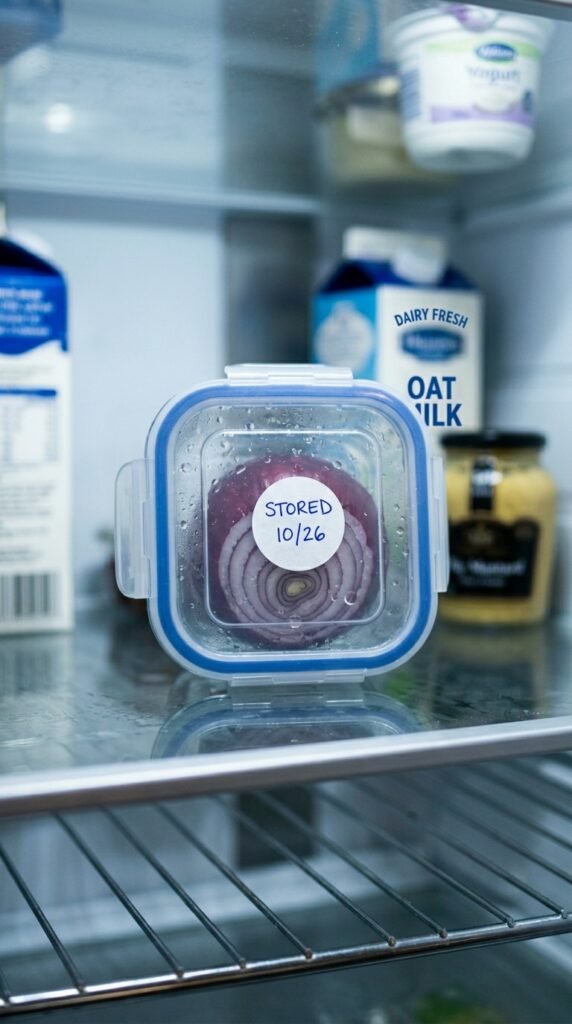
Cut onions release strong sulfur compounds that spread through the fridge and transfer to other foods — especially dairy. Always seal cut onions in an airtight container before refrigerating. Never wrap them loosely in plastic wrap. Glass containers with locking lids work best. This also keeps the onion from drying out as fast, so it stays usable longer. A simple swap that protects both your food’s flavor and its lifespan.
19. Freeze What You Won’t Use in Three Days
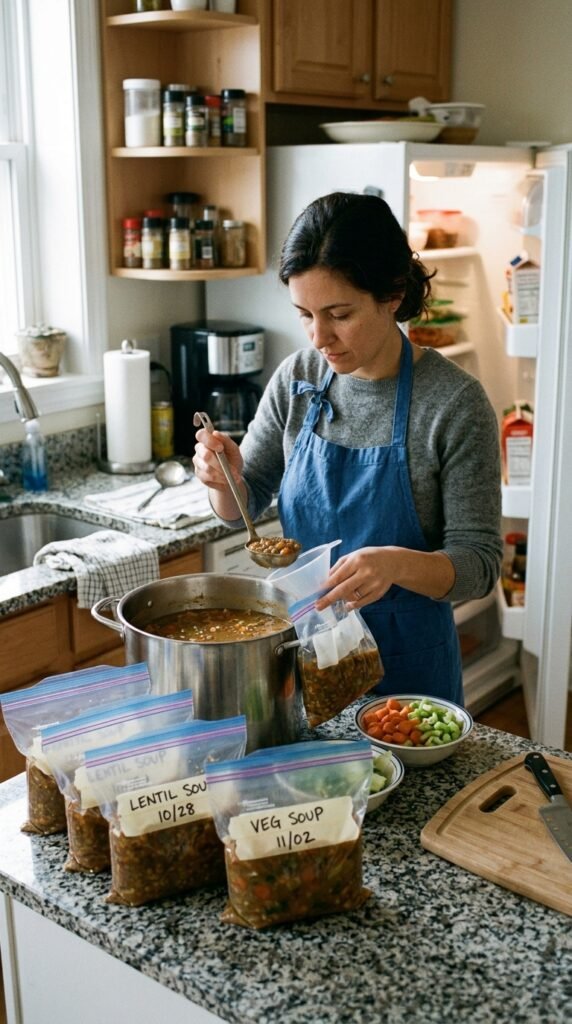
The fridge is not a long-term storage solution. If you know you won’t eat something within two to three days, freeze it instead of letting it sit and degrade. This applies to bread, meat, soups, cooked grains, and most leftovers. Portion things into smaller bags or containers before freezing so you only thaw what you need. Freezing is one of the most underused tools for reducing waste in a busy household.
20. Store Cheese Wrapped in Wax Paper, Not Plastic
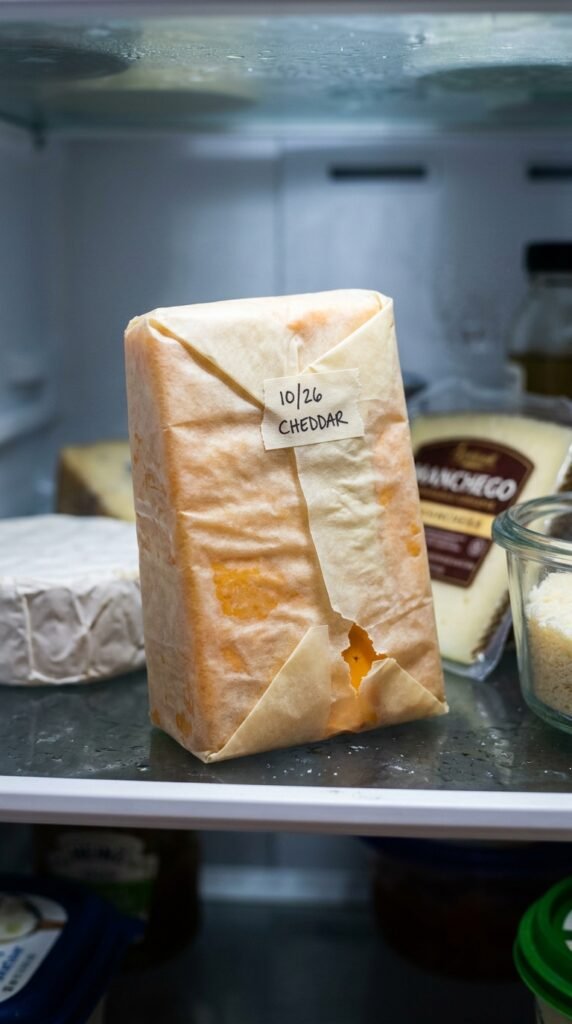
Plastic wrap suffocates cheese. It traps moisture and speeds up mold growth. Wax paper or parchment paper lets cheese breathe while still protecting it. Wrap your block or wedge snugly, fold the ends, and secure with tape. Rewrap it each time you use some. Specialty cheese paper exists but isn’t necessary — the parchment paper already in your kitchen works just as well. Cheese stored this way can last noticeably longer.
21. Keep a Pitcher of Filtered Water on the Top Shelf
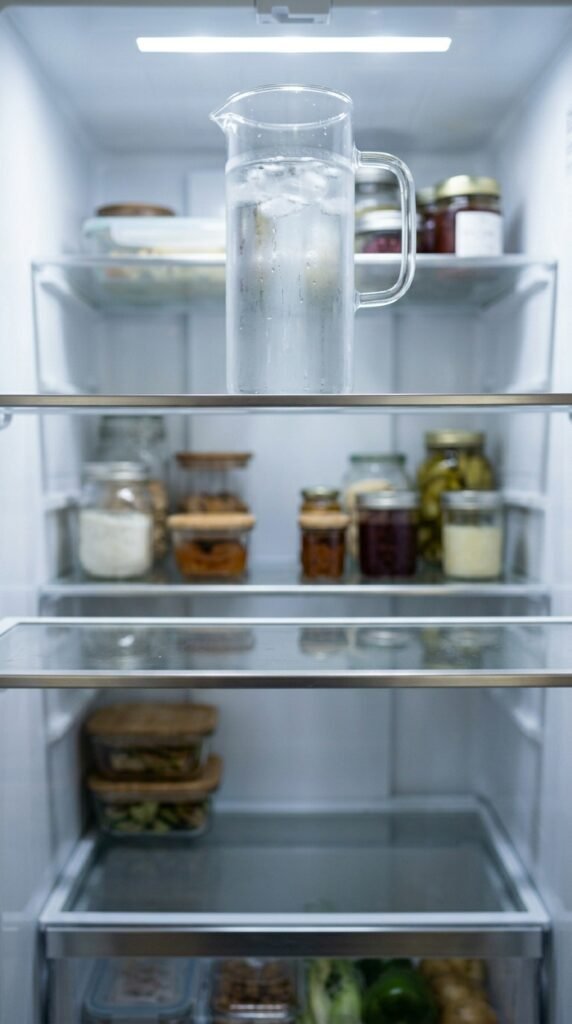
A pitcher of water does double duty. It stays cold and ready to drink — cutting down on reaching for bottled water — and its thermal mass helps regulate temperature inside the fridge when the door is opened frequently. It also uses dead space on the top shelf productively. Use any pitcher or large jar you have. Refill it daily. It’s a small habit that adds structure and function to an often-underused shelf.
22. Use a Produce Saver Container for Berries
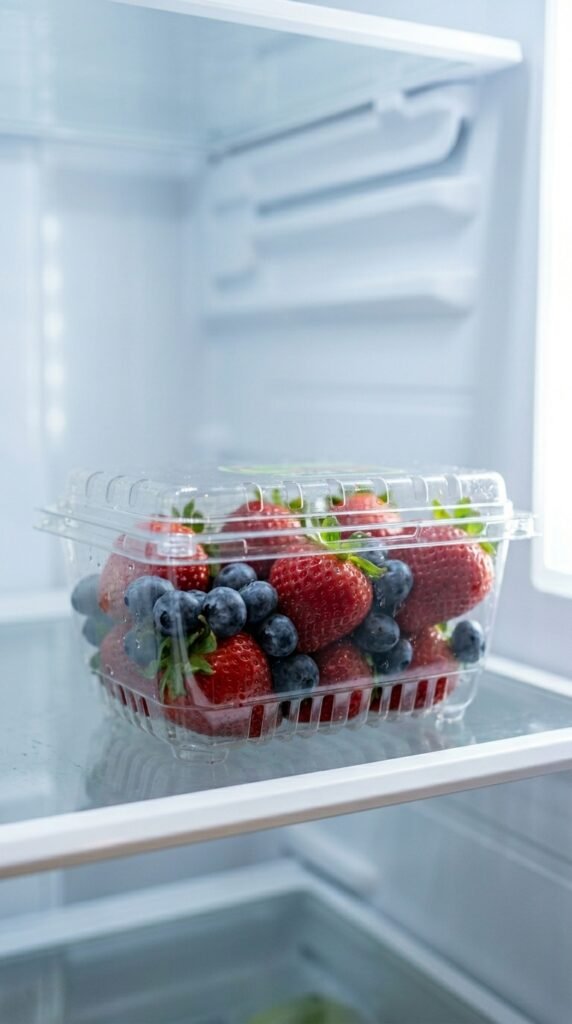
Berries spoil fast because they sit in their own moisture. A vented produce container with a raised base lifts berries above condensation so air can circulate underneath. The vents allow airflow that regular containers block. These are sold specifically for berries in most kitchen stores, but a colander sitting inside a bowl works in a pinch. If berries stay dry, they can easily last twice as long before getting soft or moldy.
23. Organize by Meal Type Instead of Food Category
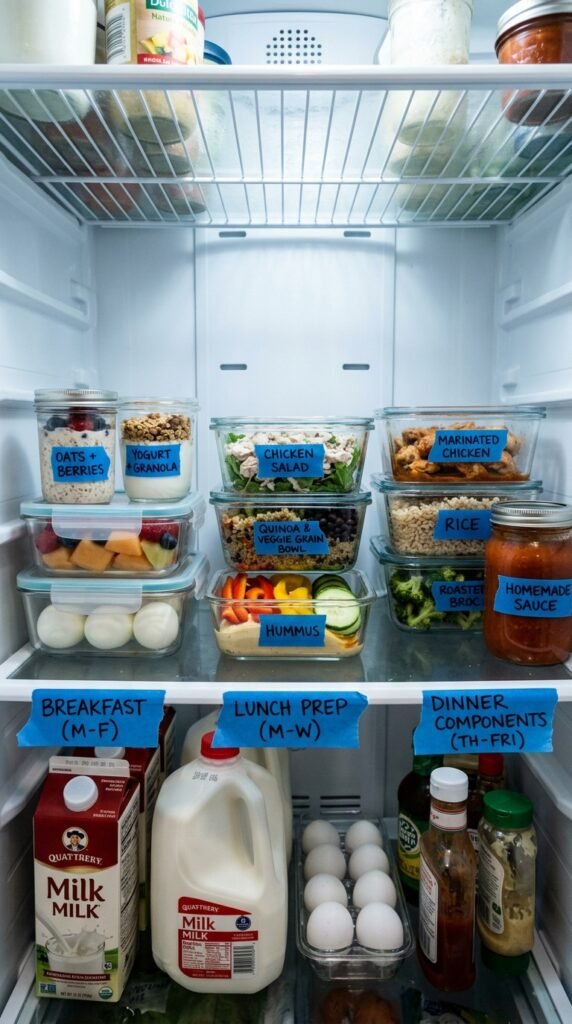
Instead of grouping all proteins together and all vegetables together, try organizing by meal type. Keep breakfast items — eggs, yogurt, juice — together. Keep lunch prep — deli, leftovers, salad ingredients — in one spot. This makes it faster to get in and out of the fridge during busy mornings and evenings. You’re not hunting across five shelves to make one meal. Everything for that meal is already in the same spot.
24. Cut Off Wilted Outer Leaves Before Storing Greens
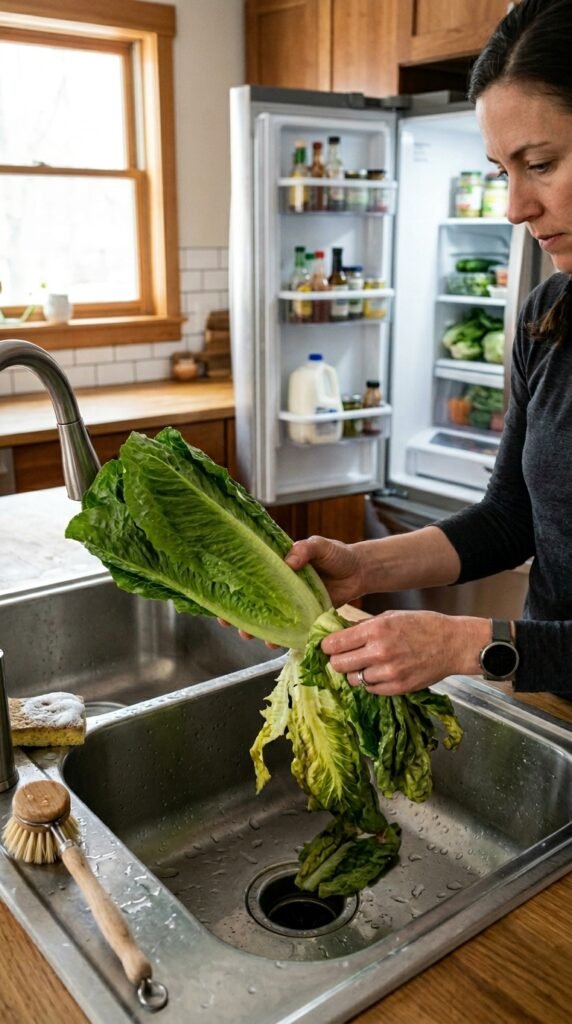
When you bring home lettuce or cabbage, strip the wilted outer leaves before storing. Those damaged layers trap moisture and create a breeding ground for bacteria that spreads inward. Remove them, rinse the remaining head, dry it well, and wrap loosely in a clean towel or paper towels before placing in the crisper. This takes less than a minute and can add several extra days to your greens before they start to turn.
25. Vacuum-Seal Deli Meat After Opening
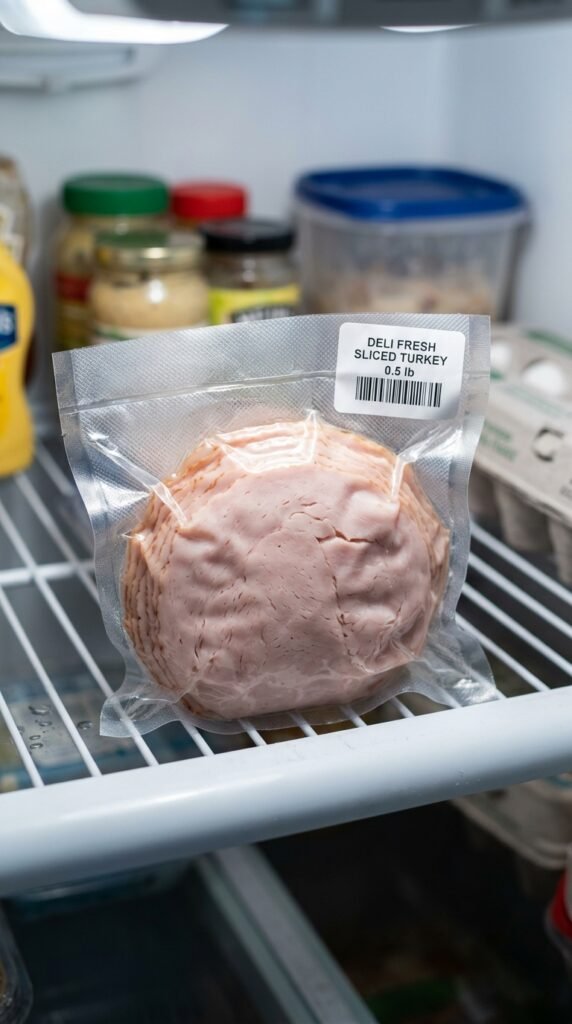
Once deli meat packaging is opened, it starts losing quality fast — even sealed back up with a clip. Vacuum-sealing portions removes the air that drives spoilage. You don’t need an expensive machine. Small handheld vacuum sealers are available for under fifteen dollars, and many reusable zipper bags now come with a hand-pump valve. Portioned and sealed deli meats can stay good significantly longer than the original opened package in the drawer.
26. Place a Thermometer Inside to Check Actual Temperature
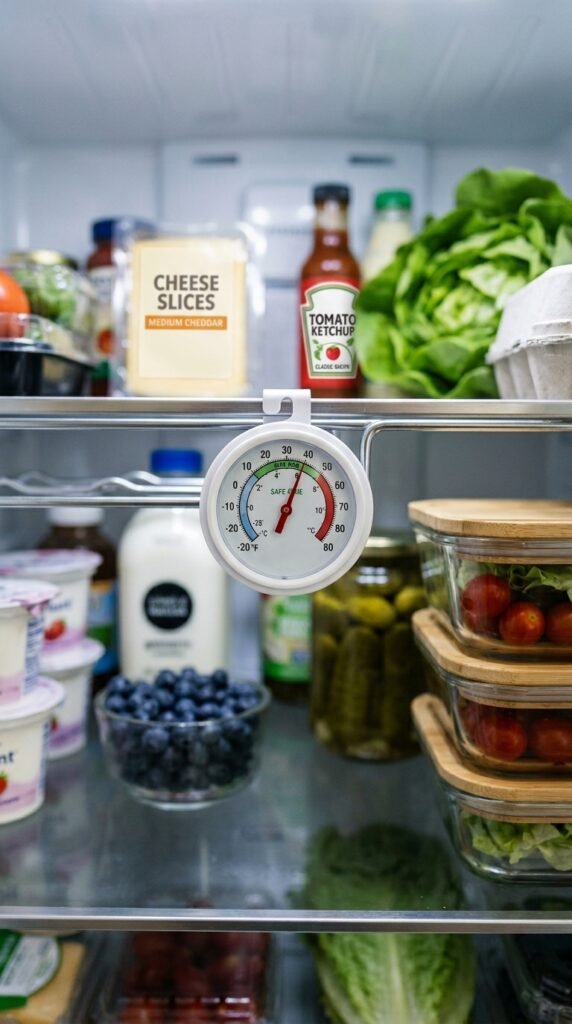
Your fridge’s built-in temperature dial isn’t always accurate. A small refrigerator thermometer placed on a middle shelf tells you the actual temperature inside. The safe zone is between 35°F and 38°F (1.7°C to 3.3°C). If it’s warmer than 40°F, food spoils faster than you realize. These thermometers cost just a few dollars at most grocery or hardware stores. Knowing your actual temperature lets you adjust before food starts going bad.
27. Store Celery in Foil Instead of a Plastic Bag
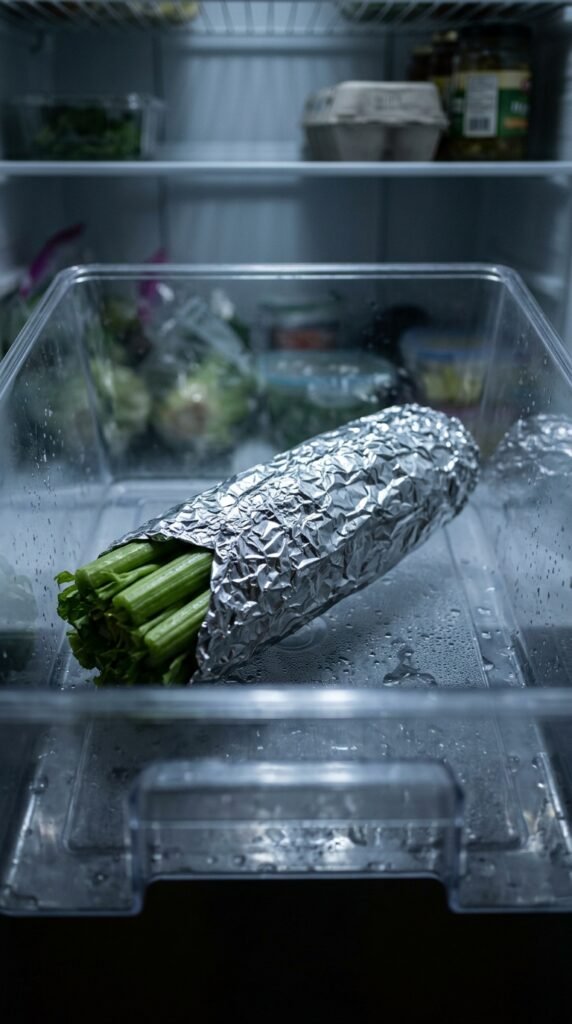
Celery goes limp fast in a plastic bag because ethylene gas builds up inside. Wrapping it tightly in aluminum foil lets that gas escape while keeping the celery crisp and hydrated. This is an old-school trick that actually works. Unwrap, use what you need, and rewrap the rest. Properly foil-wrapped celery can stay crisp for two to three weeks in the crisper drawer. No need to buy any special containers — just use foil you already have.
28. Don’t Overfill — Leave Room for Air to Circulate
A packed fridge feels productive, but overfilling blocks cold air circulation. When air can’t move freely, warm spots develop and food spoils unevenly. Leave a few inches of space between items and avoid stacking things so tightly that the vents in the back wall are blocked. A fridge that’s about two-thirds full works most efficiently. If you genuinely have too much food, it’s a sign some items should go in the freezer instead.
29. Do a Weekly “Fridge Audit” Before Grocery Shopping
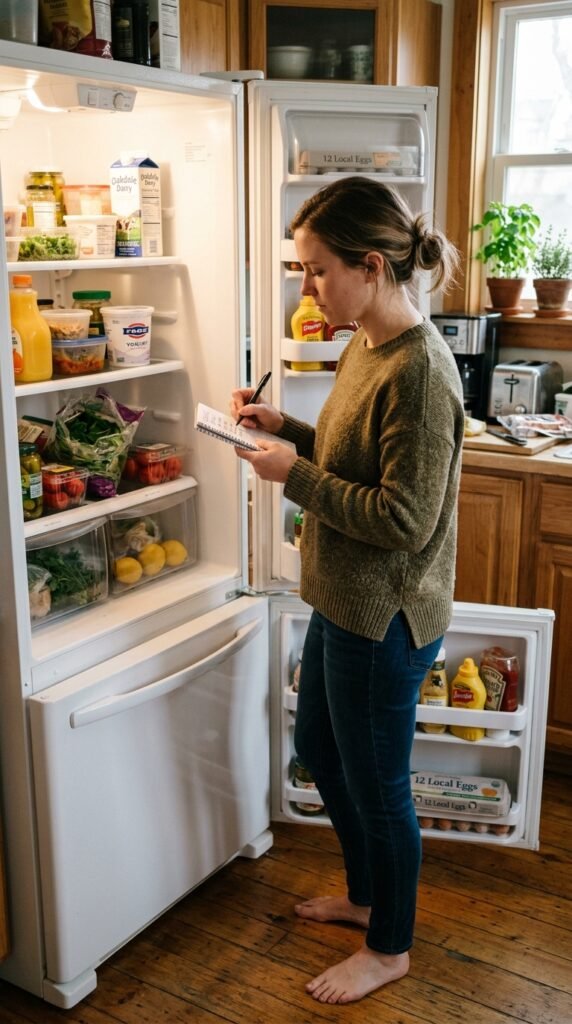
Before every grocery run, take three minutes to audit your fridge. Move anything about to expire to the front. Throw out anything already gone. Note what’s running low. This stops you from buying duplicates of things you already have — and makes sure older items get used before you bring in more. It’s the single habit that ties everything else together. A cleaner fridge, less waste, and a smarter shopping list all come from this one weekly check-in.
Conclusion
Keeping your refrigerator organized isn’t about perfection — it’s about building a few smart habits that compound over time. Start with just two or three of these methods and see how they change the way you interact with your fridge. You’ll notice less waste, better-tasting food, and a lot fewer mystery containers at the back of the shelf. The best system is the one you’ll actually stick to. Pick what works for your space, your budget, and your routine — and adjust as you go.