If you’ve ever spent 20 minutes digging through a chaotic pile of tangled garland and mismatched ornaments just to find your Halloween wreath — this one’s for you. Storing holiday decorations by season in clearly labeled bins is one of those simple systems that genuinely changes your life. No more mystery boxes. No more broken ornaments buried under Easter baskets. Just calm, organized, pull-it-out-and-go decorating every single time.
Why Seasonal Storage Systems Actually Work
Most holiday chaos doesn’t happen during decorating — it happens during un-decorating. When you’re tired, the holidays are over, and you just want everything put away fast, things get tossed randomly into whatever box is closest.
A seasonal bin system solves this because:
- Everything has a dedicated home before you even start packing up
- You unpack only what you need, when you need it
- Searching time drops to almost zero
- Decorations stay protected and last longer
The investment of one afternoon setting this up saves hours every single year.
Step 1: Sort Everything by Season First
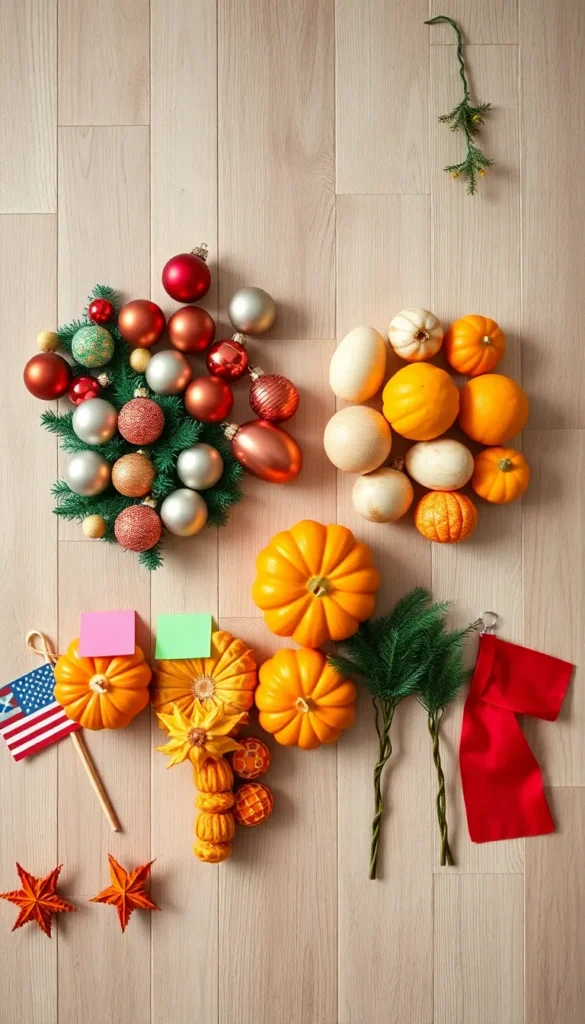
Before you buy a single bin, do a full decoration audit. Pull everything out and sort into four seasonal piles:
- Winter/Christmas — ornaments, garland, lights, nativity sets, stockings
- Spring/Easter — pastel décor, egg collections, floral arrangements
- Summer/Fourth of July — patriotic items, outdoor lanterns, seasonal tablecloths
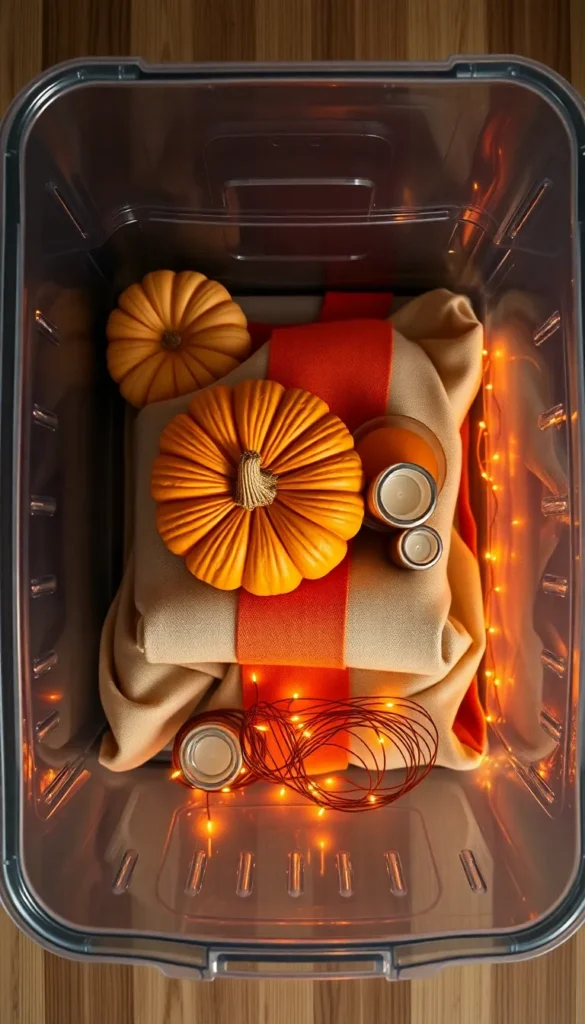
- Fall/Halloween/Thanksgiving — pumpkins, leaf garland, spooky décor, harvest items
Don’t forget the in-between items like general seasonal candles, neutral wreaths, or everyday throw pillows that get swapped out. Give those their own small bin.
Step 2: Choose the Right Bins
Not all bins are created equal for decoration storage. Here’s what works best:
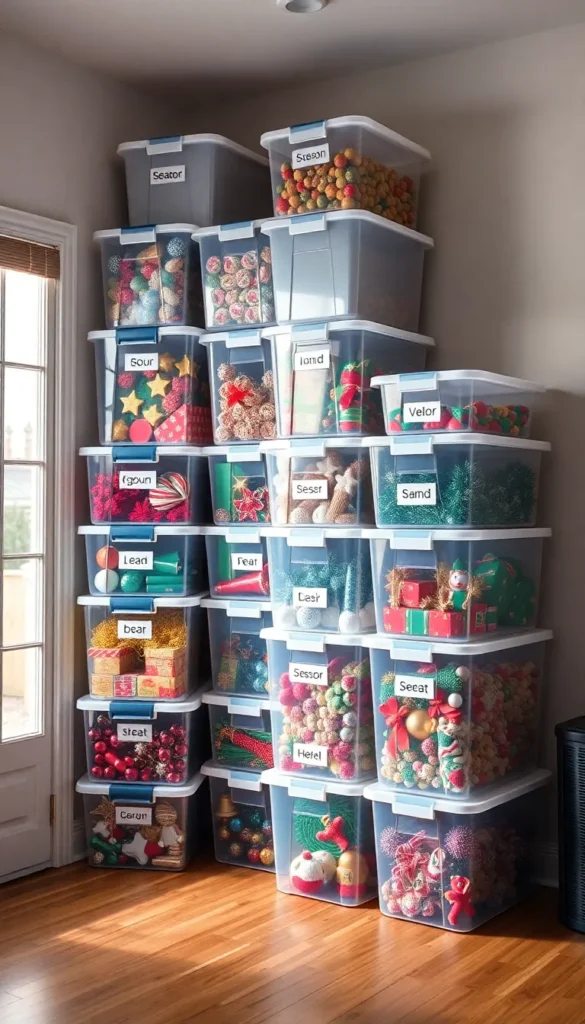
- Clear plastic bins with lids — you can see contents at a glance without opening anything
- Medium to large sizes — big enough for bulky items like wreaths and garland without overpacking
- Stackable design — maximizes vertical space in closets, garages, or attics
- Durable latching lids — keeps dust and moisture out, especially in garage storage
For delicate items like glass ornaments or ceramic figures, add a layer of bubble wrap or use divided ornament storage boxes that fit inside the larger seasonal bin.
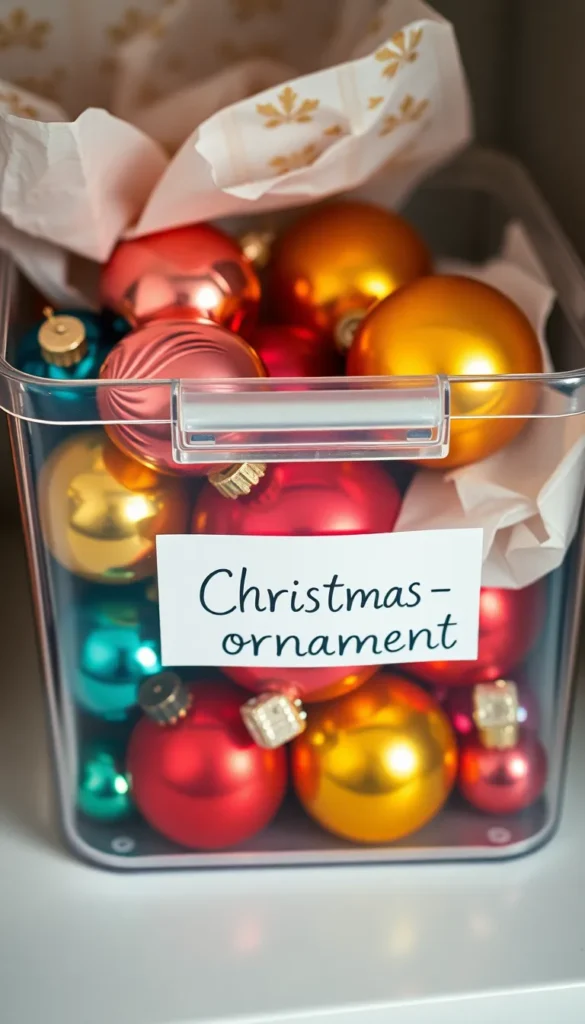
Step 3: Label Everything Clearly and Specifically
This is where most people stop short — they label a bin “Christmas” and call it done. Go one step further with specific labels that save time when you’re decorating in a rush:
- Christmas — Tree Ornaments
- Christmas — Lights & Garland
- Fall — Halloween Décor
- Fall — Thanksgiving Tabletop
Use a label maker, printed tags in sheet protectors, or even chalkboard labels on the front and side of each bin so you can read them whether they’re stacked or lined up on a shelf.
Step 4: Pack Strategically Inside Each Bin
How you pack matters as much as the label on the outside.
- Place heavy items on the bottom — candle holders, ceramic figures, weighted décor
- Roll garland loosely and place on top so it doesn’t get crushed
- Wrap fragile pieces individually in tissue paper or newsprint
- Use small ziplock bags for tiny items like clip-on ornament hooks, battery packs, or hanging twine
- Coil lights around a piece of cardboard to prevent the dreaded tangle
Step 5: Store Bins in a Smart Order
Stack your bins with the next upcoming season on top. If it’s January, your Valentine’s or spring bin goes on top, Christmas goes to the bottom of the stack. Rotate after each season.
If you have shelf space, store them side-by-side with labels facing outward — even easier than stacking.
The Payoff Is Real
Once this system is in place, seasonal decorating stops being a chore and starts being genuinely fun. You open the right bin, everything is right there, and nothing is broken. That’s the goal.
Save this guide and spend one weekend getting your holiday storage sorted — your future self will thank you every single season. 🎃🎄🌸🎆