If your craft room feels more chaotic than creative, you’re not alone. When supplies for knitting, scrapbooking, and watercolor painting are all jumbled together, just finding what you need can drain your creative energy before you even begin. The secret to a craft space that actually inspires you? Organizing by project type instead of by supply category.
When everything related to a project lives together, you sit down, open one zone, and you’re ready to create. Here’s exactly how to make that happen.
Step 1: Audit Everything You Have
Before you move a single thing, pull it all out.
Yes, all of it.
Lay your supplies out by the type of project they belong to — not by what they are. A glue gun might belong with your wreath-making zone, not in a general adhesives bin. A set of fine brushes might live with your watercolor station, not in a general art drawer.
As you sort, ask yourself:
- What projects do I actually work on regularly?
- What supplies belong exclusively to one project type?
- What’s shared between multiple projects?
This audit is the foundation of everything. Don’t skip it.
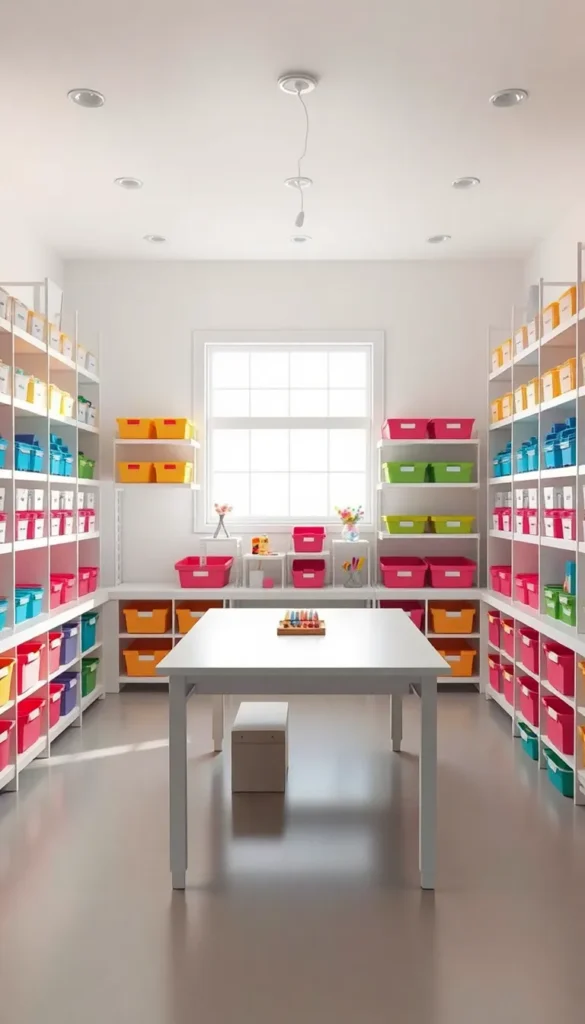
Step 2: Define Your Project Zones
Once you know what you have, map out your project zones. These are dedicated areas or storage units for each creative category you work in. Common zones include:
- Paper crafts (cardmaking, scrapbooking, journaling)
- Fiber arts (knitting, crochet, embroidery)
- Painting & drawing (watercolor, acrylic, sketching)
- DIY & home décor (wreaths, macramé, seasonal projects)
- Kids’ crafts (a separate zone saves your good supplies!)
You don’t need a huge room to do this. Zones can be shelves, rolling carts, drawers, or even labeled bins stacked vertically.
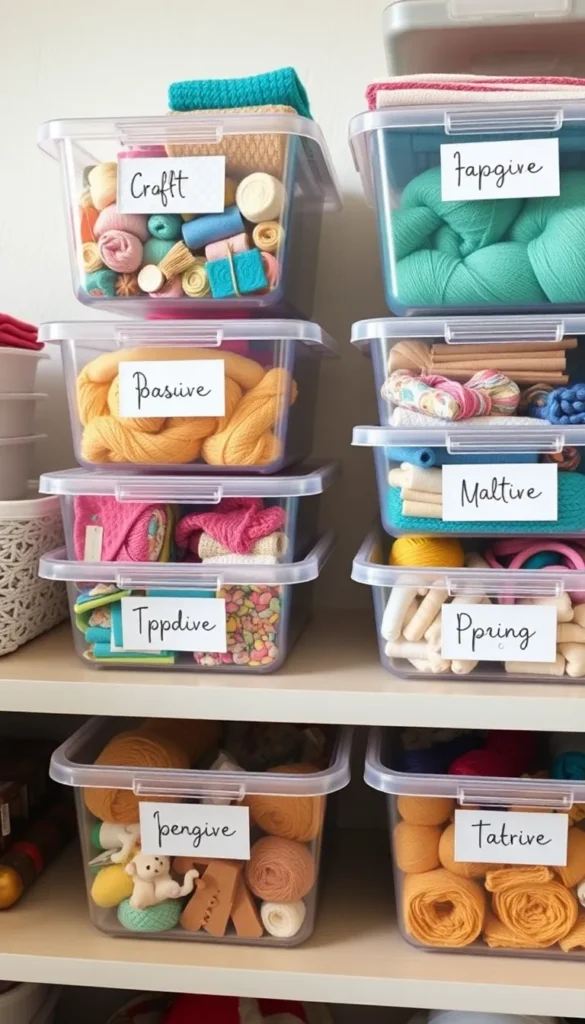
Step 3: Use Portable Project Kits for Ongoing Work
Here’s a game-changer: portable project kits.
For any project you’re actively working on, gather everything you need into one container — a clear bin, a tote bag, or a stackable box. Label it with the project name and tuck it on a dedicated shelf.
This approach means:
- You can grab your knitting project and take it to the couch
- Your half-finished scrapbook layout stays together between sessions
- Nothing gets lost or borrowed by another project mid-creation
It also makes it ridiculously easy to pick up where you left off without re-hunting for supplies.
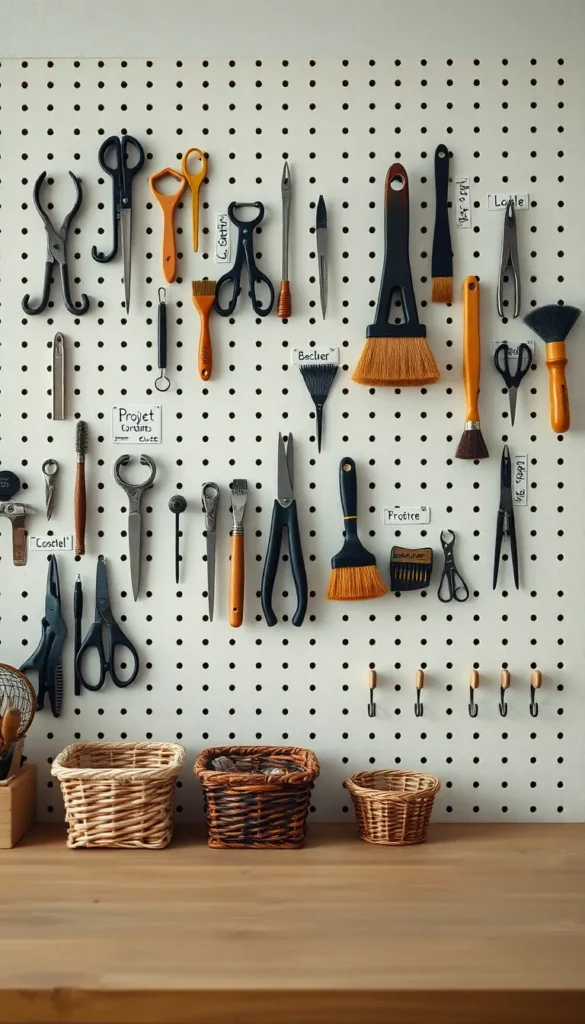
Step 4: Store Shared Supplies Centrally
Some supplies — scissors, tape, rulers, basic adhesives — belong to every project type. These should live in a central hub that’s easy to reach from any zone in the room.
A small rolling cart works perfectly for this. Keep it:
- Stocked only with true multitaskers
- Visible and accessible (not buried in a drawer)
- Restocked weekly so it never runs empty mid-project
Resist the urge to dump everything into this cart. If it becomes a junk magnet, it defeats the purpose entirely.
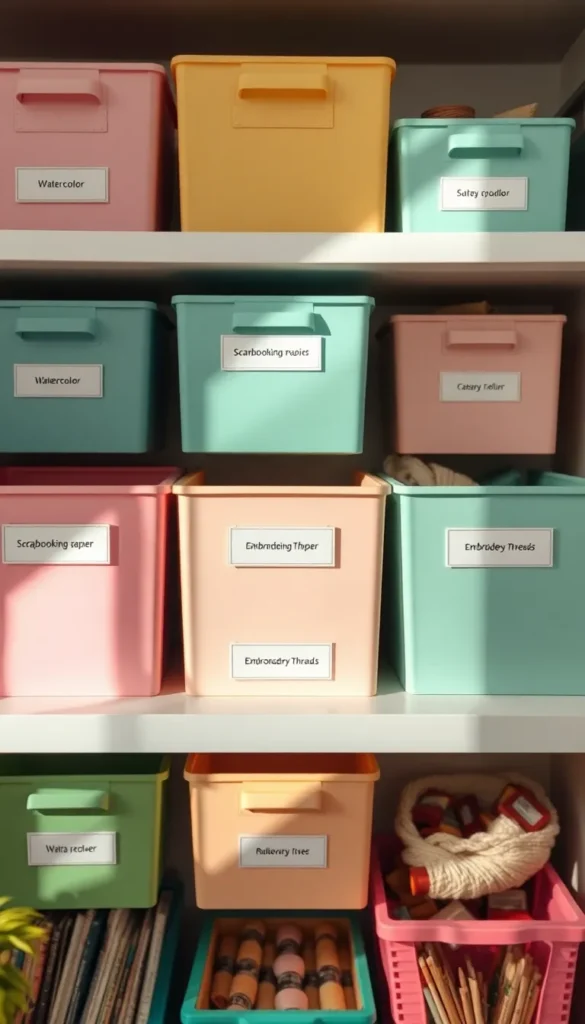
Step 5: Label Everything (Seriously, Everything)
Labels are the backbone of a system that stays organized.
Use a label maker, printed tags, or even pretty washi tape and a marker. Label:
- Every bin, basket, and box
- Shelves themselves, not just the containers
- The outside of drawers so you never have to open them to check
When labels are clear and consistent, anyone (including future-you at midnight mid-project) can find exactly what they need in seconds.
The Payoff: A Room That Works With You
Organizing your craft room by project type removes the friction between inspiration and action. When your space is set up this way, you’ll spend less time searching and more time actually making.
Start with one zone this weekend — just one. Set it up properly, label it, and feel the difference it makes before tackling the rest of the room.
Save this article for your next craft room refresh, and pin it for when the creative chaos gets real! 📌