There’s nothing more frustrating than sitting down for a creative session only to spend the next 20 minutes hunting for your hot glue gun. Sound familiar? A well-organized craft closet doesn’t just look pretty — it actually makes you more creative because everything you need is right where you expect it to be.
Whether you’re working with a small hall closet or a dedicated craft room, these simple strategies will transform your space from chaotic to completely functional.
Start by Pulling Everything Out
Before you can organize, you need to see what you’re actually dealing with. Pull every single item out of the closet and sort into categories:
- Keep — things you use regularly or love
- Donate — duplicates or supplies you’ll never realistically use
- Toss — dried-out markers, broken tools, and mystery scraps
Be honest with yourself here. That half-used pack of foam sheets from 2018 probably isn’t making a comeback. Once you’ve decluttered, you’ll be amazed how much space suddenly opens up.
Group Supplies by Project Type
The biggest organizational mistake crafters make is sorting by supply type alone. Instead, think about how you craft. Group items by the projects they belong to:
- Scrapbooking supplies together
- Sewing and fabric tools in one zone
- Holiday and seasonal décor items grouped by occasion
- Painting and drawing supplies in their own section
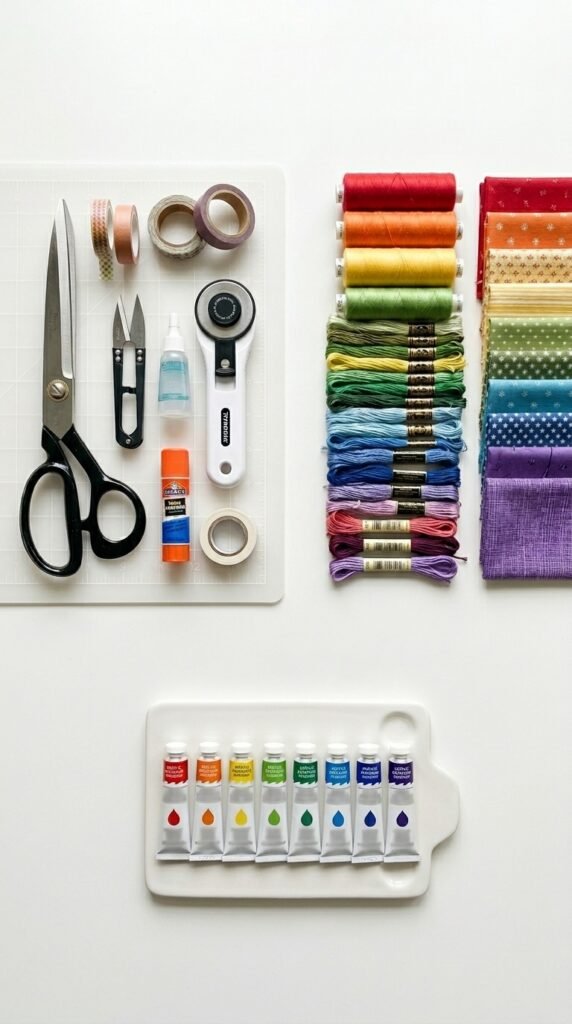
This way, when you sit down to work on a specific project, you grab one bin and everything you need is already together. No more running back and forth across the closet mid-project.
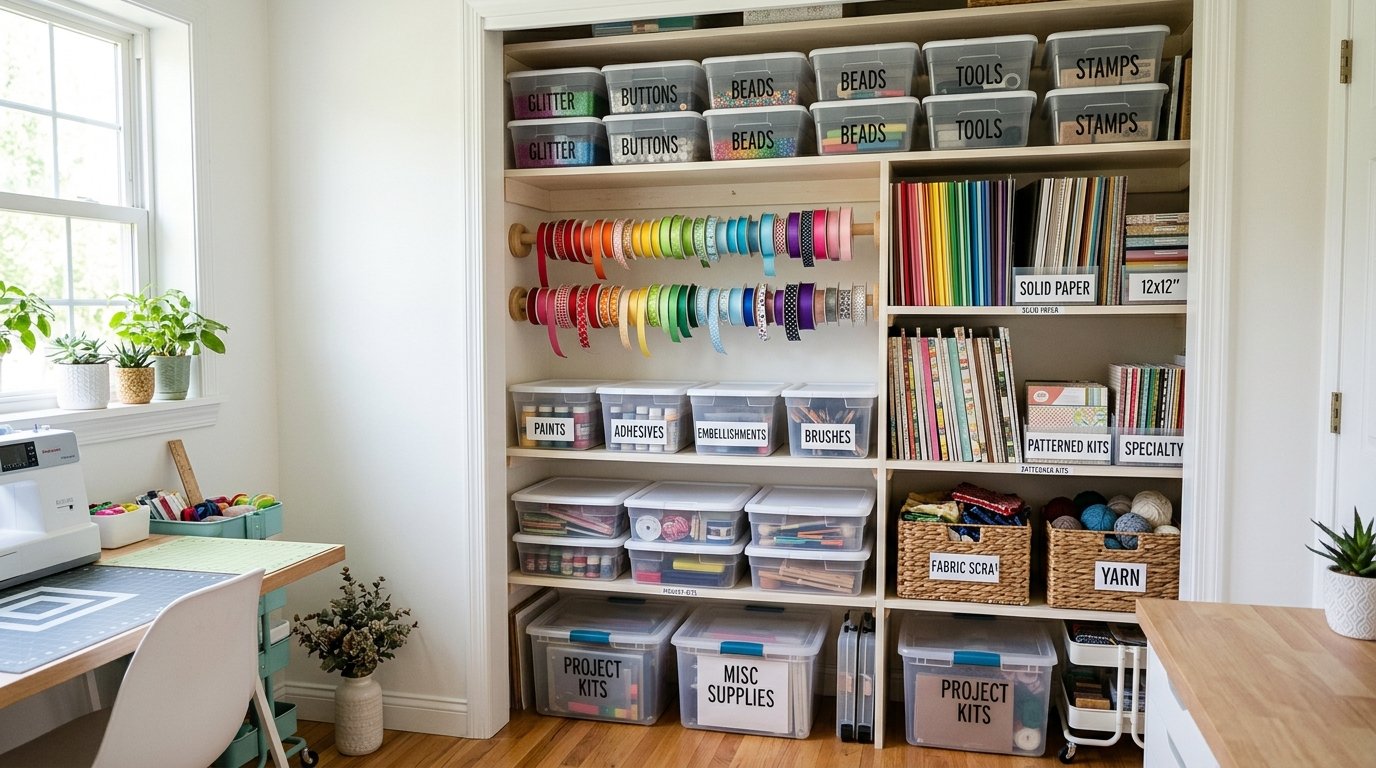
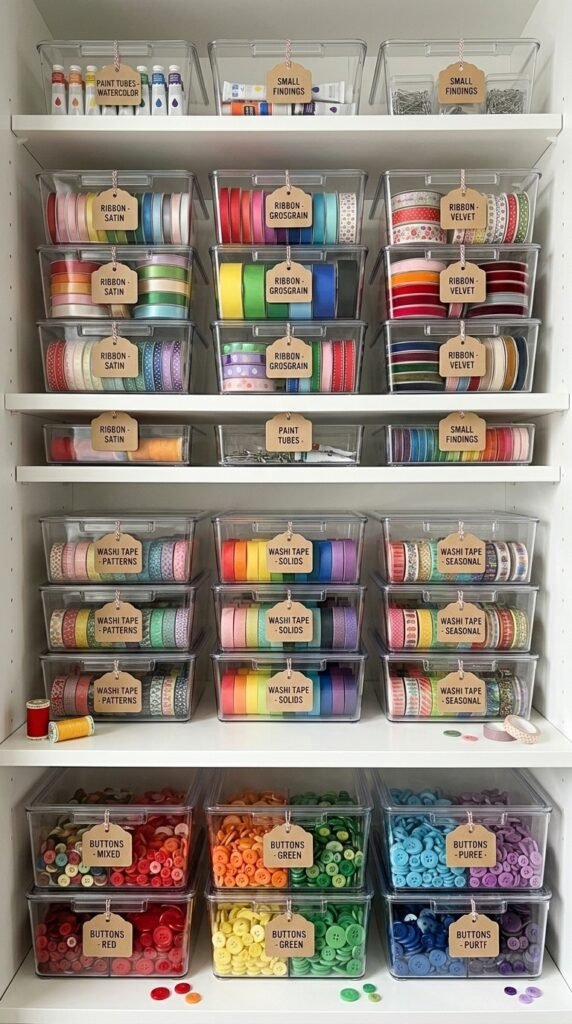
Use Clear Containers and Labels
Opaque bins are the enemy of a functional craft closet. When you can’t see inside, you forget what’s there — and you end up buying duplicates of supplies you already own.
Invest in:
- Clear stackable bins for small items like buttons, brads, and embellishments
- Zip-lock bags inside bins for tiny loose pieces
- Label everything — even if the bin is clear, a label makes grabbing things twice as fast
Don’t overthink the labeling system. A simple label maker or even handwritten kraft paper tags work beautifully and add a charming, Pinterest-worthy touch.
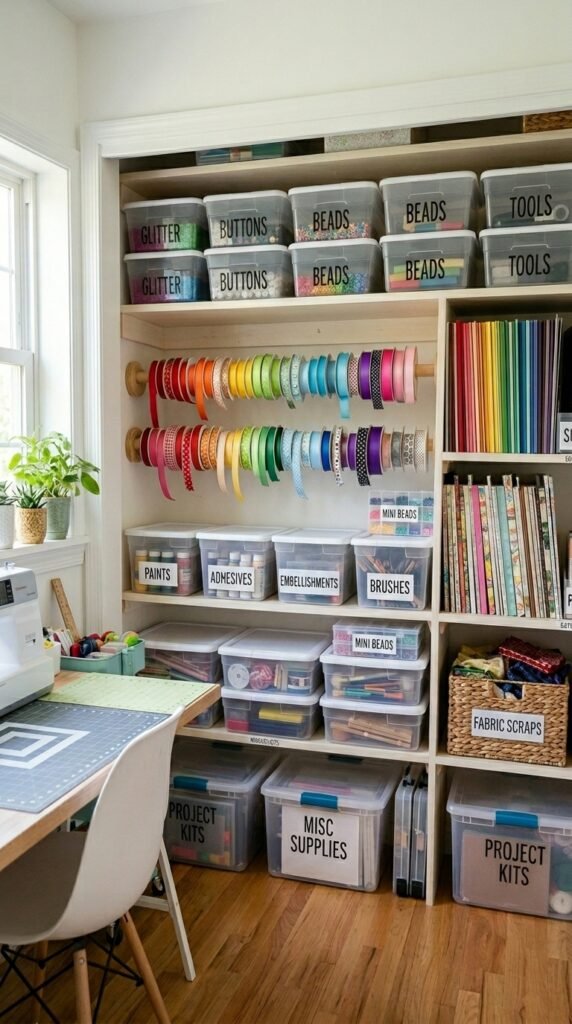
Make the Most of Vertical Space
Most craft closets waste the prime real estate: the walls and the back of the door. Here’s how to use every inch:
- Pegboards on the wall hold scissors, rulers, and frequently used tools within arm’s reach
- Over-the-door organizers with clear pockets are perfect for small items like stamps, punches, and markers
- Tension rods inside bins keep rolls of wrapping paper or ribbon standing upright
- Floating shelves above the main shelf add an extra layer for seasonal or rarely used items
The goal is to keep everyday supplies at eye level and archived materials higher up or lower down.
Create a “Currently Working On” Spot
One underrated organizational trick is dedicating one small bin or basket to your active projects. Instead of leaving half-finished crafts scattered across the closet, everything related to your current project lives in one easy-to-grab spot.
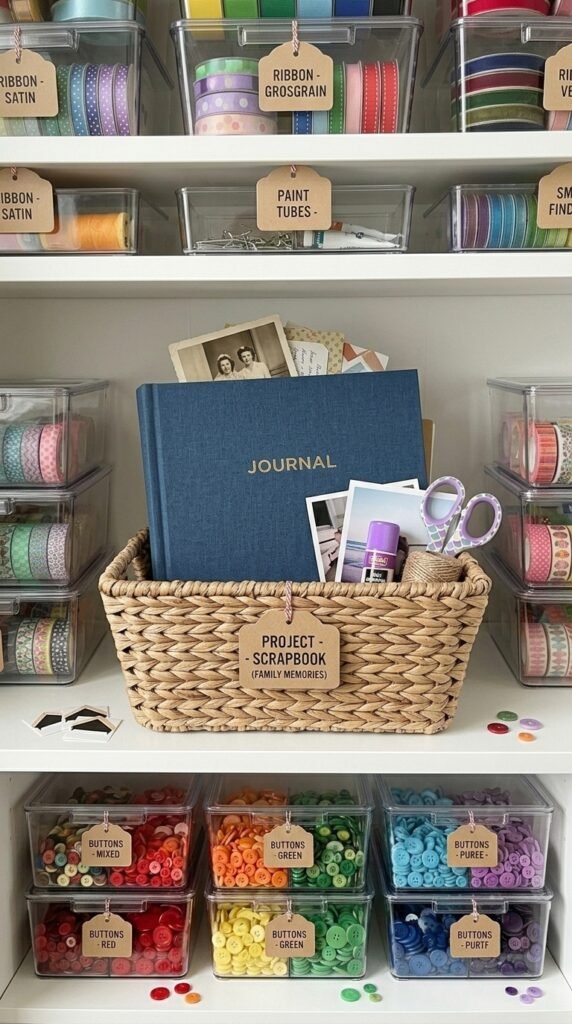
When you finish the project, the bin gets emptied and reset for the next one. It keeps the rest of your closet tidy even when you’re in the middle of a creative project.
Do a 5-Minute Reset After Every Session
The real secret to a consistently organized craft closet? Putting things back. It sounds obvious, but building the habit of a quick 5-minute tidy at the end of every crafting session keeps the system working long-term.
- Return items to their labeled homes
- Toss scraps and trash immediately
- Restock anything that’s running low so you’re ready for next time
Your Craft Closet, Finally Under Control
An organized craft closet means less time searching and more time actually making things you love. Start with one shelf, one category, or one afternoon — you don’t have to overhaul everything at once.
Save this guide and come back to it the next time your craft closet starts creeping back into chaos! Even small changes, like switching to clear bins or adding a label or two, make a surprisingly big difference in how your whole space feels to use.