If your bathroom counter looks like a beauty supply store exploded on it, you’re not alone. Bottles tipping over, makeup scattered everywhere, and that one rogue cotton ball that somehow ended up behind the faucet — sound familiar? The good news: a few pretty trays and containers can completely transform your counter from chaotic to catalog-worthy, and it takes less effort than you think.
Why Trays Are the Secret Weapon for Counter Organization
A tray does something magical — it creates a visual boundary. When items live on a tray, your brain (and your eyes) read that space as intentional rather than cluttered. Even five products on a tray look curated. Those same five products scattered across bare countertop? Chaos.
Beyond aesthetics, trays keep things contained when life gets messy. Skincare drips, makeup dust, toothpaste splatter — it all stays on the tray instead of spreading across your whole counter.
Step 1: Clear the Counter Completely
Before you bring in a single tray, start fresh. Take everything off the counter and sort it into three piles:
- Daily use — things you reach for every single morning or night
- Weekly use — items you use a few times a week
- Rarely used — products you keep “just in case”
Only daily-use items belong on the counter. Everything else gets a drawer, cabinet, or under-sink spot. This one rule alone will shrink your counter clutter by half.
Step 2: Choose Your Trays and Containers
This is the fun part. The key is picking pieces that match your bathroom’s vibe while being genuinely functional. A few winning combinations:
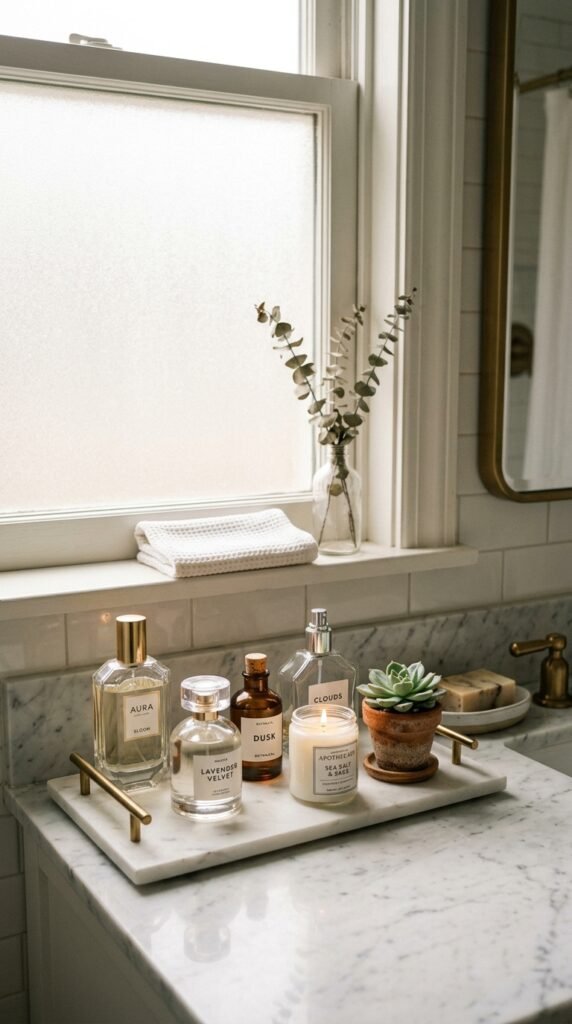
- Marble or stone tray for perfume bottles and a candle — instantly elegant
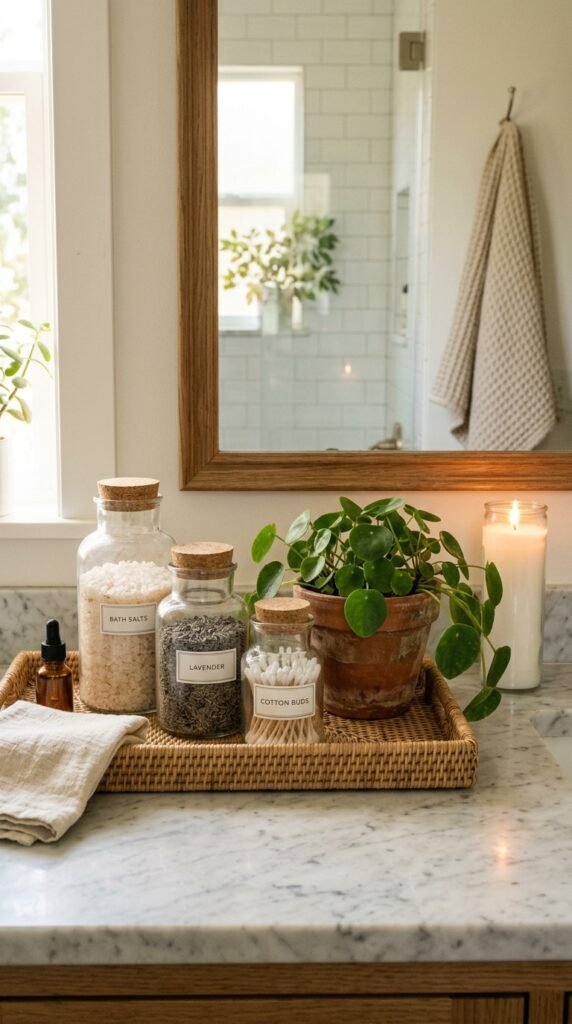
- Clear acrylic containers for cotton rounds, Q-tips, and hair ties — you can see what’s inside at a glance
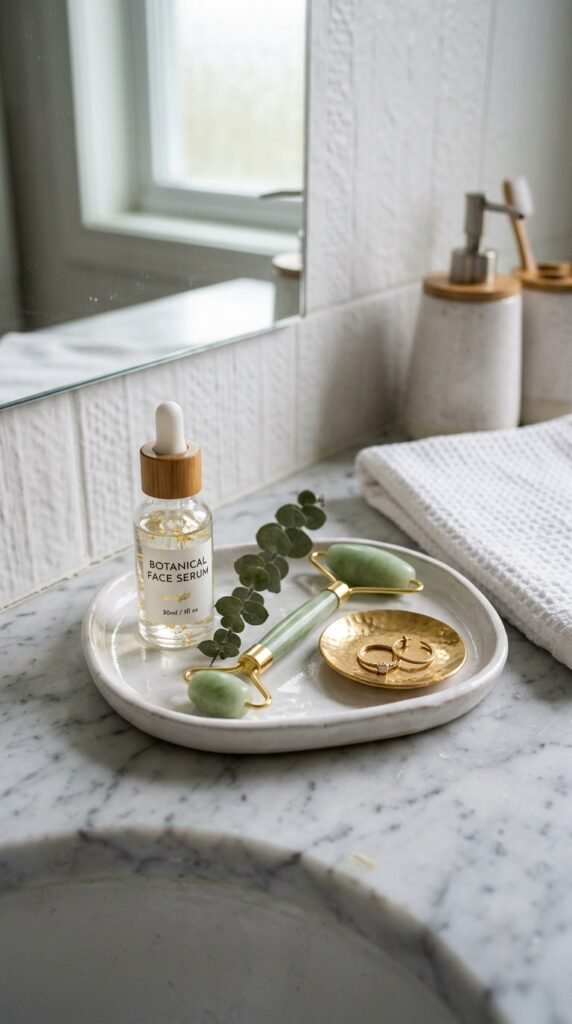
- Small ceramic or glass dish for jewelry or daily rings
- Tall glass or rattan cup for makeup brushes or a toothbrush
Stick to two or three materials max to keep things cohesive. Mixing too many textures makes even organized counters feel visually noisy.
Step 3: Group Items by Function
Now that you have your containers, assign each one a job. Think of it like little neighborhoods on your counter:
- Skincare station — cleanser, toner, moisturizer all on one tray
- Beauty tools zone — brushes, eyelash curler, and a small mirror together
- Daily essentials dish — your rings, hair clip, and earrings you wear every day
When everything has a home, putting things back becomes effortless. That’s how organized counters stay organized — not through willpower, but through systems.
Step 4: Style It Like a Pinterest Board
Organized doesn’t have to mean sterile. Once your functional groupings are in place, layer in a little visual interest:
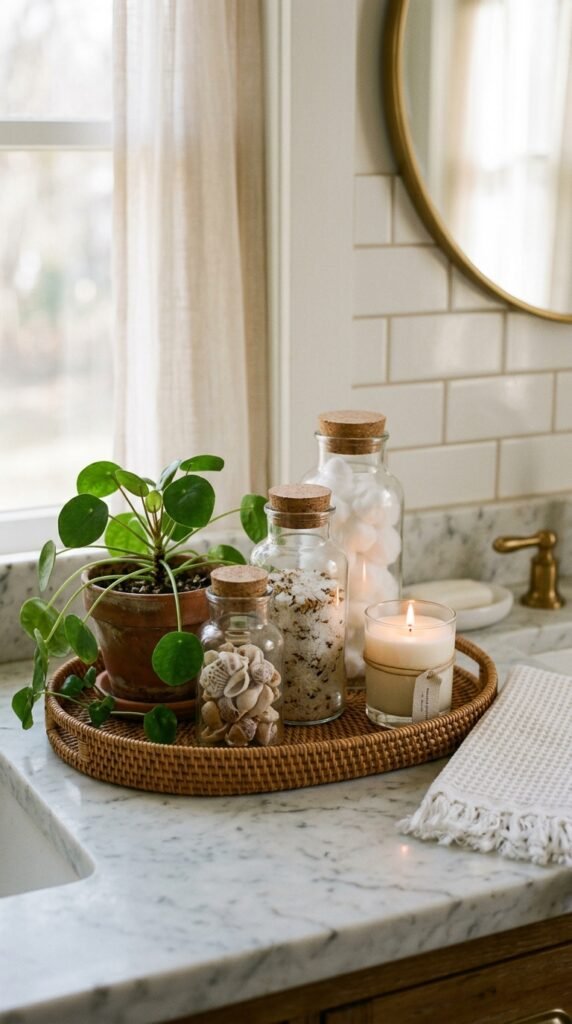
- Vary the heights — mix tall bottles with short dishes and a small plant
- Add one natural element — a tiny succulent, a sprig of dried lavender, or a small vase with a single stem
- Keep a candle — it pulls the whole look together and makes the space feel intentional
- Odd numbers win — groups of three or five always look more styled than even numbers
The goal isn’t a showroom — it’s a counter that feels peaceful and easy to maintain.
Step 5: Do a Weekly Reset
Even the prettiest system gets messy with daily use. Build in a two-minute Sunday reset: wipe down the trays, put anything that drifted back in its spot, and toss any empties. That’s it. Two minutes keeps your counter looking fresh all week.
Your Counter, Your Calm
A beautifully organized bathroom counter isn’t just about aesthetics — it genuinely makes your mornings smoother and your evenings more relaxing. When everything has a place and everything looks pretty sitting there, getting ready feels less like a chore and more like a ritual.
Start with just one tray this week and see how it shifts the whole energy of your space. Save this article for your next bathroom refresh, and share it with someone whose counter could use a little love! 🛁✨