If you’ve ever dug through a mountain of tiny onesies looking for the one outfit that still fits your baby — only to realize it’s buried under a pile of newborn clothes they outgrew two months ago — you already know the struggle is real. Baby clothes organization sounds simple until you’re staring down a dresser drawer stuffed with seven different sizes and zero system.
Good news: a little one-time setup will save you countless minutes (and headaches) every single morning. Here’s exactly how to do it.
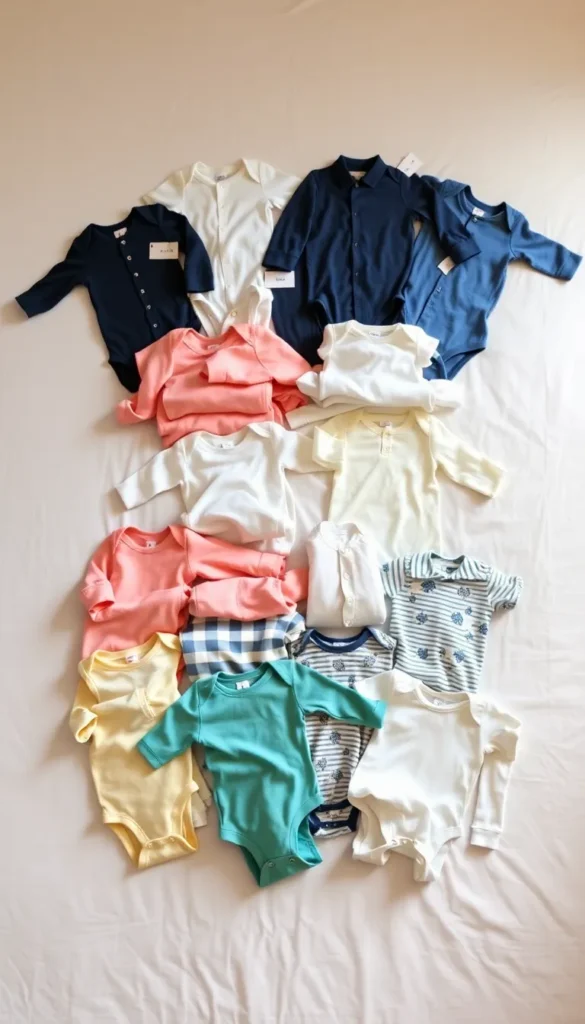
Start by Pulling Everything Out
Before you organize, you have to see what you’re working with. Pull every single item out of the dresser and lay it across the bed or floor.
- Check each tag for the size label (Newborn, 0–3M, 3–6M, 6–9M, 9–12M, etc.)
- Make three piles: fits now, too small, and growing into
- Toss or donate anything stained beyond saving
This step alone will immediately cut down on clutter. Babies grow so fast that half of what’s in the drawer may already be the wrong size.
Sort by Size Before Folding
Once you’ve got your “fits now” pile separated, sort the remaining items by size group. This is the foundation of the whole system.
Group them like this:
- Current size — goes in the top or most accessible drawer
- Next size up — goes in the drawer directly below
- Future sizes — stored separately (bins, vacuum bags, or the bottom drawer)
Keeping future sizes out of the active drawers is a game-changer. It removes the confusion of grabbing a 6-month outfit when your baby is still in 3-month clothes.
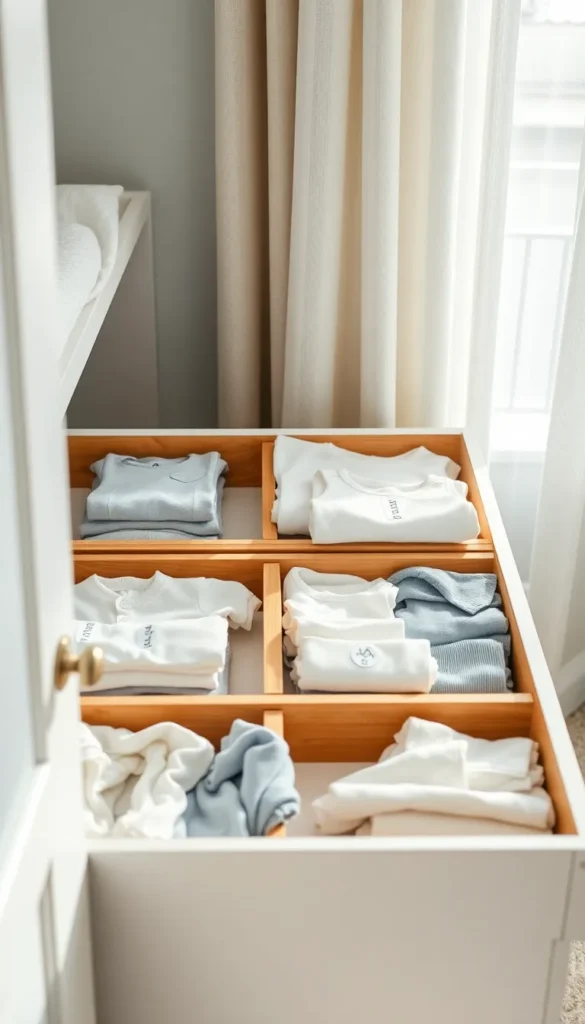
Use Drawer Dividers to Keep Sections Separate
Drawer dividers are the secret weapon of every organized nursery. Even basic cardboard or foam ones work perfectly in baby dresser drawers.
Divide each drawer into sections by clothing type:
- Onesies (short sleeve + long sleeve)
- Sleepers and footie pajamas
- Pants and leggings
- Tops and shirts
- Socks, mittens, and hats
Fold each item using the file fold method — folding clothes into a small rectangle and standing them upright — so you can see every piece at a glance without disturbing the whole drawer.
Label Everything Clearly
Labels make the system work for everyone — not just you. When your partner, grandparent, or babysitter opens that drawer, they should know exactly what’s inside without asking.
Simple label ideas:
- Sticky labels or masking tape on the front of each drawer section
- Small chalkboard tags on dividers
- Label maker strips on the outside of the drawer
Write the size range AND the clothing type if space allows. Something like “3–6M Onesies” is crystal clear.
Rotate Clothes as Your Baby Grows
The system only stays organized if you keep up with size rotations. Set a reminder every 4–6 weeks (or whenever you notice a onesie fitting a little snug) to do a quick swap.
Here’s the rotation routine:
- Move current-size clothes that no longer fit into a “too small” bin
- Pull the “next size up” drawer into the active current-size spot
- Restock the “next size up” drawer from your future-sizes storage
This takes less than 15 minutes once the system is already in place.
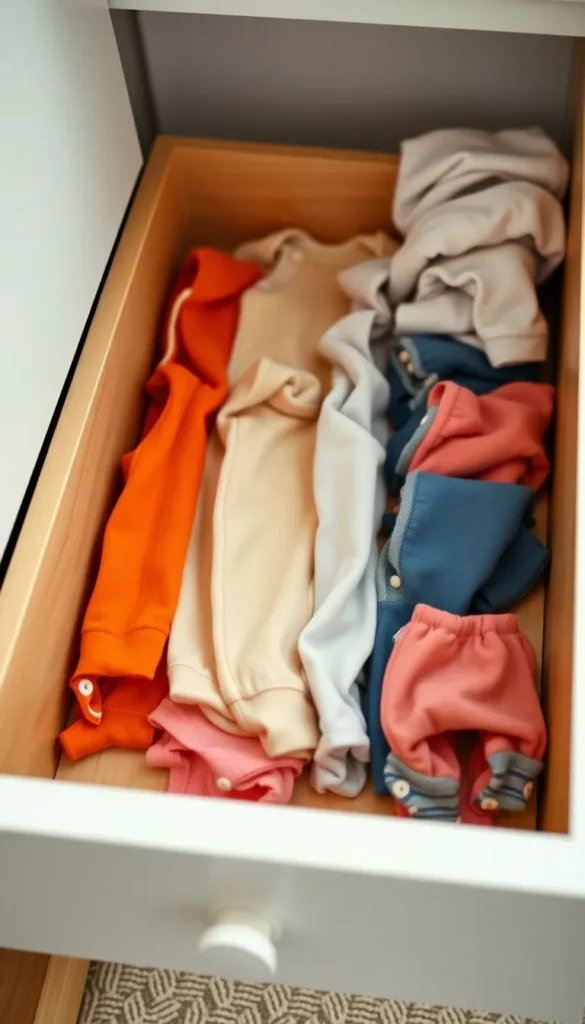
Store Off-Season and Outgrown Clothes Smart
Don’t let outgrown clothes linger in the dresser. Keep a dedicated bin or drawer in the closet labeled by size for clothes your baby has graduated from.
- Use clear bins so you can see inside without opening everything
- Add a dryer sheet to keep clothes smelling fresh
- Store by size range and season for easy hand-me-down sharing later
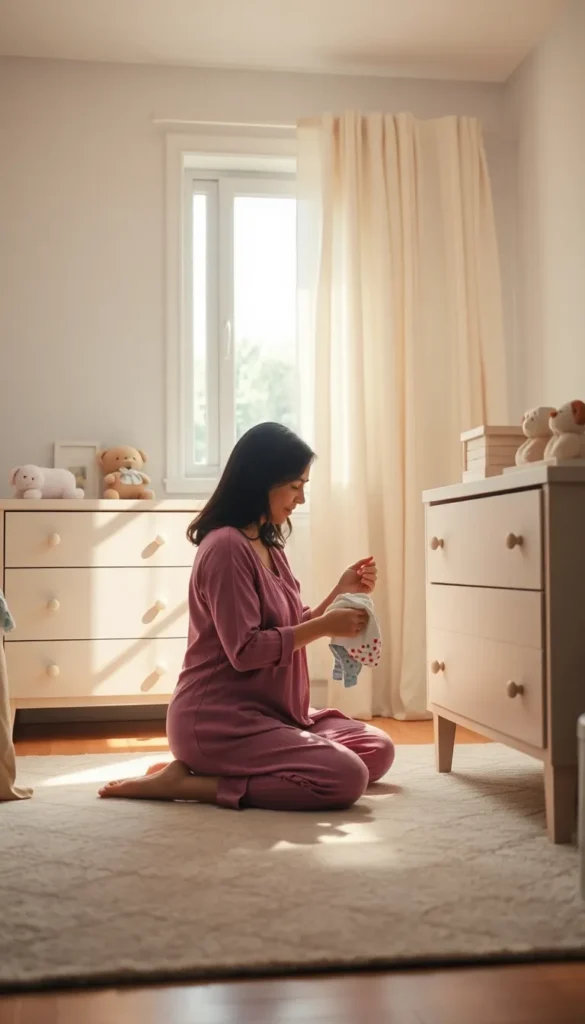
You’ve Got This, Mama (and Papa Too!)
Organizing baby clothes by size doesn’t have to be complicated — it just needs a system. Sort by size, file-fold into labeled drawers, rotate regularly, and store what doesn’t belong. That’s it.
Once it’s done, those early-morning outfit hunts become a thing of the past. Save this article for your next nursery refresh — and share it with any new parent who needs a little dresser drawer sanity!