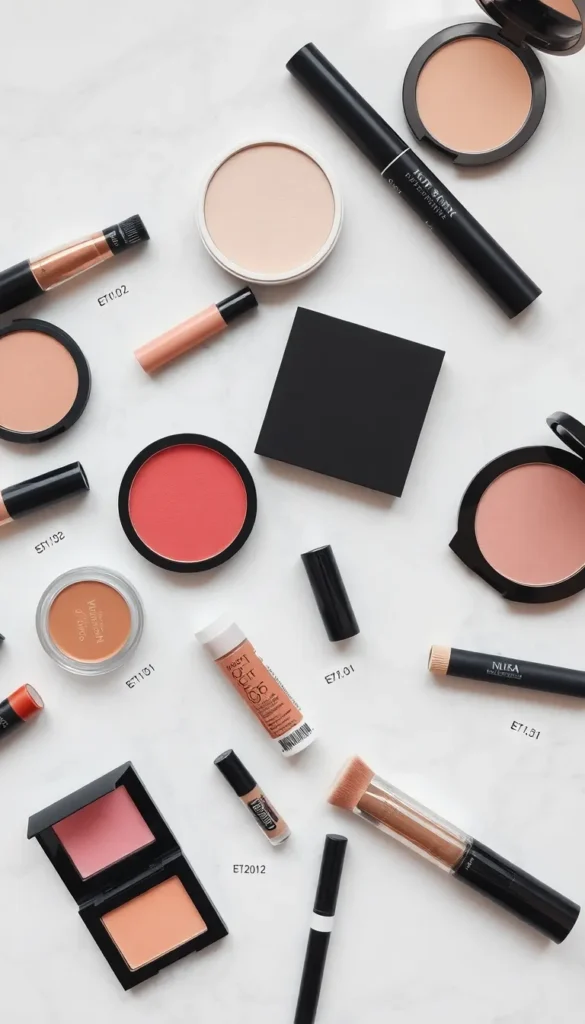
You open your makeup drawer and suddenly it’s an avalanche — half-used foundations, mystery lip liners, and that highlighter you bought in 2019. Sound familiar? A cluttered makeup collection doesn’t just stress you out, it could actually be harming your skin. Expired products lose their effectiveness and can harbor bacteria, leading to breakouts, irritation, or worse. The good news? A makeup declutter is one of the most satisfying cleanouts you’ll ever do — and it doesn’t have to take all day.
Step 1: Pull Everything Out at Once
Don’t try to declutter one drawer at a time. Grab a clean towel, lay it on your bed or bathroom counter, and dump everything out. Every lipstick, every brush, every single sample packet you’ve been hoarding since 2021.
Seeing it all in one place does something psychological — it makes the problem visible and your motivation instant. You’ll probably surprise yourself with how much you actually own.
Step 2: Know Your Expiration Dates (This Part Is Non-Negotiable)
Most people don’t realize that makeup expires. Look for the PAO symbol — a small open jar icon with a number followed by “M” (for months). That number tells you how long a product is safe to use after opening.
Here’s a quick reference guide:
- Mascara — 3 months (toss it, seriously)
- Liquid foundation — 6–12 months
- Concealer — 12 months
- Powder products (blush, bronzer, eyeshadow) — 2 years
- Lipstick & lip gloss — 1–2 years
- Eyeliner pencils — 2 years (if regularly sharpened)
- Skincare-makeup hybrids — 6–12 months
If you can’t remember when you opened something — that’s your answer. Toss it.
Step 3: Check for These Warning Signs
Even products within their shelf life can go bad early. Before you keep anything, do a quick check:
- Changed smell — A rancid, sour, or “off” scent means bacteria has moved in
- Color or texture shift — Foundation that’s separated, lipstick that’s sweating, or mascara that’s clumping before use
- Mold or film — Visible spots or a cloudy film on liquid products
- Skin reactions — If a product ever gave you a rash, stye, or breakout, it’s gone for good
Trust your instincts. If something looks off, it probably is.
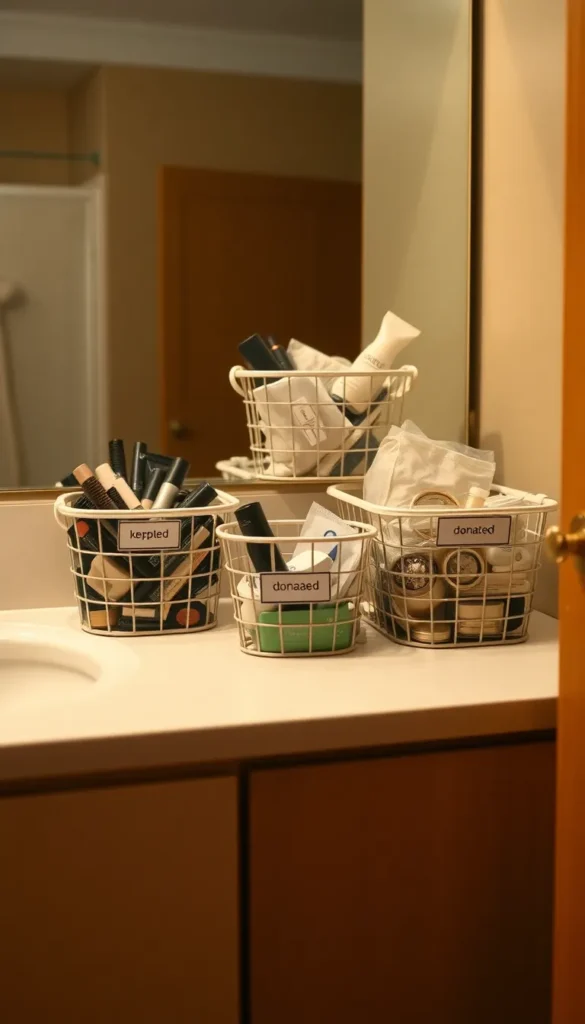
Step 4: Sort Into Three Piles — Keep, Toss, Donate
Once you’ve checked expiration dates and condition, sort everything into three clear groups:
Keep — Products that are within date, in good condition, and that you genuinely reach for.
Toss — Anything expired, smelly, contaminated, or broken. Products that touch your eyes (mascara, eyeliner, eyeshadow) should be thrown away and never donated.
Donate — Sealed, unopened, unexpired products that simply aren’t your shade or style. Local shelters, women’s organizations, or makeup swap groups are great options.
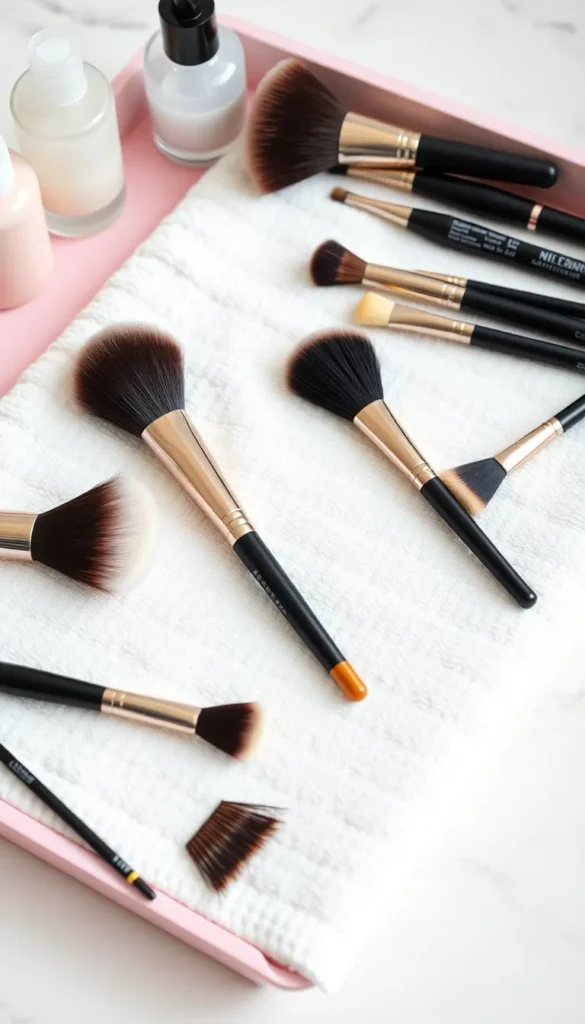
Step 5: Clean and Organize What You Keep
Before anything goes back in a drawer or organizer, give it a clean:
- Wipe down compacts and product exteriors with a 70% isopropyl alcohol wipe
- Sanitize lipstick tops by spraying lightly with alcohol and blotting
- Wash makeup brushes with a gentle cleanser and let them dry fully
- Clean out your drawer, bag, or organizer before restocking
Now think about how you organize. Group products by category — face, eyes, lips — and store your most-used items at the front. Clear acrylic organizers are a game-changer for visibility.
Step 6: Build a Routine So It Doesn’t Pile Up Again
The real trick to keeping your collection manageable? Doing a mini-declutter every 3–6 months. Set a calendar reminder, pair it with a seasonal skincare swap, and make it a ritual rather than a chore.
A simple rule going forward: one in, one out. Every time you buy something new, let go of something old.
A clean makeup collection isn’t just about aesthetics — it’s about protecting your skin and making your daily routine feel effortless. Save this guide for your next declutter day, share it with a friend who’s drowning in old eyeshadow palettes, and enjoy the calm of a collection that actually works for you. ✨