Let’s be honest — craft supplies have a sneaky way of multiplying. One day you have a few markers and some scrapbook paper, and the next you’re buried under six half-empty glue guns, mystery ribbon from 2015, and fabric you swore you’d “definitely use someday.” If your creative space feels more chaotic than inspiring, it’s time to declutter. Here’s how to cut through the clutter and keep only the supplies that actually spark creativity.
Start With a Full Supplies Audit
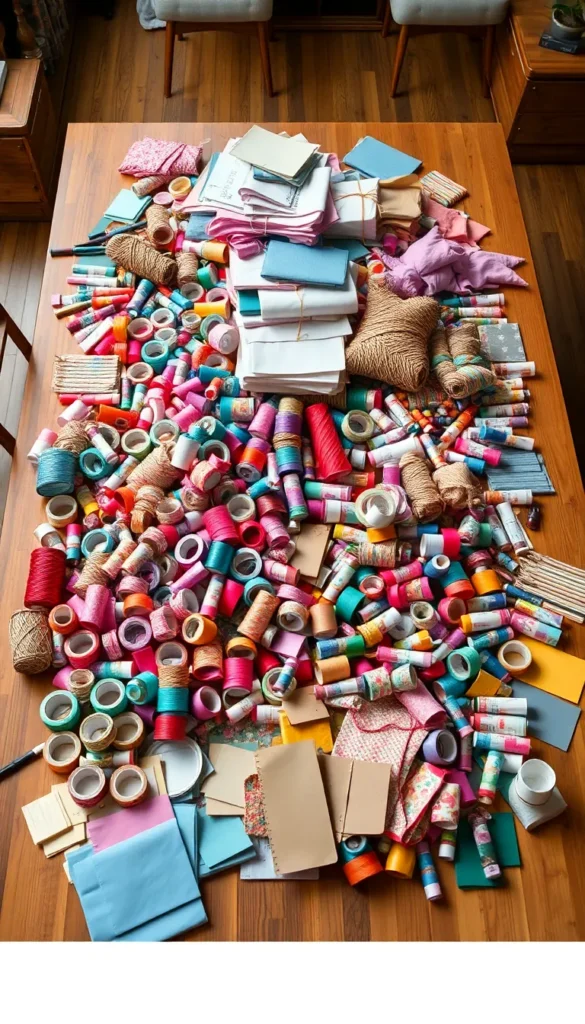
Before you can organize anything, you need to see everything. Pull every single craft supply out of its drawer, bin, or mystery bag and pile it all in one place. Yes, all of it.
This step feels overwhelming at first — but it’s essential. You can’t make good decisions about what to keep when things are scattered across three rooms and a garage shelf.
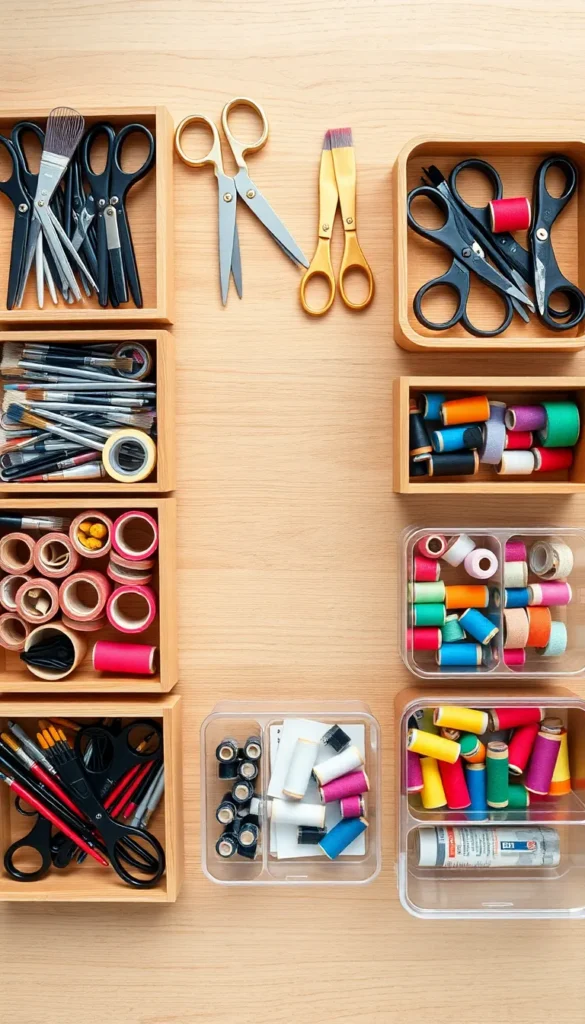
- Check for duplicates (do you really need seven pairs of scissors?)
- Toss anything dried out, broken, or missing pieces
- Set aside items you genuinely forgot you owned
Once everything is visible, you’ll have a much clearer picture of what you actually have versus what you thought you had.
Use the “Last 6 Months” Rule
Here’s the most practical filter for crafters: if you haven’t used it in the last six months, you probably won’t. This one question can cut your supply stash in half.
Be honest with yourself as you go through each item:
- Did you use this in a recent project?
- Do you have a specific, upcoming project in mind for it?
- Or are you keeping it out of guilt, nostalgia, or vague “maybe one day” thinking?
Supplies kept out of guilt take up physical space and mental energy. Let them go. Donate usable materials to schools, community centers, or local art programs — knowing they’ll actually be used makes it easier to release them.
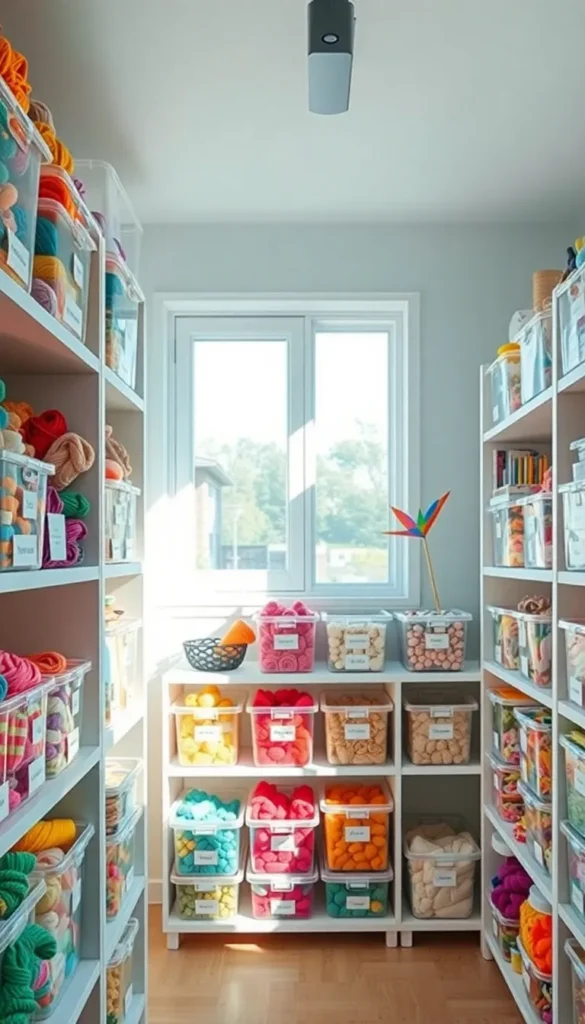
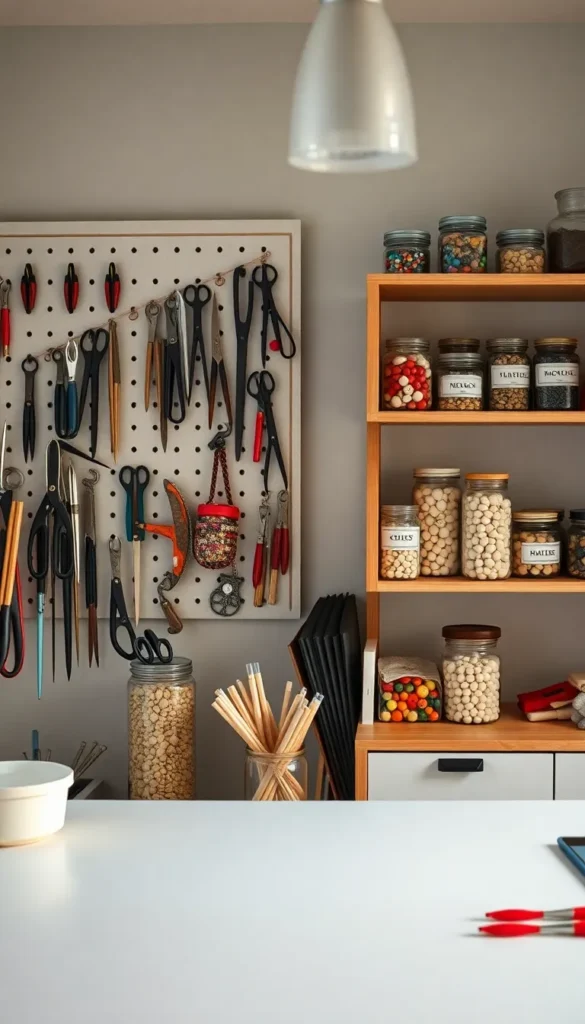
Sort Into Categories, Not Just Containers
A common decluttering mistake is reaching for bins and labels before you’ve actually sorted. Category-first organizing prevents re-cluttering down the road.
Group your supplies by type:
- Paper crafts — cardstock, scrapbook paper, stickers, stamps
- Fabric & sewing — thread, needles, fabric, interfacing
- Paint & drawing — brushes, paints, sketchbooks, pencils
- Adhesives & tools — glue guns, tape, cutting mats, scissors
- Seasonal or specialty — holiday-specific supplies, niche tools
Once grouped, you can clearly see if you have three of the same thing or a whole category that no longer reflects how you actually craft.
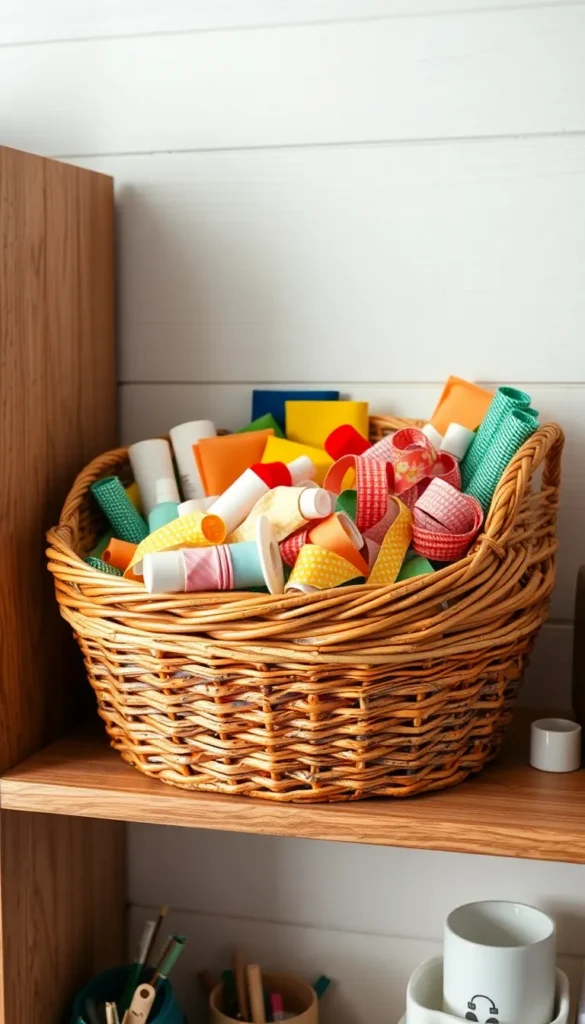
Designate a “Use It First” Basket
Not everything needs to be donated or tossed. Some supplies are worth finishing before buying more. Create a visible “use it first” basket for:
- Partially used paint bottles
- Fabric remnants big enough for small projects
- Ribbon, twine, or trim that’s nearly finished
Keep this basket front and center in your craft space. Before starting any new project, check the basket first. It reduces waste, saves money, and slowly clears out the overflow without pressure.
Set a “One In, One Out” Rule Going Forward
Decluttering once isn’t enough if you don’t change the habit that created the clutter. The one-in, one-out rule is simple: before buying any new craft supply, something old has to leave your space.
This doesn’t mean you can never buy new materials — it just creates a natural check on accumulation. It also makes you more intentional about purchases, which means you’ll buy things you actually use instead of things that just look fun at the craft store.
A Creative Space You’ll Actually Want to Use
An organized craft space isn’t just prettier — it’s more productive. When you can see what you have and reach what you need, creativity flows more freely. The best part? Maintaining it takes only minutes once the initial work is done.
Save this guide and tackle one category this weekend. You don’t have to do it all at once — even clearing out one drawer is a win worth celebrating. Your future crafty self will thank you.