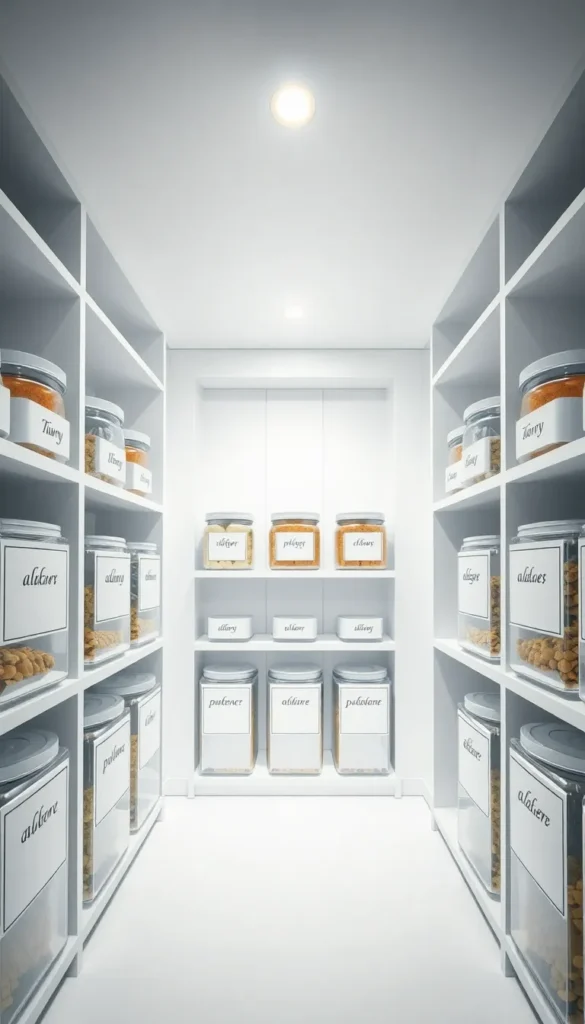
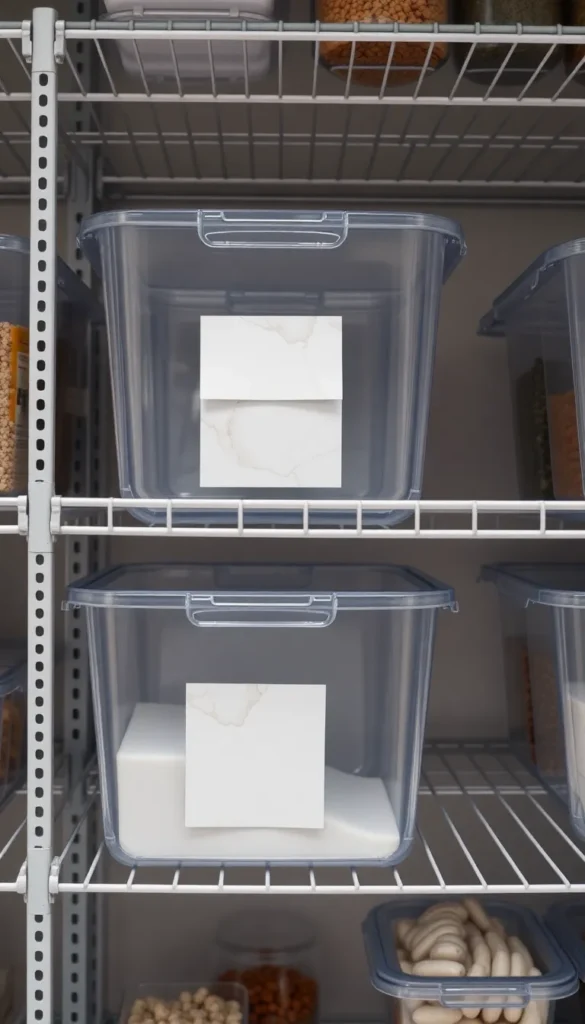
Your pantry has the potential to look like something straight out of a home organization magazine — and you don’t need a big budget to get there. DIY pantry labels are one of the easiest ways to bring calm and order to your kitchen storage. Whether your shelves are packed with mason jars, baskets, or mismatched containers, the right labels tie everything together. From chalkboard tags to stamped kraft paper, there are styles for every taste and skill level. This guide walks you through 26 creative label ideas you can actually make at home, with simple tools and minimal spending.
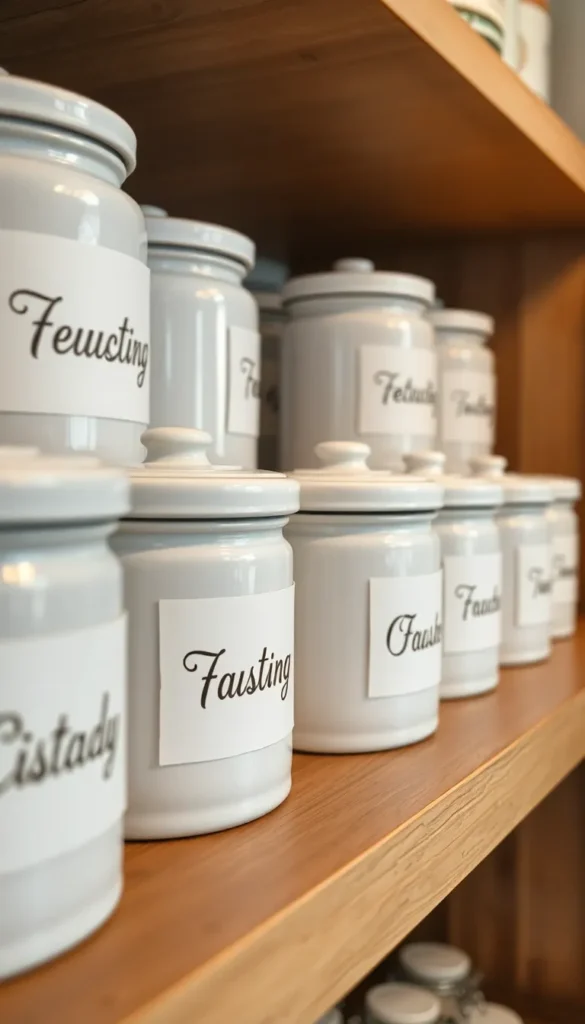
1. Classic Black Chalkboard Labels
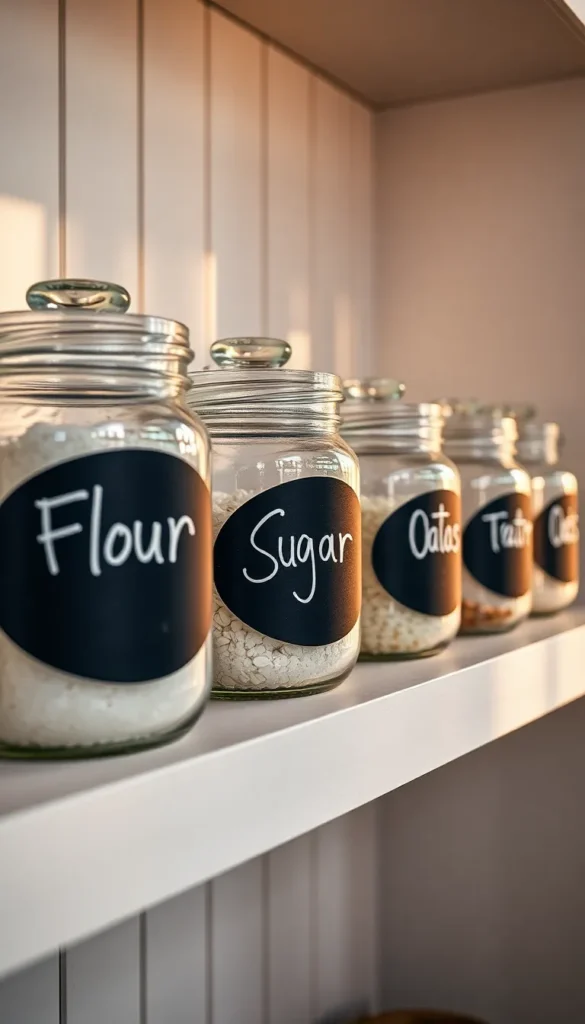
Chalkboard labels are a timeless choice. They look clean, work on almost any container, and are completely reusable. You can write on them with chalk pens, wipe clean, and relabel anytime. Buy a sheet of chalkboard vinyl from a craft store and cut your own shapes — ovals, rectangles, or tags. Stick them on jars or canisters. A chalk pen gives you sharp, clear lettering. This option costs very little and takes under an hour to set up for an entire pantry. Great for renters since they’re removable too.
2. Kraft Paper Tag Labels
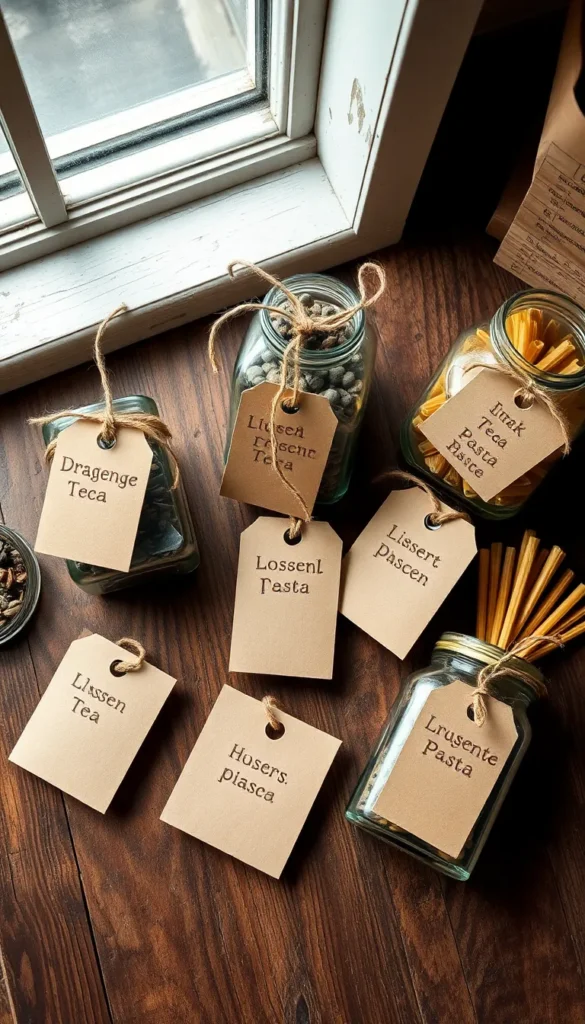
Kraft paper tags give your pantry a warm, rustic feel. You can buy pre-cut tags from any craft or dollar store. Punch a hole at the top, thread through some jute twine, and tie them around jar necks or basket handles. Write the contents with a fine-tip black marker or a calligraphy pen. These tags cost almost nothing. A pack of 100 tags runs about two dollars. They work especially well in farmhouse or natural-style kitchens. They’re not waterproof, so keep them away from moisture.
3. Washi Tape Label Strips
Washi tape is one of the most budget-friendly label solutions out there. A roll costs under two dollars, and you get plenty of length to label an entire shelf. Tear off a short strip, press it onto your container, and write the name directly on the tape. Choose solid colors for a clean look, or patterned tape for a playful touch. It peels off easily without residue, making it great for temporary labeling. Works well on bins, bags, lids, and even freezer containers.
4. Printable Farmhouse Labels
If you have a home printer, free printable labels are a game changer. Search Pinterest or Etsy for free farmhouse-style pantry label templates. Print on cardstock or sticker paper for a more finished look. Cut them out, laminate if you want durability, and stick them on. Many sets include dozens of labels in matching fonts and styles. Cardstock labels can also be glued onto containers with a glue stick for a permanent option. This approach gives your pantry a coordinated, polished look with almost zero effort.
5. Embossed Label Maker Tape
A handheld label maker is a practical investment for any organized kitchen. You can pick one up for around ten to fifteen dollars at office supply stores. The embossed plastic tape is durable, moisture-resistant, and sticks firmly to smooth surfaces. It works great on spice jars, canisters, bins, and shelf edges. The all-caps embossed style gives a bold, graphic look that reads well at a glance. It’s not the most decorative option, but for function-first pantries, nothing beats it for speed and clarity.
6. Hand-Stamped Linen Labels
Alphabet rubber stamps and an ink pad let you create custom fabric labels at home. Cut small rectangles of linen or burlap, stamp your text, and attach with twine or iron-on adhesive. This look works beautifully in rustic or cottage-style kitchens. Stamps cost a few dollars at craft stores, and one set works for every label you’ll ever make. The texture of the fabric gives it a handmade quality that feels warm and personal. Iron a hem on the edges to prevent fraying if you want cleaner-looking labels.
7. Painted Glass Jar Labels
You don’t need separate labels at all. Paint a small patch of chalkboard paint directly onto your jars. Use painter’s tape to create a clean rectangle, apply two coats of chalkboard spray paint, and let dry. Once cured, write on the painted surface with chalk or chalk pens. This gives the label a seamless, built-in look. It’s permanent on the jar but rewritable on the surface. A single can of chalkboard spray paint covers dozens of jars and costs about five dollars.
8. Watercolor Wash Label Cards
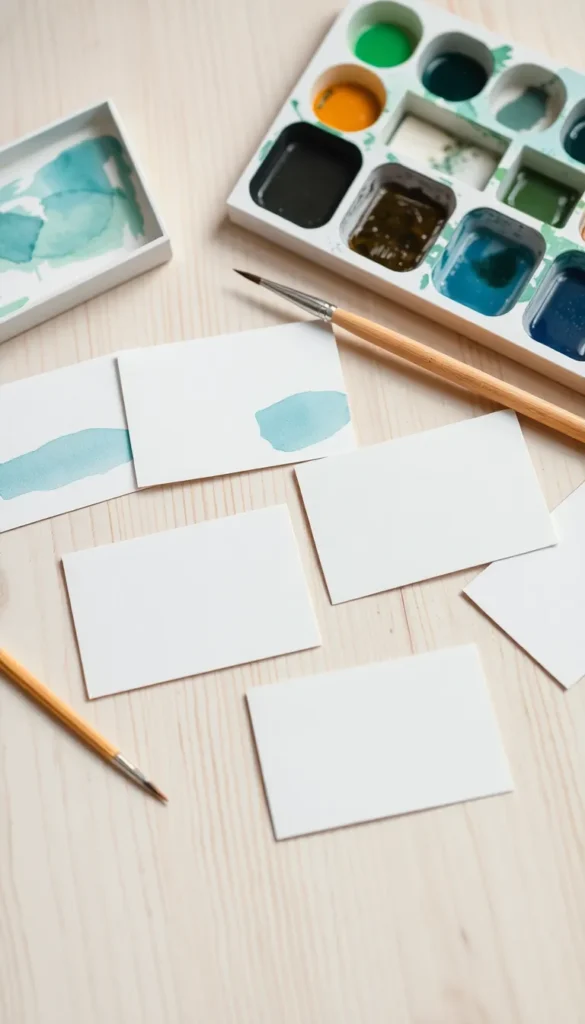
For a soft, artistic look, try watercolor-washed labels. Cut cardstock into your preferred label shape. Paint a light wash of watercolor across the surface — blush pink, soft sage, or pale blue all work beautifully. Let dry completely, then write the pantry item in black ink. Punch a hole and add twine, or glue directly onto containers. This style takes a little extra time but looks stunning in bright, airy kitchens. You don’t need to be an artist — simple washes of color are all it takes.
9. Chic Black-and-White Minimalist Labels
If your kitchen leans modern, clean black-and-white labels are the way to go. Use a design tool like Canva — it’s free — to create simple rectangular labels with a minimal sans-serif font. Print on white sticker paper and cut with scissors or a paper trimmer. Press onto your containers. The result is a sharp, editorial look. Everything matches, everything reads clearly. This style works especially well on matching containers since uniformity is the whole point. Great for open shelving where every detail is on display.
10. Vintage Apothecary-Style Labels
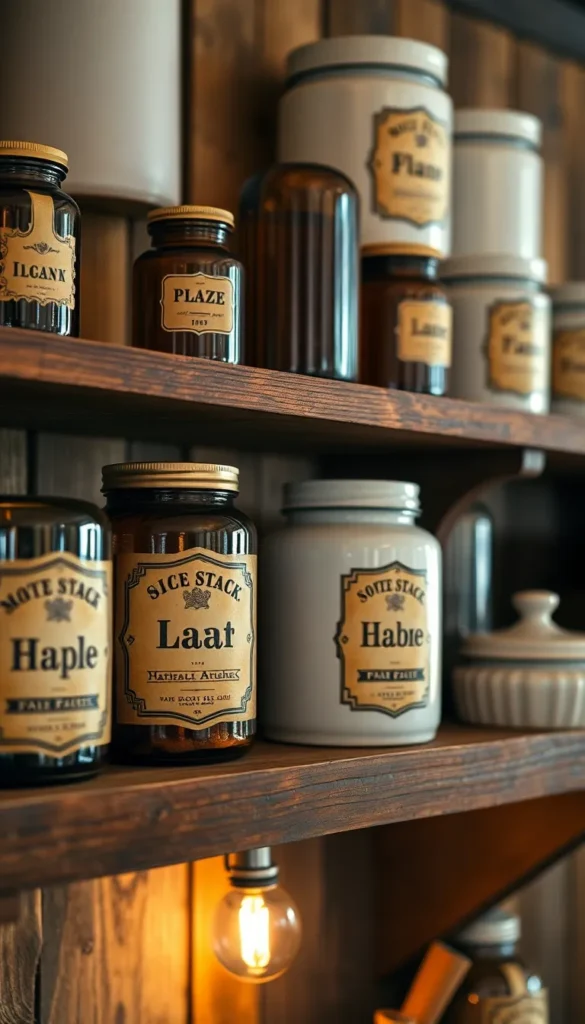
Vintage apothecary labels bring serious character to your pantry. You can download free vintage label templates on sites like Canva or Creative Market. These usually feature ornate borders, aged textures, and serif fonts that mimic old pharmacy or general store labels. Print on cream cardstock for an authentic feel. Lightly sand or tea-stain the edges for even more depth. These look especially stunning on dark glass or ceramic containers. The style works in eclectic, vintage, or European-inspired kitchens.
11. Dry Erase Marker on Frosted Tape
Frosted white tape — sometimes called matte tape or dry erase tape — lets you write with dry erase markers and wipe clean whenever you need to. This makes it one of the most flexible label systems for changing pantry contents. You can find dry erase tape in teacher supply stores or on Amazon for a few dollars. Write clearly, wipe with a dry cloth, rewrite. It sticks well to plastic bins and smooth surfaces. Perfect for households where pantry contents change regularly or for labeling bins in a shared kitchen.
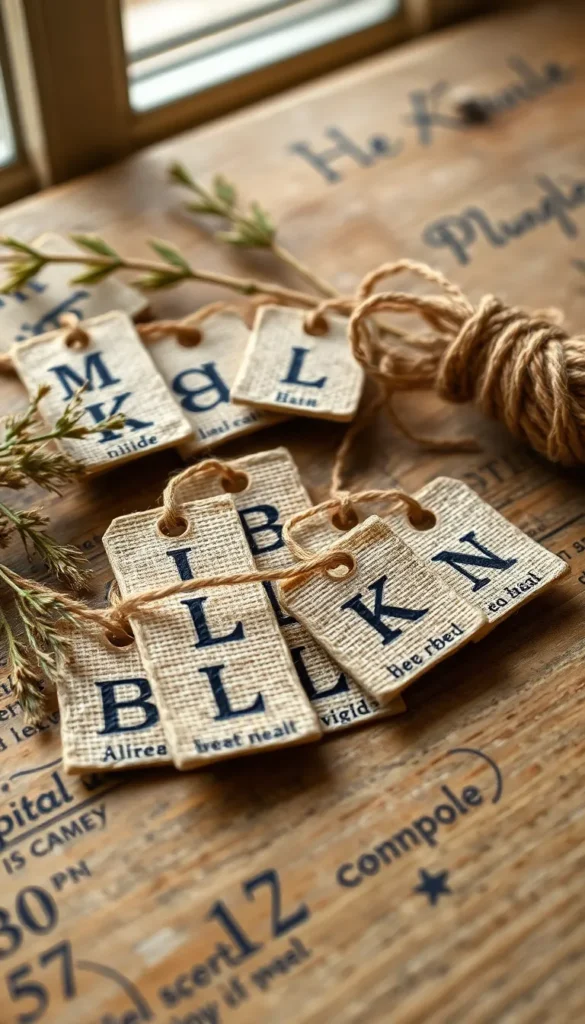
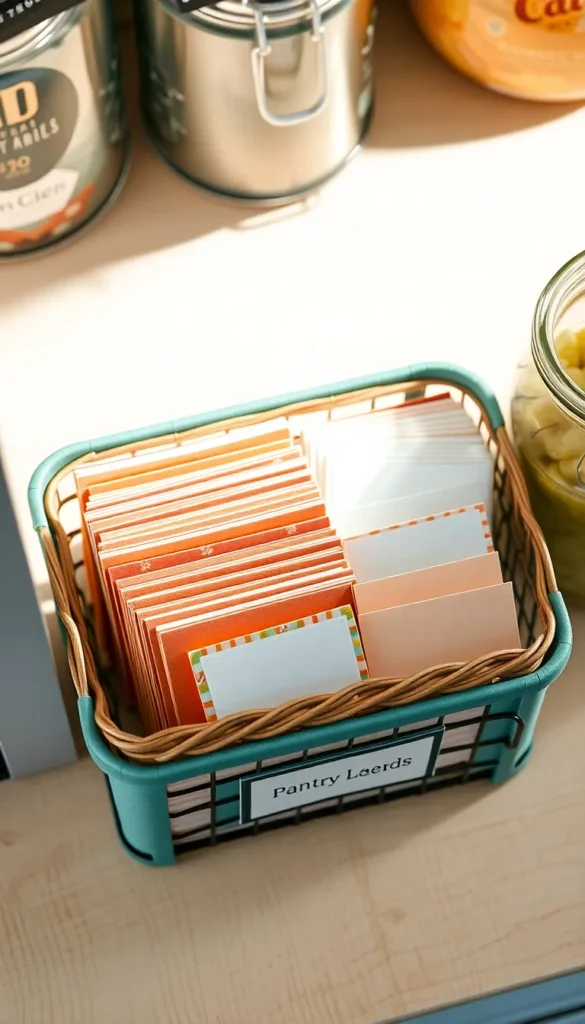
12. Twine-Tied Cardstock Tags
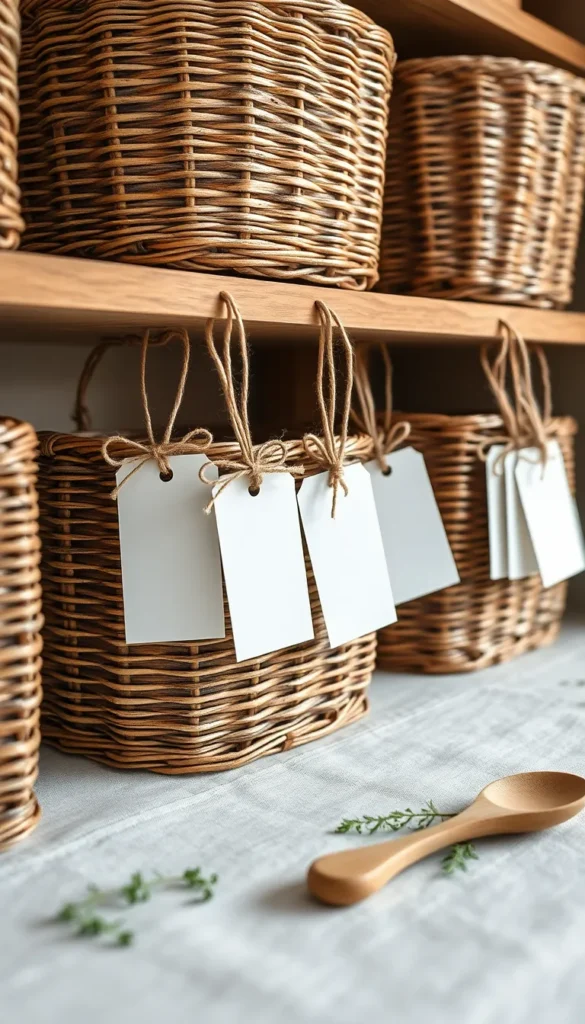
Simple cardstock tags tied with twine look effortlessly styled. Cut white or kraft cardstock into rectangles or tag shapes with rounded corners. Punch a hole at the top with a hole punch. Loop twine through and tie it to basket handles, jar necks, or shelf pegs. Write content names with a black brush marker or a ballpoint pen. This system is easy to swap out when you reorganize. It also works well for labeling shelf sections rather than individual containers. A clean, inexpensive option that suits many kitchen styles.
13. Metallic Marker Labels on Dark Jars
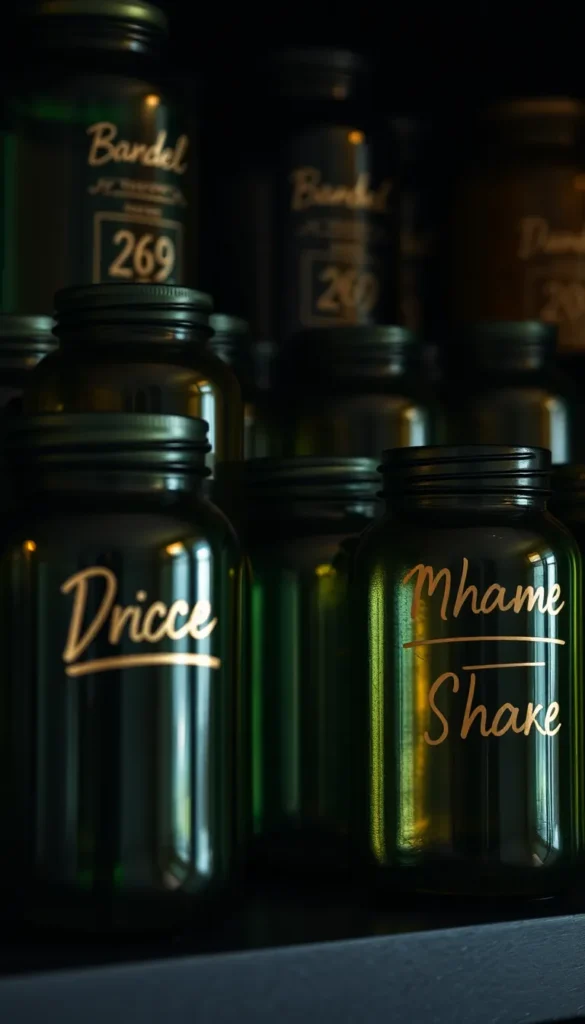
If you use dark-colored glass jars, metallic paint markers are a striking choice. Gold, silver, and copper pens write directly on glass, giving a glamorous, editorial look. No labels required. The pen marks are permanent unless removed with nail polish remover. This method works best for items that don’t change often — things like pasta, rice, or coffee. The writing is bold and visible even in dim pantry lighting. Metallic markers cost around three to four dollars each and last through many uses.
14. Color-Coded Category Labels
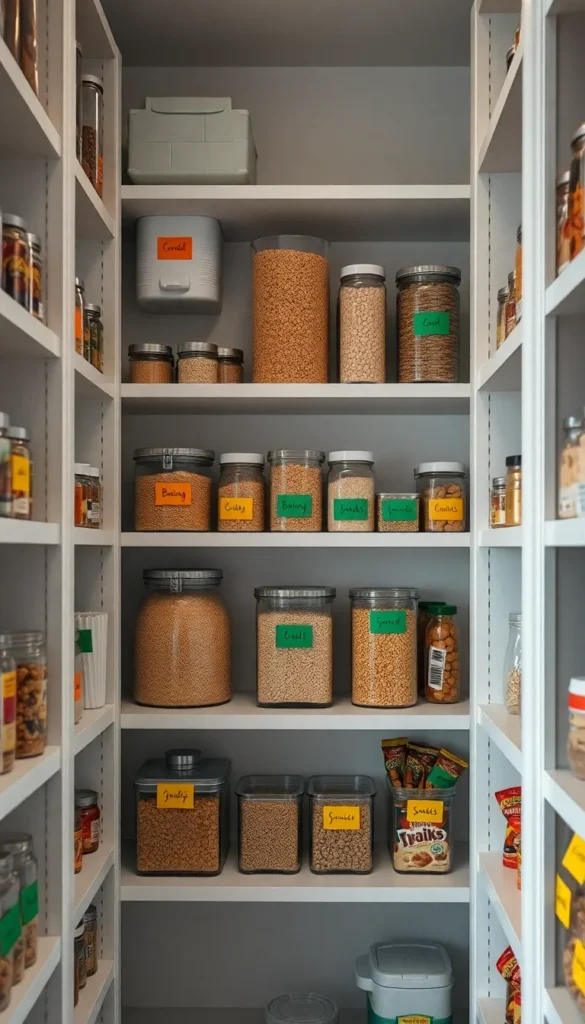
Color-coding your labels makes pantry navigation faster and more intuitive. Assign one color to each category — say, blue for grains, red for baking, green for snacks. Cut labels from colored cardstock or use colored washi tape. Write the item name on top in black marker. When you reach into the pantry, you scan by color first, then read the name. This system is especially helpful in households with multiple people or young children. It’s also an easy upgrade to an existing label setup without replacing everything.
15. Laser-Cut Wooden Tags

Laser-cut wooden tags look high-end but are accessible through services like Etsy or local maker spaces. You can order a custom set for around fifteen to twenty dollars that covers a full pantry. They’re made from thin birch or basswood and often feature engraved lettering that won’t fade or smudge. Hang them from jars or baskets with leather cord or jute. These labels feel substantial and lasting. They suit rustic, Scandinavian, or natural kitchen aesthetics particularly well and are a worthy one-time purchase.
16. Herb Garden Illustrated Labels
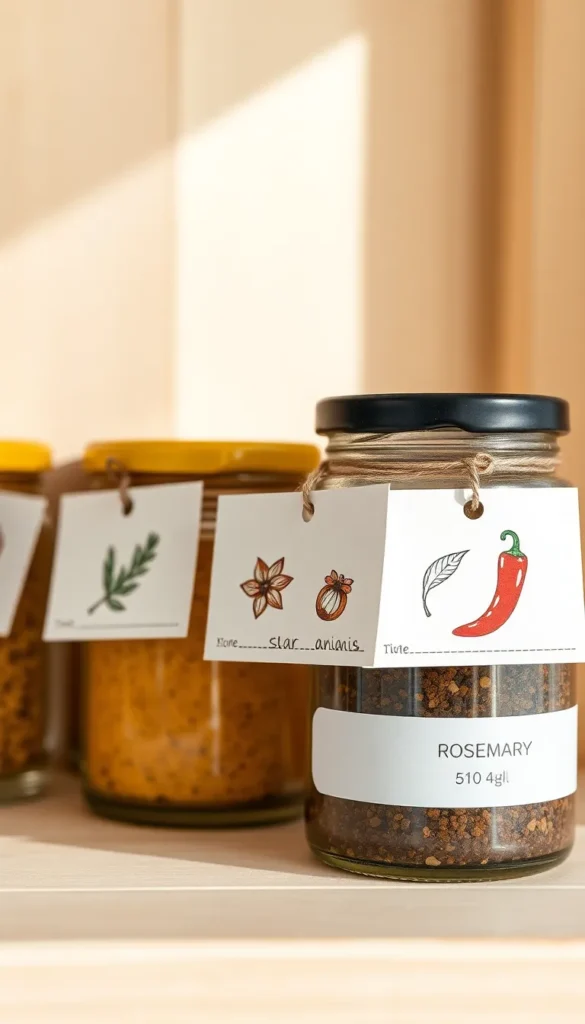
Adding a small hand-drawn illustration to your label makes it feel genuinely one-of-a-kind. Sketch a tiny rosemary sprig on your herb label, or a simple flour sack on your baking label. You don’t need artistic talent — simple line drawings done with a fine black pen look charming. Combine with a text label below the illustration. This works particularly well for spice jars. A set of illustrated spice labels can become a real focal point of a pantry that guests notice and admire. It’s free if you already own a pen and cardstock.
17. Peel-and-Stick Vinyl Labels
Vinyl sticker paper paired with a home printer gives you professional-looking results. Buy a pack of printable sticker paper from an office supply store. Design your labels in Canva using whatever font and shape you prefer. Print, cut, and peel — they stick firmly to glass, plastic, and metal. Vinyl labels are water-resistant and won’t curl or peel in humid conditions like regular paper labels do. They give your pantry a store-bought quality. A single sheet of sticker paper holds around a dozen labels depending on size.
18. Chalkboard Paint on Canister Lids
Paint only the lids of your canisters with chalkboard paint for a clever twist on the standard label. The lid becomes the label surface. Use chalk pens for sharp, clean writing. Because the lid is the part that faces up when stacked or sits at eye level on a shelf, it’s an intuitive place for the label. This works great for matching sets of canisters. You get a cohesive look without covering up the bodies of the containers. It also makes reorganizing simple — just wipe the lid and rewrite.
19. Lace Trim Paper Labels
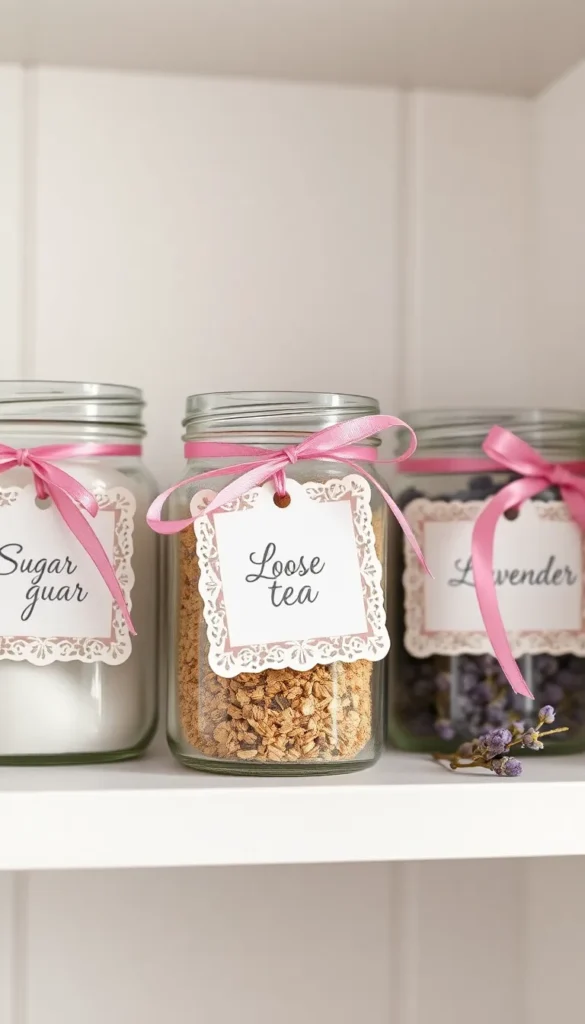
For a delicate, romantic look, add lace-trim paper labels. You can buy lace-edged cardstock tags from craft stores, or print your own with a lace border design from Canva. Use a soft pastel ribbon instead of twine to hang them from jar necks. Write contents in a flowing script font if printing, or use a fine-tip marker. This style is beautiful in white, pale pink, or cream kitchens. It’s a bit dressier than the average pantry label and makes your storage feel intentional and styled rather than purely functional.
20. Laminated Magnetic Labels
Laminated magnetic labels are perfect for metal pantry shelving or fridge doors. Print your labels, laminate the sheet with a self-laminating pouch, cut them out, and add a small adhesive magnet strip to the back. Now your labels are repositionable, water-resistant, and durable. You can rearrange them anytime without removing or replacing anything. This system is especially useful in a dedicated pantry cabinet with metal wire shelving. It’s a small investment that pays off in long-term flexibility.
21. Jute Rope Barrel Labels
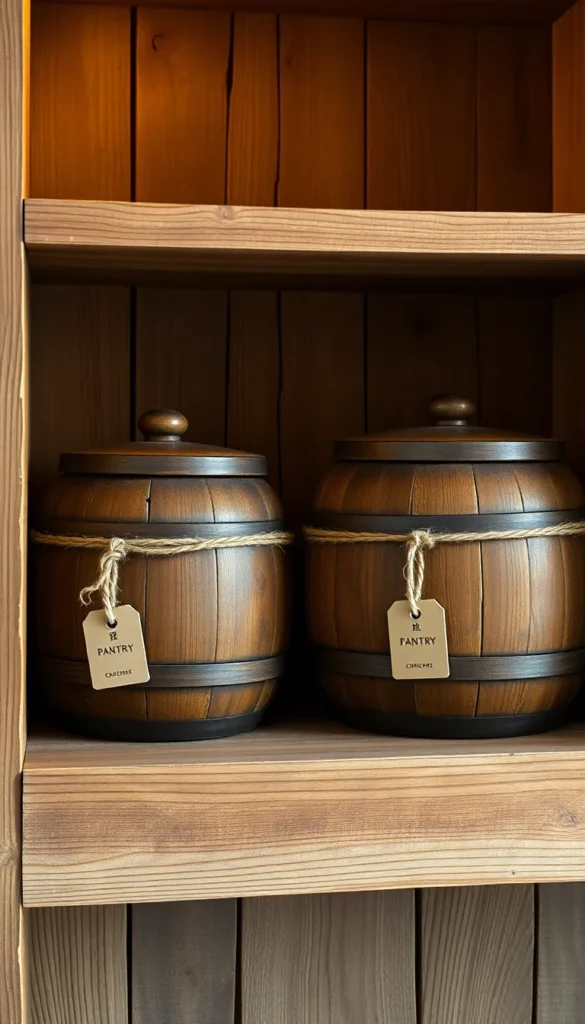
Wrapping a strip of jute rope around a container and tucking a small tag underneath creates a naturally decorative label system. No adhesive required. The rope holds the tag in place and adds visual texture at the same time. This works beautifully on round wooden containers, bamboo canisters, or large glass jars. It’s a zero-waste option too — just untuck the tag to change it. Jute rope costs almost nothing from a dollar store. The look is rustic, organic, and polished at the same time.
22. Typewriter Font Printed Labels
The typewriter font aesthetic is clean but has character and warmth. Download a free typewriter font online and design your labels in Word or Canva. Print on cream or slightly textured cardstock. You can lightly dab the edges with a damp tea bag for an aged effect. Cut cleanly and stick or tie them on. This style works in kitchens that lean vintage, eclectic, or literary — anywhere personality matters more than matching perfection. The monospace font is also highly legible at small sizes, which is a practical bonus.
23. Reusable Silicone Label Pouches
Reusable silicone label holders are a smart investment for frequently rotated pantry contents. These small silicone sleeves or pouches clip onto jars or containers. You slip a small paper insert inside with the item name. When contents change, swap the insert. No adhesive, no residue, no waste. A pack of a dozen costs about ten to twelve dollars online. They hold any size of insert you write or print. This system is especially popular in zero-waste households or for parents who rotate snack bins frequently and want a clean, mess-free solution.
24. Dried Flower Decorated Tags
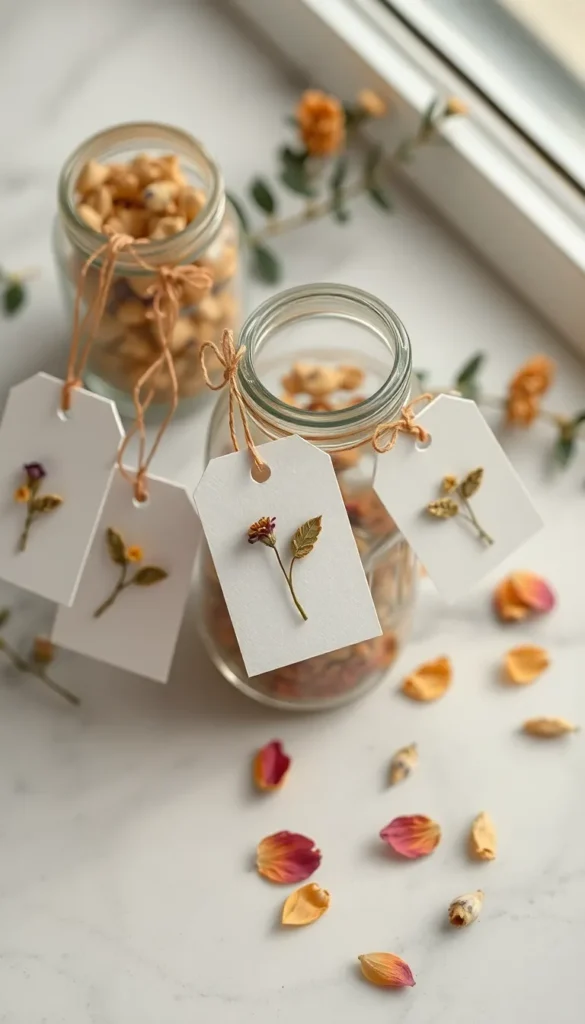
Press a small dried flower or herb sprig onto your label for a botanical, handcrafted look. Use thin washi tape to hold the dried element in place on a cardstock tag. This is a beautiful option for herb and spice jars — a dried rosemary sprig on the rosemary jar, a dried lavender flower on the lavender label. It’s a small detail that makes your pantry feel curated and personal. The pressed flowers can come from your garden, a bunch of grocery store herbs, or a wildflower mix. Free and beautiful.
25. Patterned Contact Paper Label Panels
Use decorative contact paper as a label backing for a layered, polished look. Cut a small rectangle of marble, wood grain, or geometric patterned contact paper and stick it to the front of a bin or container. Place a smaller white sticker label on top with the item name. This creates a framed label effect that looks custom and intentional. Contact paper comes in dozens of patterns and costs a few dollars per roll. It’s easy to cut with scissors and sticks firmly to most smooth surfaces without bubbling.
26. Seasonal Rotating Labels
Rotating your labels with the seasons keeps your pantry feeling fresh and organized year-round. Create four small sets of labels — one for each season — using different colored cardstock or ink colors. Store the off-season sets in a small labeled envelope on your pantry shelf. Swap them out as seasons change. This is especially fun if your pantry contents shift seasonally — more baking supplies in fall and winter, more snacks and drinks in summer. It’s also a low-effort way to give your kitchen a visual refresh without buying anything new.
Conclusion
DIY pantry labels are one of the most satisfying and affordable kitchen projects you can tackle. Whether you spend twenty minutes with a chalk pen or an afternoon crafting botanical tags, the result is the same: a calmer, more organized pantry that actually works for your daily life. Start with what you already have — a marker, some cardstock, or a roll of washi tape — and build from there. You don’t need to redo everything at once. Pick one shelf, try one style, and see how it feels. Once you see how much easier it is to find what you need, the rest of the pantry will follow naturally.