Your closet is full — but your wardrobe storage potential probably isn’t. Most standard closets use only a fraction of the vertical and horizontal space available. The rod is usually set at one height, leaving a giant gap below short hanging items and wasted air above long ones. A few targeted changes can double or even triple what your closet holds. These practical rod hacks work in small apartments, reach-in closets, and large walk-ins alike. No major renovation required. Most cost under $30 and take less than an hour to set up.
1. Add a Second Rod Below Your First One
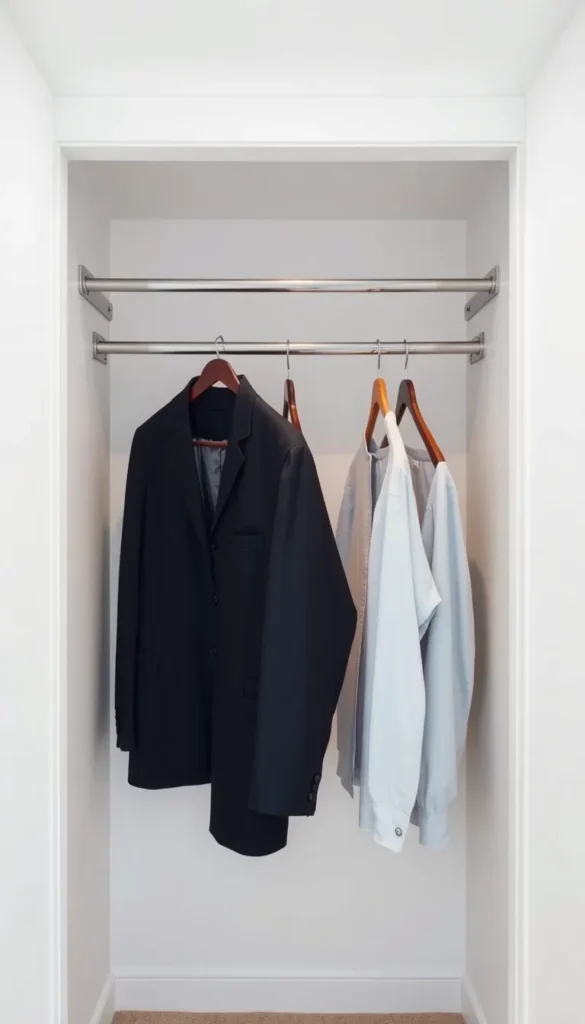
Doubling up is the single biggest win in closet storage.
Short items like shirts, blazers, and folded pants only need half the vertical rod space. Install a second rod below the first one and you instantly create two rows of hanging space where there was only one. Use a hanging rod extender that clips onto your existing rod — no drilling needed. It drops down and gives you a second bar for about $15–$25. Perfect for shirts, jackets, and kids’ clothes.
2. Use a Tension Rod for Shoes and Accessories
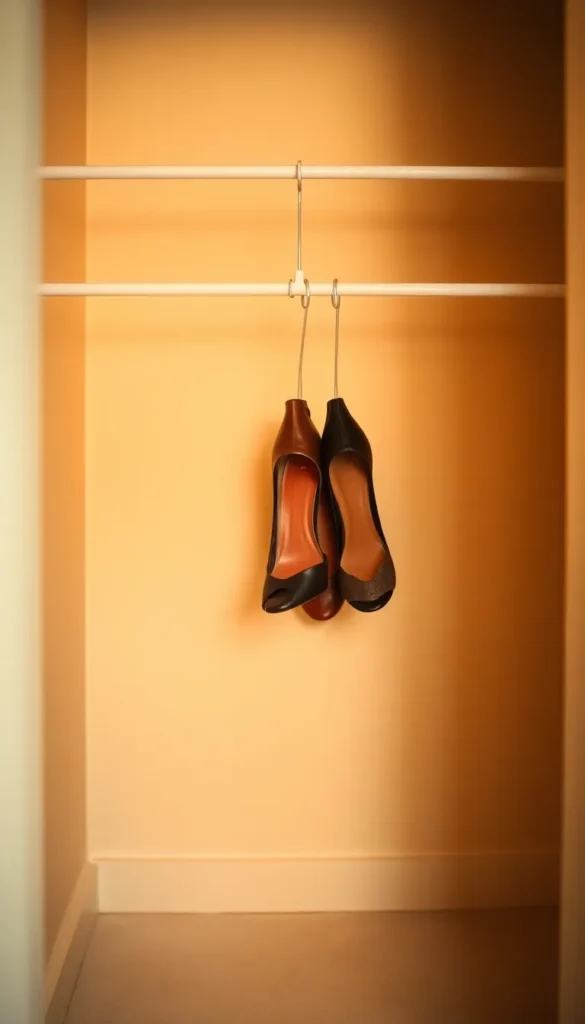
Tension rods aren’t just for curtains.
A basic spring-loaded tension rod costs around $5 at any hardware store. Place it low on your closet wall to hang heeled shoes by their heels — it keeps them visible and off the floor. You can also use one at the back of a shelf to stop items from sliding off. No tools, no damage to walls. It holds more than you’d expect and is completely adjustable.
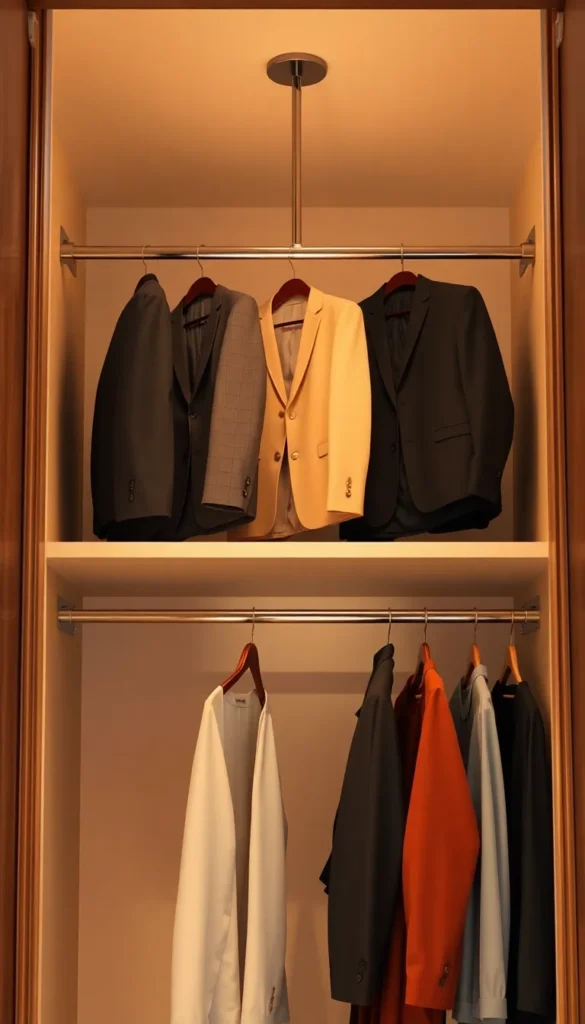
3. Install a Double Rod Kit for Short Clothing Sections
Section your closet by clothing length.
A double rod kit lets you divide your closet into zones. One section holds long items like dresses and coats. Another section gets double rods for short clothes. You can buy a full kit at IKEA or Target for $40–$80, or DIY it with two curtain rods and brackets. Plan your sections based on what you own most of. More shirts than dresses? Give more space to the double-hang section.
4. Hang a Cascading Rod Extender for Pants
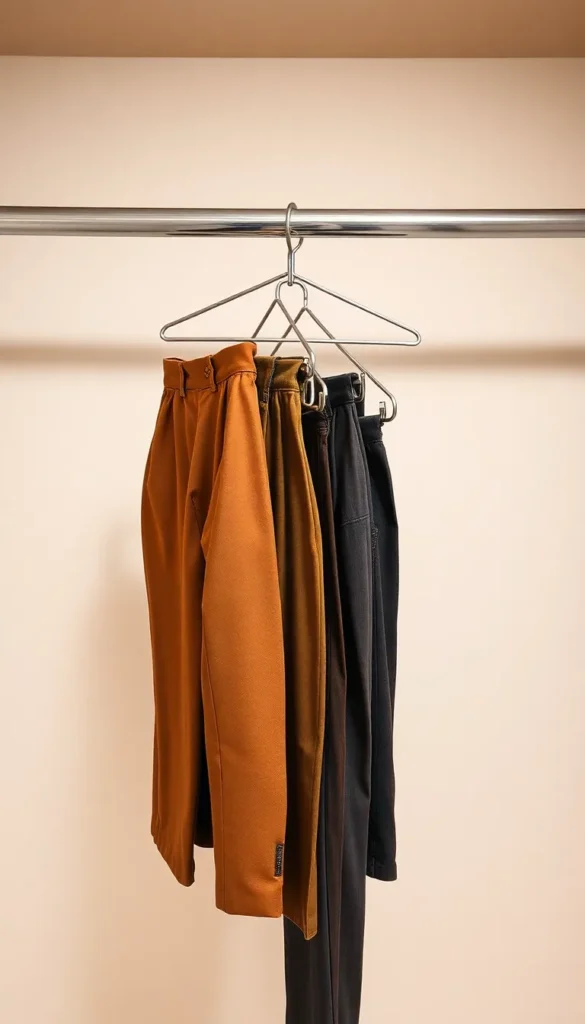
Pants take up way more space than they should.
A cascading rod extender hooks onto your existing rod and drops down in tiered sections. Each tier holds one pair of pants. Instead of using five hangers spread across two feet of rod, you stack five pairs in the footprint of one hanger. These cost $10–$20 and require zero installation. They work equally well for scarves and belts.
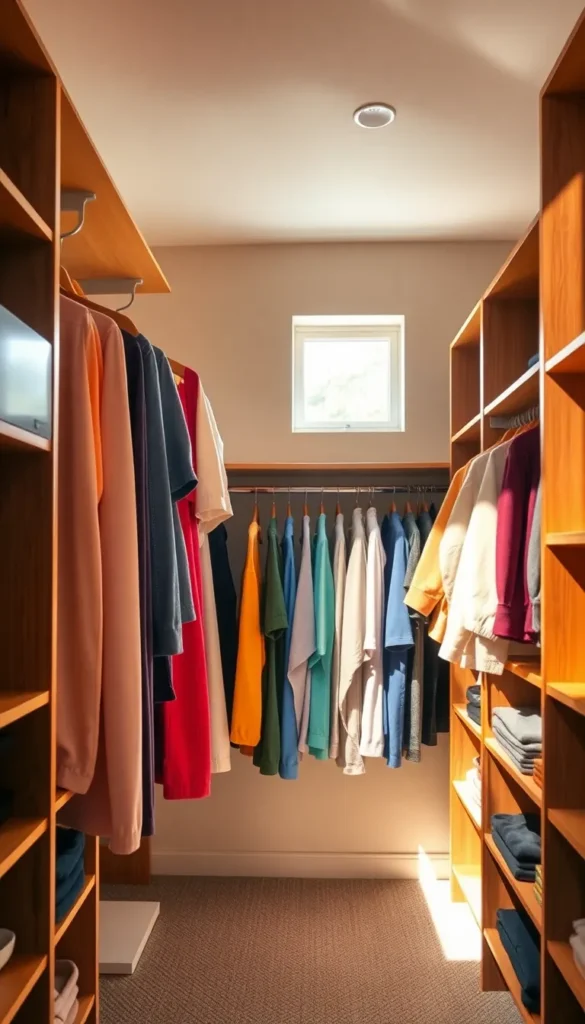
5. Mount a High Rod for Long-Term or Seasonal Storage
Use your ceiling height — it’s free real estate.
Most closets have unused space between the top rod and the ceiling. Mount a second rod up high — even 6–8 inches higher than your current one — and use it for garment bags, off-season coats, or formal wear you rarely touch. A drill, two brackets, and a wooden dowel is all it takes. Total cost: under $15. It keeps special items protected without taking up prime real estate on your daily rod.
6. Use an Over-the-Door Rod for Extra Hanging
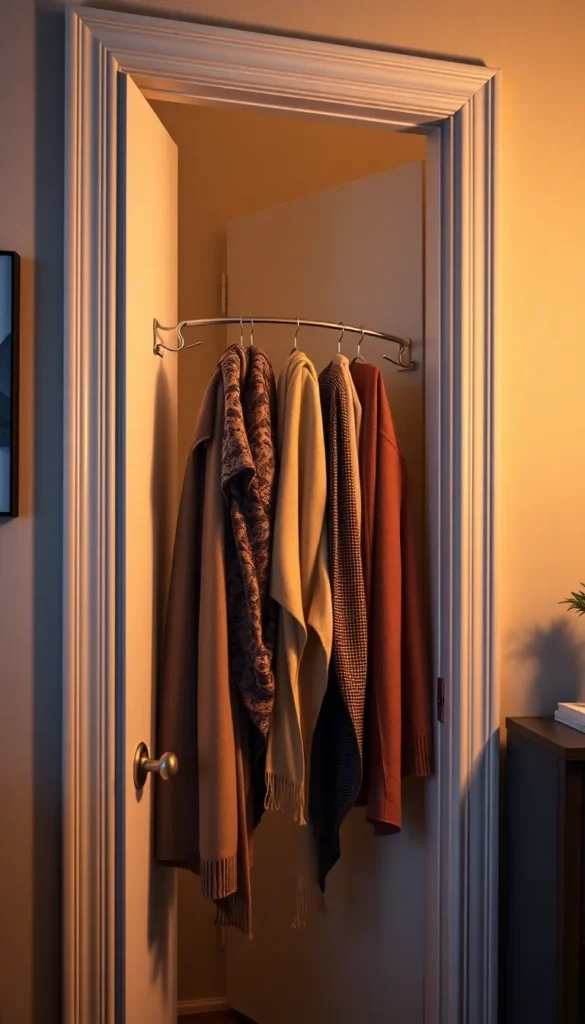
The back of your closet door is wasted space.
An over-the-door hanging rod hooks right over the top of the door panel — no screws, no damage. It can hold lightweight items like scarves, robes, handbags, or tomorrow’s outfit. Most options cost $15–$25 and hold 20–30 lbs. It’s a smart spot for “almost clean” clothes that aren’t ready for the hamper but shouldn’t go back on the main rod.
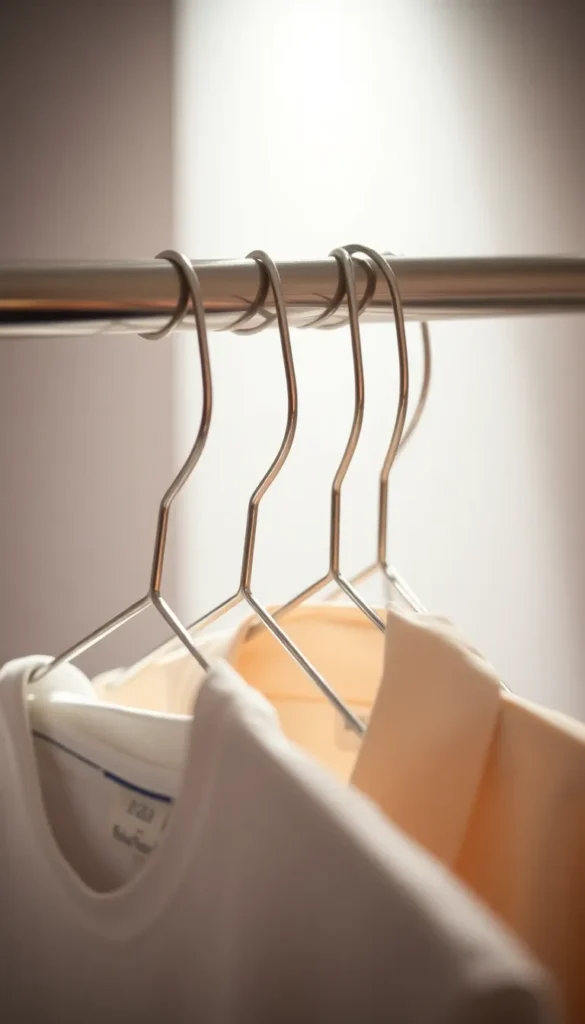
7. Try a Slim Velvet Hanger Swap to Free Up Rod Space

Thick plastic hangers are secretly stealing your rod space.
Swapping out bulky plastic hangers for slim velvet ones can free up 30–40% more rod space overnight. Velvet hangers are only about 1/5th the thickness of standard ones. They also grip fabrics so clothes don’t slide off. A pack of 50 costs around $10–$15. This hack alone can make your closet look twice as organized — no extra rods, no drilling.
8. Build a DIY Pipe Closet Rod System
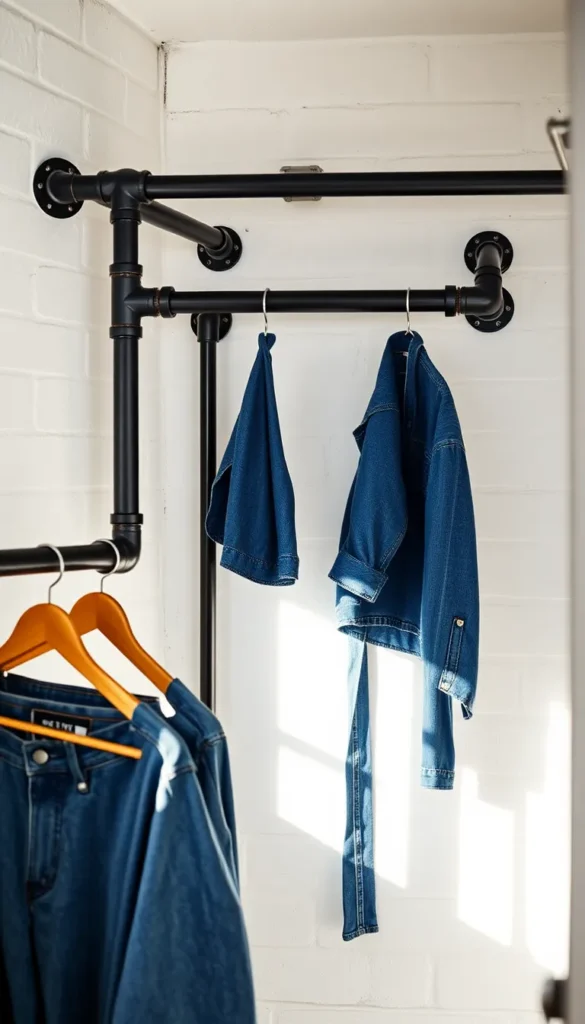
A $20 plumbing pipe makes an incredible closet rod.
Industrial pipe (¾-inch black iron) from a hardware store is cheap, strong, and looks great. You mount pipe flanges to your wall studs, screw in a pipe nipple, and you’ve got a custom closet rod that can span any length you want. It holds well over 50 lbs. Paint it gold, white, or matte black for different aesthetics. Great for open closets or exposed bedroom walls.
9. Use a Ladder as a Freestanding Rod Holder
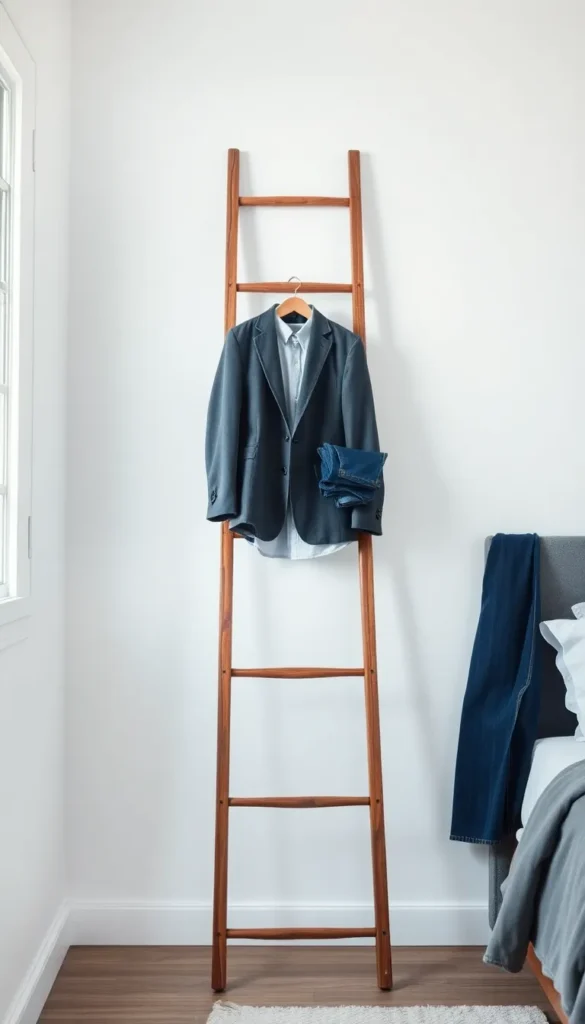
A wooden ladder does more than lean against the wall.
A decorative wooden ladder from a craft store or thrift shop becomes a freestanding clothing rod when leaned at an angle against the wall. Each rung acts as a hanging bar. It holds everyday outfits, extra jackets, or frequently rotated pieces. No installation required. Cost: $0 (thrifted) to $30 new. Great for small apartments or bedrooms without a real closet.
10. Add a Closet Rod to an Awkward Nook or Alcove
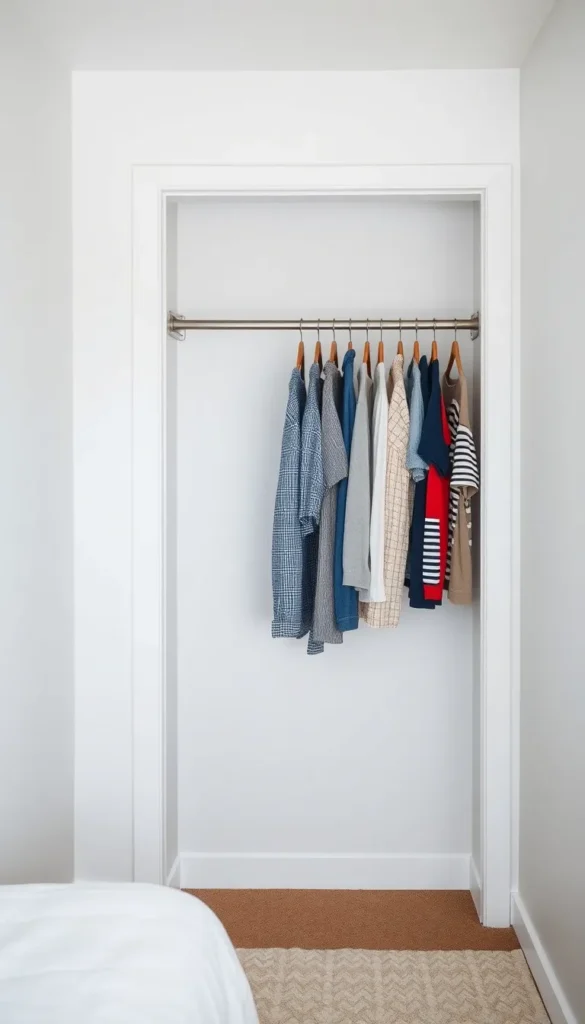
Any gap between walls can become a closet.
If you have an alcove, a recessed space, or even a wide doorway with no door, you already have the walls for a closet rod. Mount a bracket on each side, slide in a rod, and you’ve created a new hanging zone. A standard 1-inch dowel rod from a home improvement store costs under $5. This works especially well in studio apartments, spare rooms, or hallways.
11. Install a Pull-Down Rod for High Shelves

High rods are useless if you can’t reach them.
A pull-down rod mechanism mounts to a high shelf and lets you pull the rod and clothes down to eye level with one hand, then push it back up. It’s perfect for tall closets or people who are shorter. These systems cost $50–$90 at home improvement stores and install in under 30 minutes with basic tools. Every item stays visible and reachable.
12. Hang a Curtain Rod Inside a Wardrobe
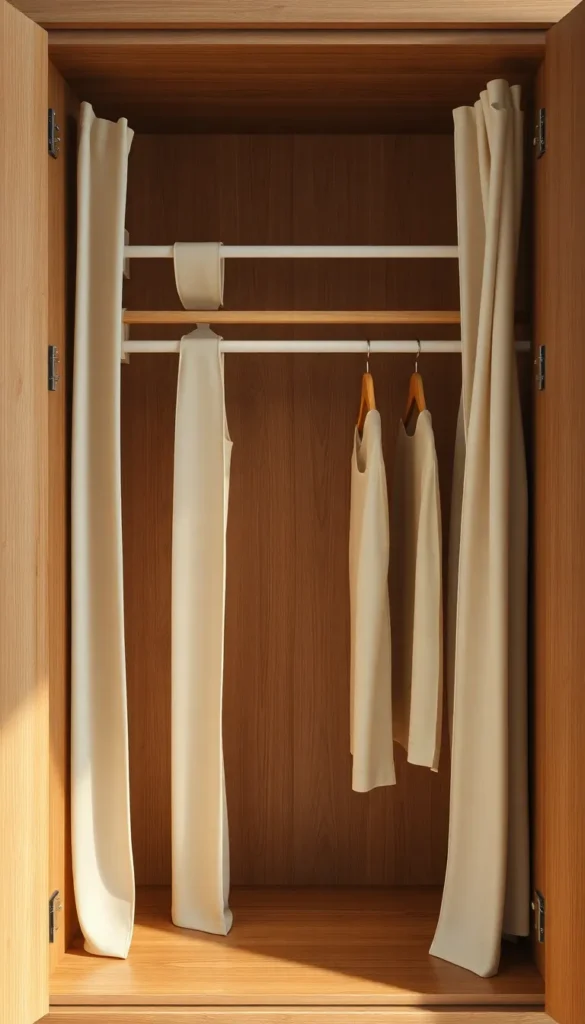
Standard wardrobes usually waste their own interior height.
Most freestanding wardrobes have a single hanging rod that’s set too low, leaving dead space above. Mount a curtain rod higher inside the wardrobe using adhesive hooks or small brackets, and you can either use that space for a second row of shorter clothing or move everything up and add a shelf below. Curtain rods cost $8–$15 and work perfectly inside enclosed wardrobes.
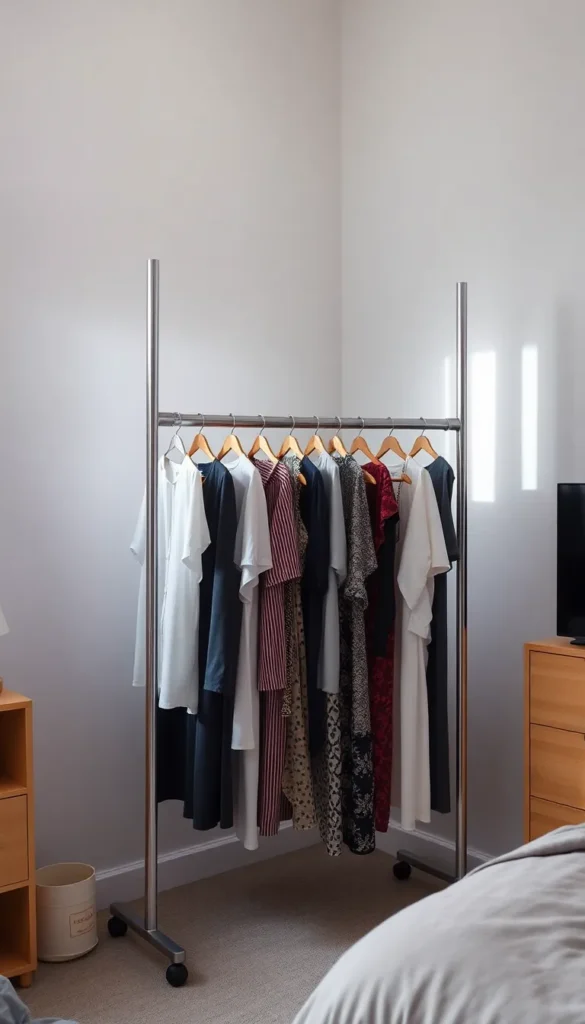
13. Use a Portable Clothes Rack with Double Rods

Not every rod needs to be mounted to a wall.
A double-tiered rolling clothes rack gives you the same capacity as a built-in double rod — but it’s moveable. You can roll it into a spare corner, a bedroom alcove, or even behind a curtain panel to create a budget walk-in closet. Portable racks with two tiers typically run $40–$70 and assemble without any tools. A great option for renters or temporary spaces.
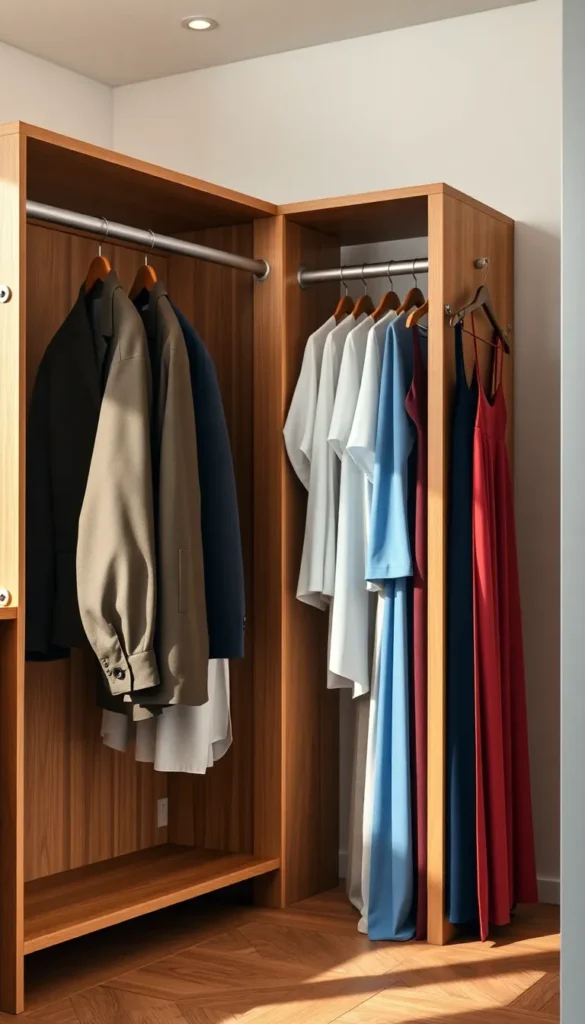
14. Add a Corner Rod to Dead Closet Corners
Closet corners are almost always wasted.
In a walk-in closet, the two rods usually end well before the corner — leaving several square feet of completely empty space. A curved corner connector rod bridges the gap between two straight sections. You hang clothes around the curve and use every inch. These cost $30–$60 and require a few brackets. Corners can hold 10–15 additional garments with no extra footprint.
15. Mount a Rod Inside a Deep Shelf for Folded Bags
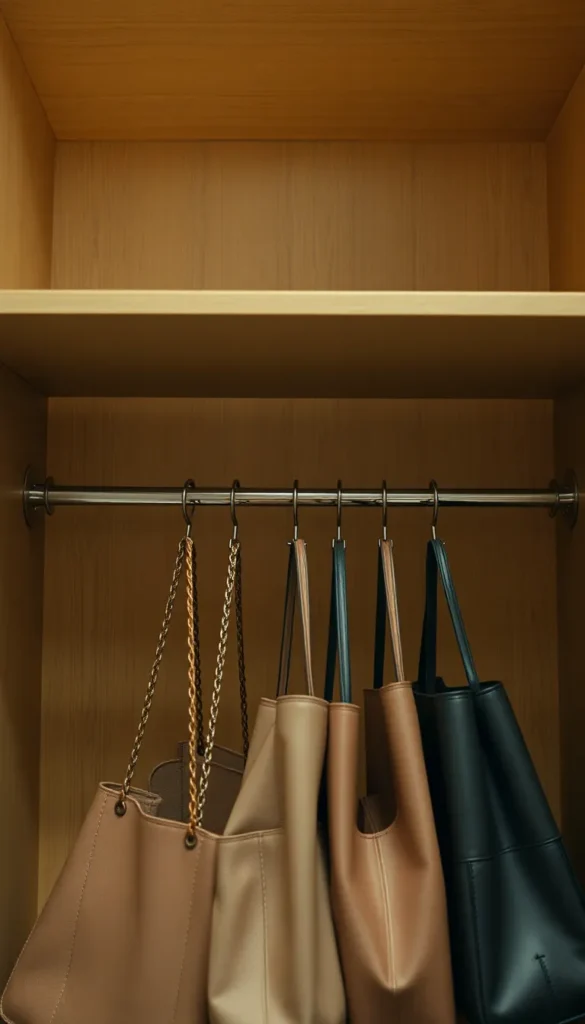
Deep shelves eat handbags alive.
Bags get buried at the back of deep shelves and you forget they exist. Mount a small tension rod or dowel across the front of the shelf and loop the handles of handbags over it. They hang in a row, stay visible, and stay shaped. No stuffing, no collapsing. This takes five minutes to set up and costs nothing if you use a tension rod you already own.
16. Use a Towel Bar as a Closet Rod in Small Spaces
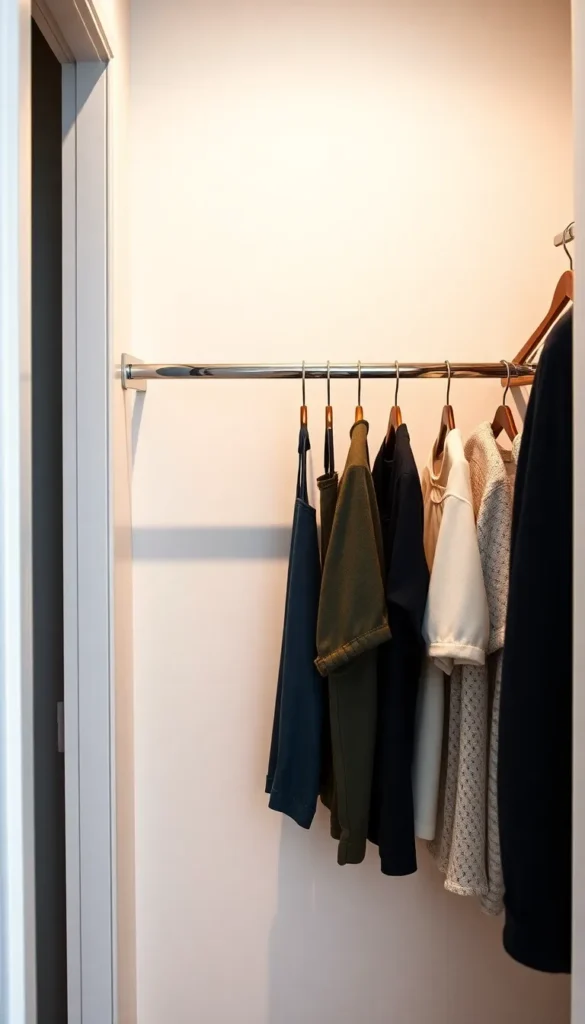
Towel bars are basically closet rods in disguise.
A 24-inch or 30-inch towel bar is sturdy, inexpensive ($10–$25), and easy to mount with just two screws. In a shallow closet or narrow space where a full closet rod won’t fit, a towel bar handles the job perfectly. It works great on the back wall of a shallow reach-in, the inside of a cabinet, or even behind a door. Standard hangers hang right on it.
17. Create a Kids’ Closet With a Lower Rod
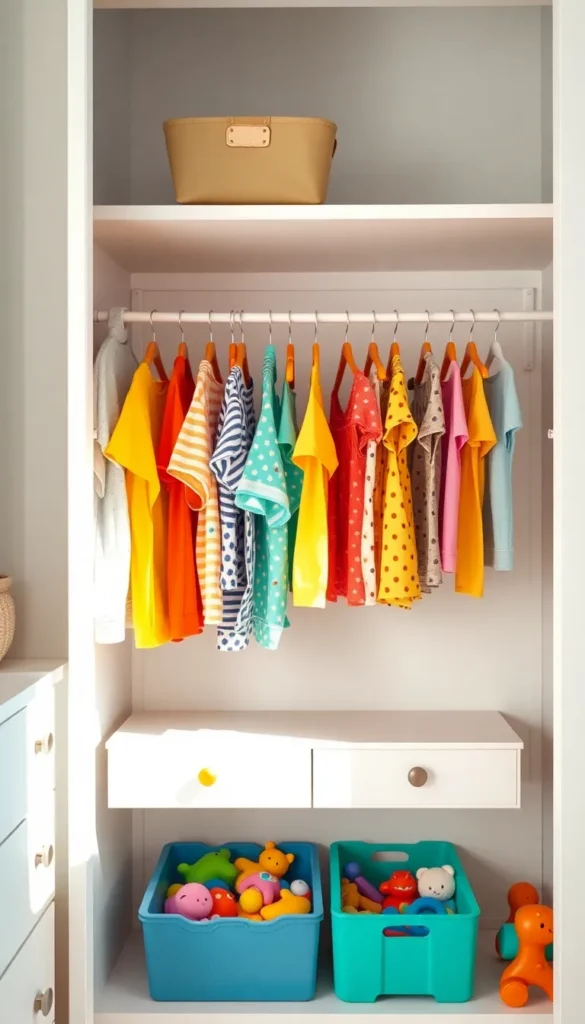
Kids can’t reach standard closet rods — so bring the rod to them.
Installing a second, lower rod in a child’s closet at their height teaches independence. They can grab their own clothes, hang them up, and start building habits early. A simple wooden dowel and two brackets is all you need. Mount it at their shoulder height — about 36–42 inches from the floor for toddlers and young kids. It takes 20 minutes and costs about $10.
18. Add a Rod Behind a Curtain as an Open Closet
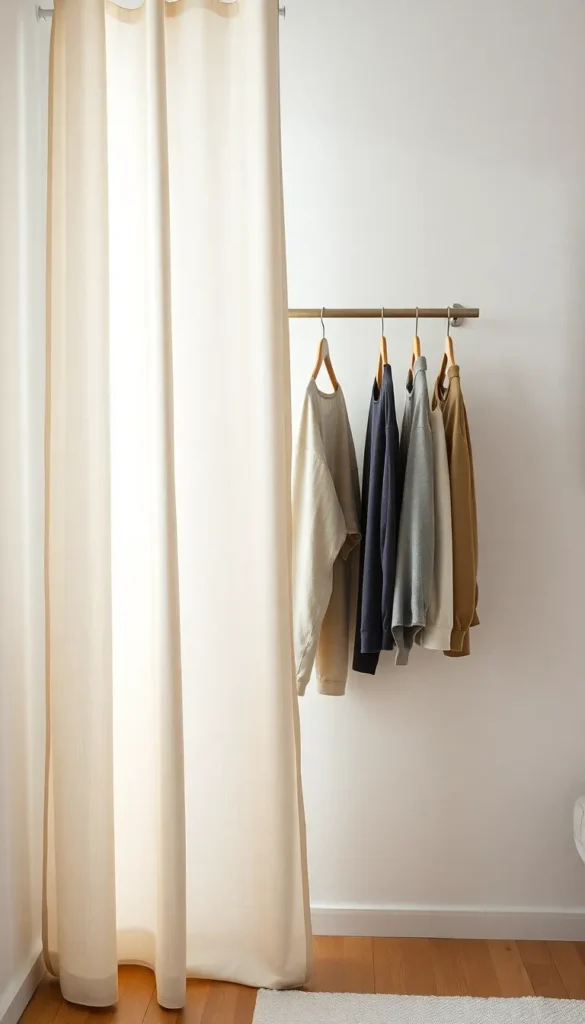
A curtain and a rod can replace an entire closet door.
Mount a rod to the ceiling or high on a wall, hang a floor-length curtain, and mount another rod behind it for clothes. You get a clean, concealed storage zone without building anything. It’s a popular solution for studio apartments and small bedrooms. The curtain hides everything when closed. Total cost: $20–$50 depending on curtain length. Takes an afternoon to set up.
19. Use a Tension Rod Between Shelves for Small Items

The space between shelves is usually empty.
In a closet with fixed shelving, there are often small gaps between shelf sections — just enough for a tension rod. Pop one in horizontally and hang lightweight items like spray bottles, small bags, belts looped through buckles, or even water bottles with handles. This turns throwaway gaps into functional hang space. Zero cost if you have an extra tension rod on hand.
20. Install a Floating Rod Shelf Combo for Maximum Efficiency
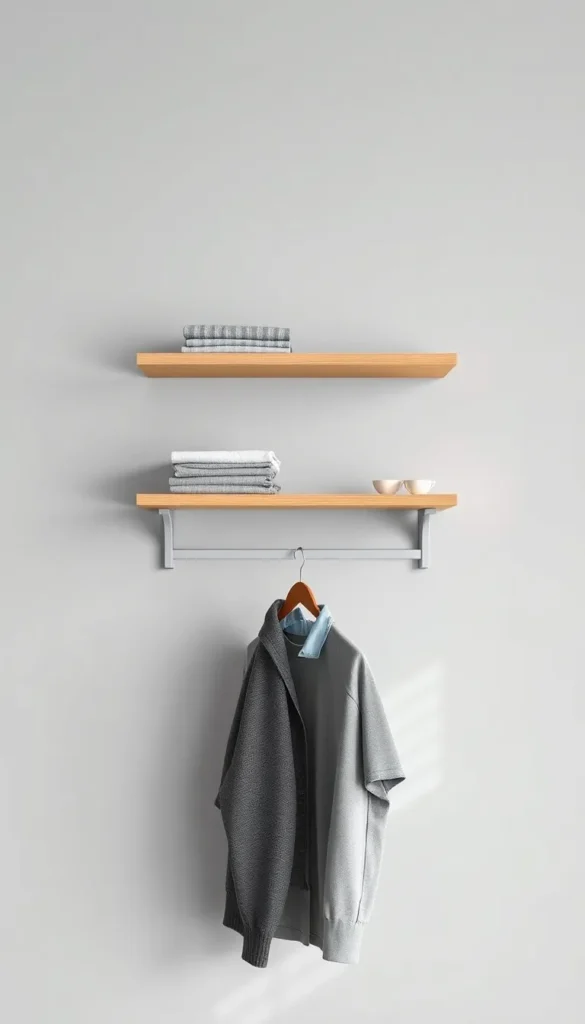
A shelf above plus a rod below is the most efficient combo.
Floating shelf-and-rod combos are sold as single units at IKEA, Home Depot, and Amazon for $20–$50. You mount the whole unit to your wall — one step — and get both hanging space below and shelf space above in the same footprint. It’s ideal for accessories, folded jeans, or shoes on top with shirts hanging below. Works in closets, laundry rooms, or anywhere wall space is available.
21. Group Clothing by Type to Maximize Rod Density
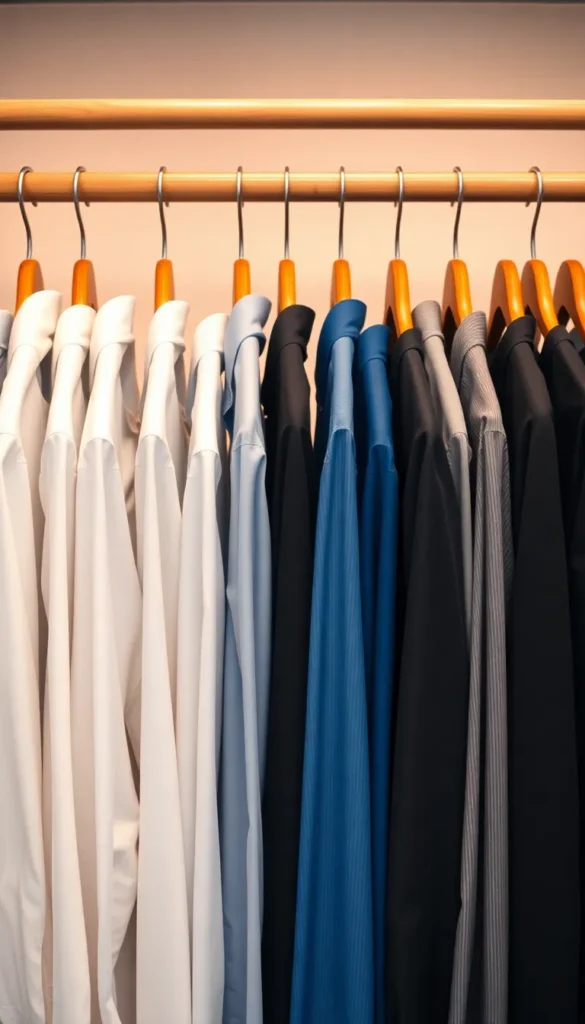
How you hang clothes matters as much as where you hang them.
Grouping clothes by type lets you pack a rod more efficiently. All shirts together, all pants together, all jackets in one section. Similar-length items leave less wasted vertical space. You can also see everything faster, which means less time digging. This costs nothing. Just reorganize what you already have and you’ll probably find space you didn’t know you had.
22. Add a Rod to a Mudroom or Entryway Niche
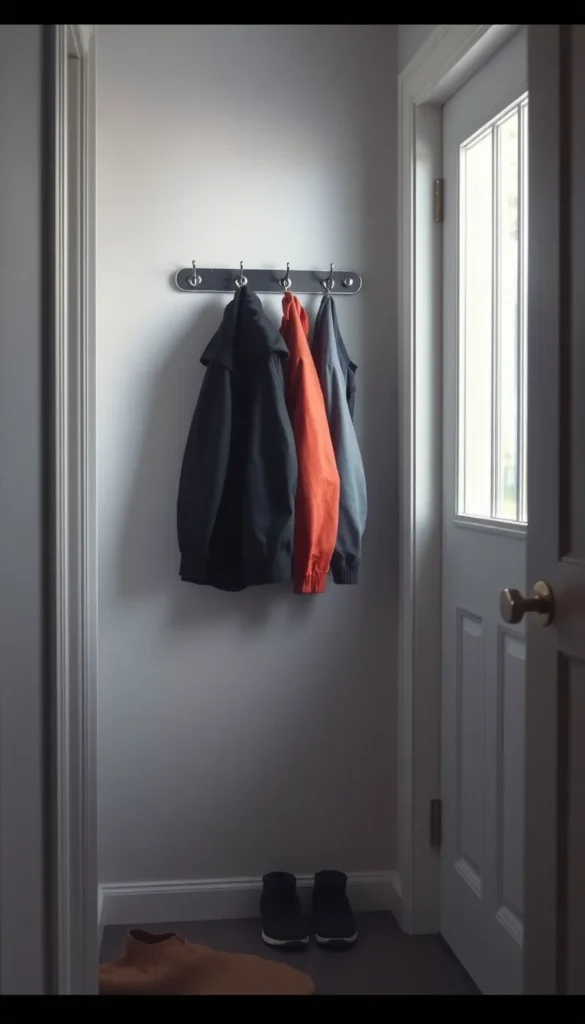
Your entryway already has the walls — add the rod.
Most mudrooms and entryways have a small niche or awkward corner that’s filled with hooks or nothing at all. A single rod between those walls holds far more than hooks alone. Hang coats, bags, umbrellas, and daily-use jackets in one organized spot. Use a wooden dowel or metal pipe and two end brackets. Done in an hour, costs under $15, and keeps outerwear out of your main closet entirely.
23. Use Shower Curtain Rings to Add Sub-Hangers
Shower curtain rings turn one hanger into many.
Loop a few shower curtain rings over your closet rod and hang additional hangers from them. Each ring adds a second hanging point. Use them to keep coordinated outfits together — hook the pants hanger off the same ring as the shirt hanger. It keeps looks paired up and saves you time getting dressed. A pack of 12 rings costs about $3–$5 at any dollar or home goods store.
24. Hang a Rod From the Ceiling With Rope or Chain

Hanging a rod from the ceiling opens up wall and floor space completely.
If your closet walls are too full of shelving or pipes to mount brackets, hang a rod from the ceiling instead. Use two short lengths of metal chain, two ceiling hooks screwed into joists, and a standard wooden or metal rod through the chain links. It creates a floating rod that holds full clothing loads without touching any wall. Cost: under $20. Great for industrial, open, or modern spaces.
25. Use a Clothing Rod Divider to Assign Sections
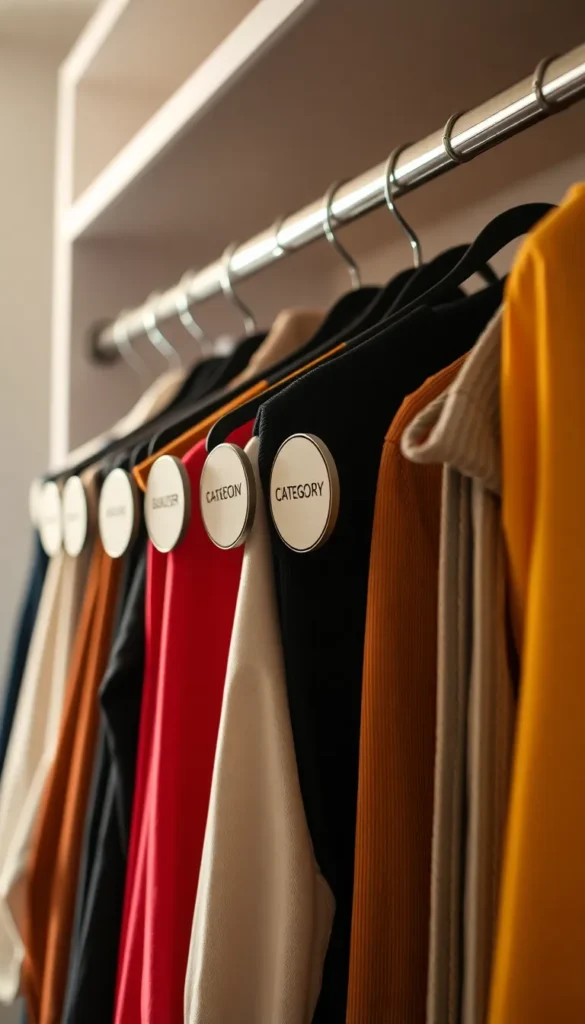
Dividers keep your rod organized without adding hardware.
Closet rod dividers are rings that snap around your rod and act as section markers. Label them — “Work,” “Casual,” “Gym” — and you always know where to return clothes after laundry. It prevents the slow creep of everything blending together. A set of 12 dividers costs $5–$10. They won’t add storage on their own, but they help you maintain the storage systems you’ve already built.
Conclusion
Your closet probably has more capacity than you’re using right now. Adding a second rod, swapping to slim hangers, using tension rods in forgotten gaps, or simply reorganizing by clothing type can open up significant space without spending much money. Start with one change — even just the double rod extender or the velvet hanger swap — and see the difference before adding more. The goal isn’t a perfectly staged closet from a magazine. It’s a space that works for your actual clothes, your actual mornings, and your actual life. Small, targeted changes stack up fast.