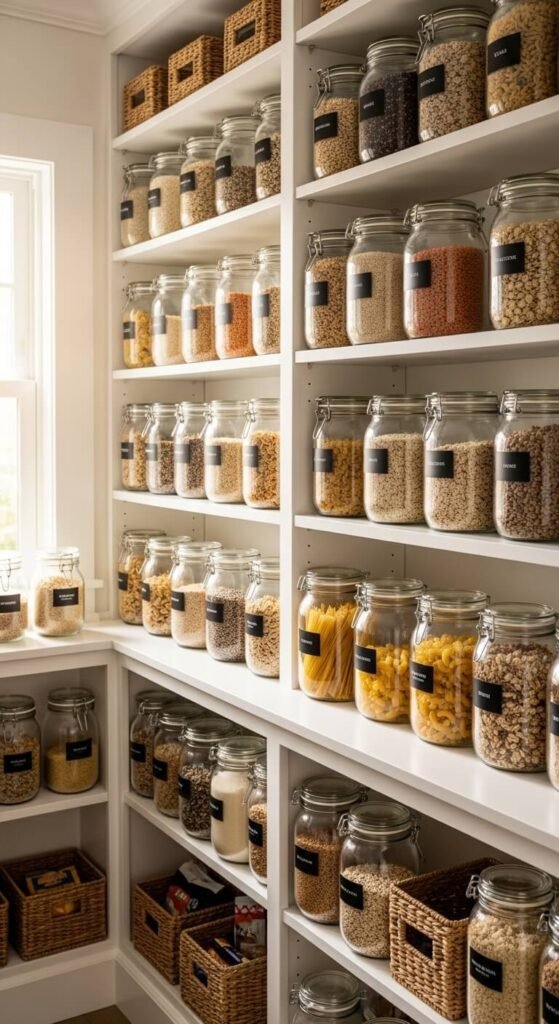
You’ve seen them — those impossibly perfect pantry photos on Pinterest where every jar is labeled, every shelf is color-coordinated, and somehow even the spices look aspirational. Here’s the secret nobody tells you: most of those dreamy pantries were built on a budget. No custom cabinetry. No professional organizer. Just smart strategies, a few dollar-store finds, and a free afternoon. Ready to transform your chaos into calm?
Step 1: Pull Everything Out First
Before you buy a single basket, you need to know what you’re working with.
- Take every item off your shelves
- Toss anything expired, stale, or that you’ll never actually use
- Group similar items together on your counter: baking, snacks, canned goods, grains, sauces
This “edit first” approach prevents the #1 pantry mistake — buying organizers that don’t fit your actual stuff. It also gives you a clear count of what you truly need to store.
Pro tip: Check the backs of shelves. That’s where pantry graveyards live.
Step 2: Measure Before You Shop
Grab a tape measure and note:
- Shelf depth and width
- Height between shelves (adjustable shelves are a game-changer)
- Door space, if any
This step saves you from the heartbreak of buying adorable bins that are two inches too wide. Sketch a quick diagram on your phone — you’ll thank yourself at the store.

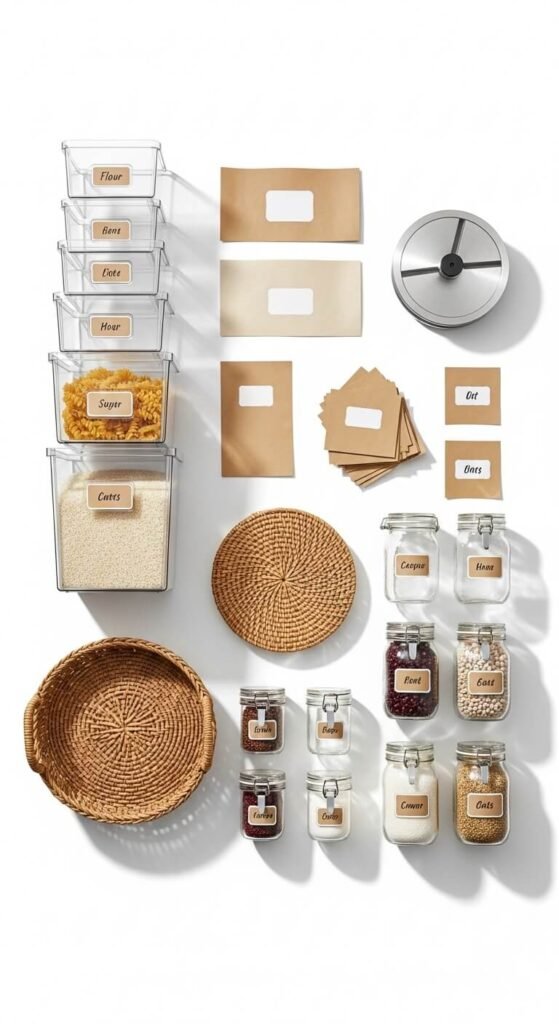
Step 3: Shop Smart (Not Expensive)
Here’s where budget magic happens. You don’t need the fancy Container Store haul. Try these instead:
- Dollar Tree / Dollar stores — Clear bins, lazy Susans, baskets, and labels for $1–$2 each
- IKEA — SOCKERBIT boxes and TILLSLUTA jars are gorgeous and affordable
- Amazon basics — Look for clear stackable canisters in multipacks
- Thrift stores — Vintage glass jars and wooden crates add character and cost next to nothing
Stick to a cohesive color palette: all-white, all-natural (wood + wicker), or clear-only. Mixing too many styles is what makes pantries look cluttered even when they’re organized.
Step 4: Zone Your Shelves Strategically
Think of your pantry like a grocery store — everything has a logical home.
| Zone | What Goes Here |
|---|---|
| Eye level | Most-used everyday items (snacks, coffee, cereal) |
| Upper shelves | Rarely used items, bulk overflow, specialty ingredients |
| Lower shelves | Heavy cans, large bottles, small appliances |
| Door pockets | Spices, foil/wrap, small packets |
Keep kids’ snacks at their eye level so they can grab (and put back!) independently. Keep baking supplies together so you’re never hunting for baking powder mid-recipe.
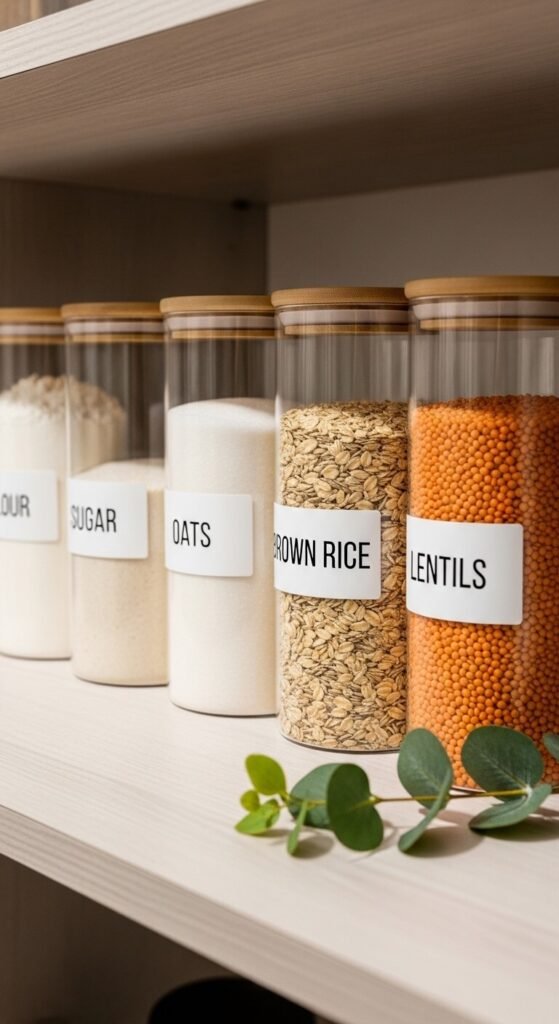
Step 5: Decant, Label, Done
This is the step that transforms “organized” into Pinterest-worthy.
Decanting means transferring pantry staples — flour, sugar, pasta, rice, oats — from their original bags into uniform containers. It’s not just about looks; it keeps food fresher and lets you see when you’re running low.
- Use a label maker or printable labels for a cohesive look
- Chalkboard labels are great for items that change often
- Include the expiration date or restock date on the back
You don’t have to decant everything. Focus on the items that sit on open shelves and are most visible.
Step 6: Maintain It (This Is the Real Secret)
The prettiest pantry in the world falls apart without a simple maintenance routine.
- “One in, one out” — when something new comes in, check if anything needs to be tossed
- Do a 5-minute reset once a week when you unpack groceries
- Reorganize seasonally — your pantry needs change between summer grilling season and holiday baking
That’s it. Five minutes a week keeps the chaos from creeping back in.
You’ve Got This
A Pinterest-perfect pantry isn’t about spending a fortune — it’s about being intentional with the space you have. Start with one shelf if the whole project feels overwhelming. Edit, measure, zone, label, and maintain. Do it in stages, celebrate small wins, and before you know it, you’ll be the one people are pinning for inspo.
Save this article for your next weekend project — and tag us when your pantry glow-up is complete! 🌿