You’re running 10 minutes late, pawing through a jumbled drawer of lip liners, dried-out mascaras, and mystery eyeshadow palettes — sound familiar? A chaotic makeup drawer doesn’t just slow you down, it makes getting ready feel like a chore. The good news? One intentional reorganization session is all it takes to turn morning chaos into a smooth, enjoyable routine.
Here’s exactly how to organize your makeup drawer by category so you can get out the door faster — and actually enjoy the process.
Step 1: Empty Everything Out First
Before you can organize, you need a blank slate.
Pull every single item out of the drawer and lay it on a clean surface. This is also the perfect moment to do a quick audit:
- Toss anything expired — mascara older than 3 months, foundation that’s separated, or anything that smells off
- Trash duplicates you know you’ll never realistically use
- Set aside products you love but rarely reach for (think holiday glitter or bold colors) — these can live somewhere else
Starting fresh makes the categorizing process so much easier and more satisfying.
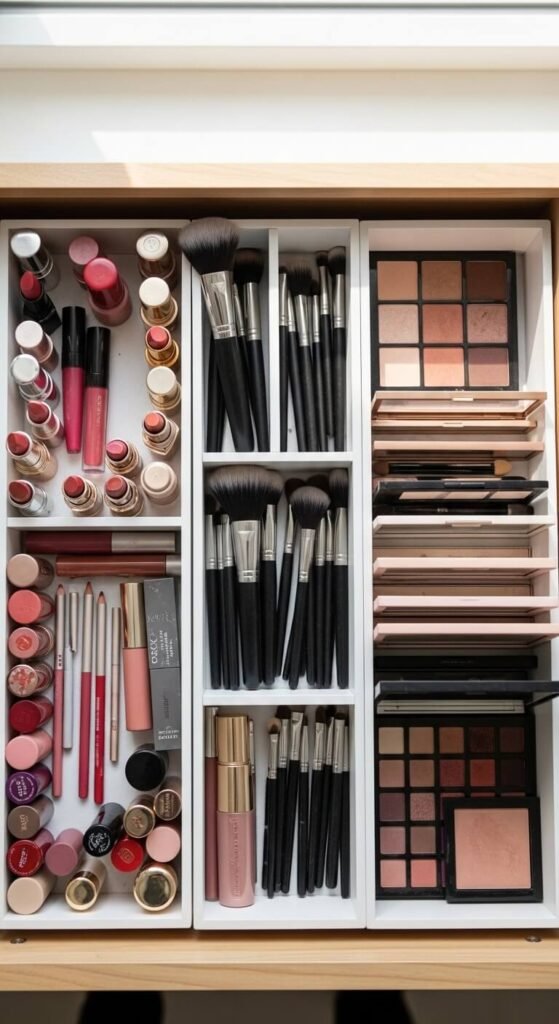
Step 2: Sort Into Core Categories
This is the heart of the whole system. Group your products into clear, logical categories before they go back in the drawer.
Here are the categories that work best for most people:
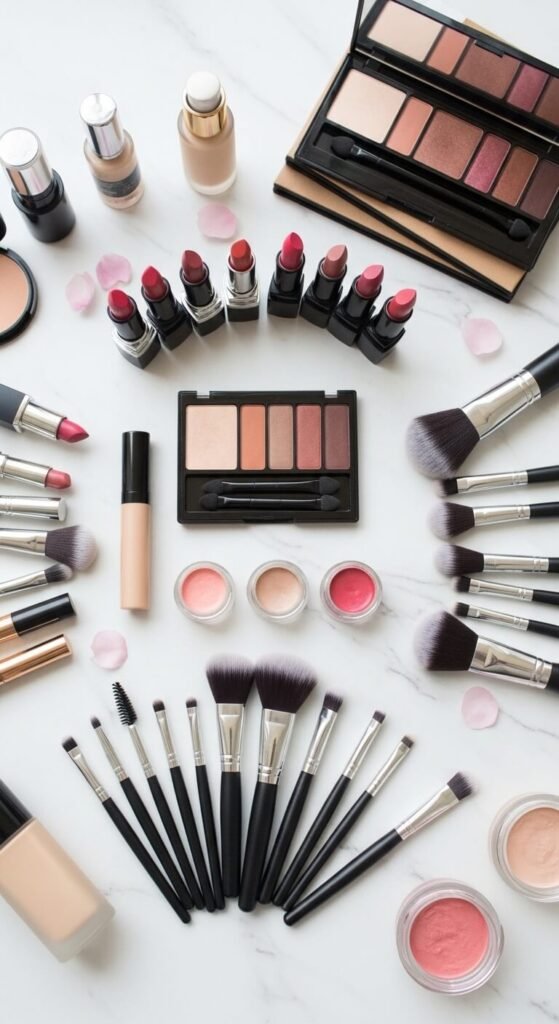
- Face — foundation, concealer, powder, blush, bronzer, highlighter
- Eyes — eyeshadow palettes, eyeliner, mascara, brow products
- Lips — lipstick, lip liner, lip gloss, lip balm
- Tools & Brushes — makeup brushes, sponges, eyelash curler
- Skincare/Prep — primers, setting spray, face mist
Don’t overthink it. The goal is to be able to reach for what you need without scanning through unrelated products.
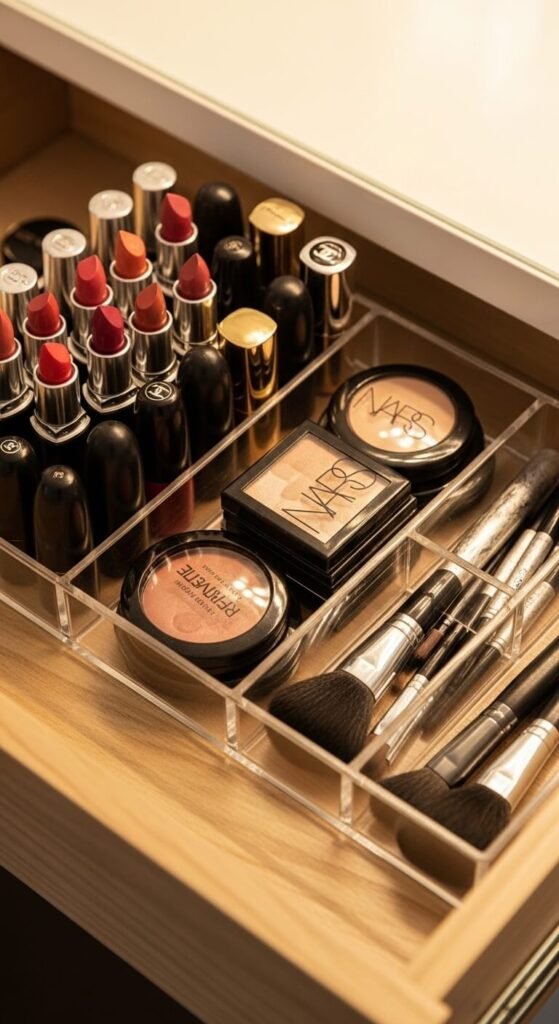
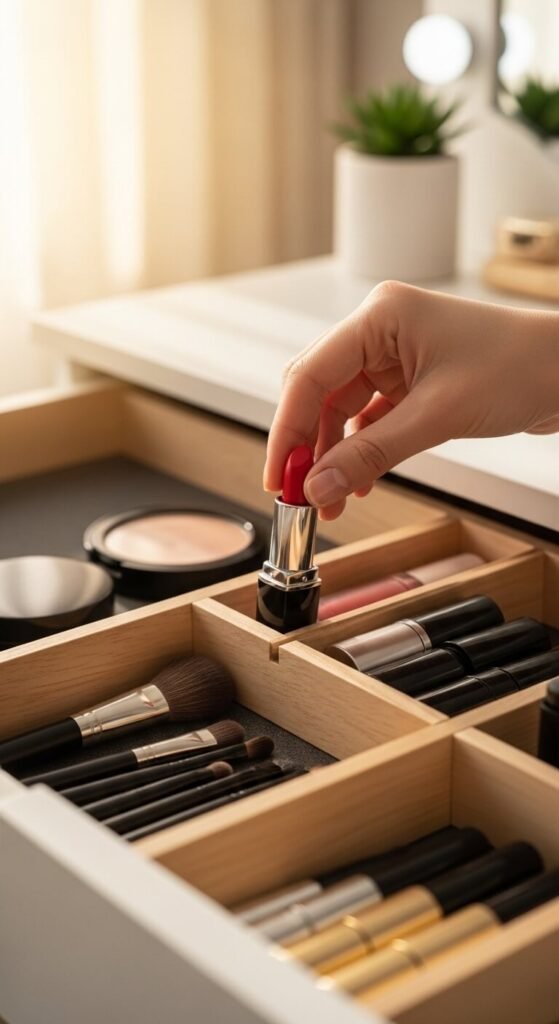
Step 3: Use Dividers to Create Zones
Now it’s time to put your categories back — but with intention.
Drawer dividers are the secret weapon here. You don’t need to spend a lot; even inexpensive bamboo or acrylic dividers from a home goods store work perfectly.
Tips for dividing your drawer:
- Place your most-used products front and center — your everyday foundation, go-to mascara, and favorite lipstick should be the first things you see
- Keep eye products together on one side and face products on the other for a natural left-to-right workflow
- Store brushes upright in a small cup or compartment so you can grab them without digging
- Use a small tray or section for lip products — they tend to roll around if left loose
Step 4: Apply the “Daily vs. Occasional” Rule
Not everything needs to live in your main drawer.
Think of your makeup drawer as prime real estate. Only your everyday essentials should occupy that space. Products you reach for weekly or less often — bold eyeshadow palettes, special occasion glitter, backup products — can go in a secondary location like a shelf, box, or second drawer.
This one rule alone will cut your getting-ready time dramatically. When you open the drawer, everything you see is something you actually use.
Step 5: Keep It Maintained With a Weekly Reset
The best organization system is one you can maintain without effort.
Build in a tiny habit: every Sunday (or whichever day feels natural), spend two minutes putting stray products back in their zones. That’s it. Two minutes prevents the drawer from creeping back into chaos over the next few weeks.
You can also do a bigger seasonal purge every few months to remove anything that’s expired or that you’ve stopped reaching for.
The Payoff Is Real
Once your drawer is organized by category, getting ready genuinely becomes faster and more enjoyable. You stop wasting mental energy searching for things and start spending it on actually doing your makeup. There’s something quietly satisfying about opening a drawer where everything has a place.
Save this guide for your next free afternoon — a single organizing session now will pay off every single morning for months to come. Pin it, share it with a friend who has drawer chaos, and enjoy the calm routine you deserve. ✨