Your kitchen counters are prime real estate — and if yours are buried under appliances, mail, and random odds and ends, cooking feels like a chore before you’ve even turned on the stove. The good news? A clutter-free kitchen doesn’t require a full renovation. With a few smart strategies, you can transform your counters into a calm, functional space that actually makes you want to cook.

Step 1: Start with a Clean Sweep
Before you organize anything, take everything off your counters. Yes, everything.
This might feel dramatic, but it gives you a fresh perspective and forces you to make intentional decisions about what belongs on the counter — and what doesn’t.
Ask yourself three questions about each item:
- Do I use this at least three times a week?
- Does it have a better home somewhere else (a drawer, cabinet, or pantry)?
- Does it add to my kitchen’s visual calm, or create noise?
If it fails all three, it’s a candidate for relocation or donation.
Step 2: Keep Only the True Countertop Essentials
The golden rule of counter organization: only items you use daily earn a permanent spot.
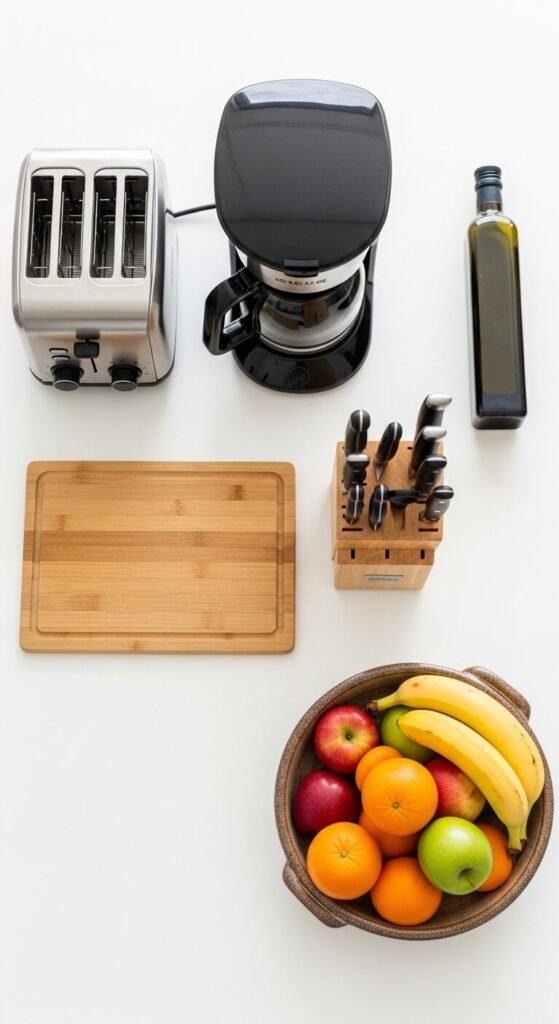
Here’s what typically makes the cut:
- Coffee maker or electric kettle — used every single morning
- A knife block or magnetic strip — for safe, accessible storage
- A cutting board — especially if you cook frequently
- A small cooking oil or salt + pepper station — right next to the stove
- A fruit bowl — functional and decorative
Everything else — the air fryer you use twice a month, the stand mixer, the panini press — should live in a cabinet and be pulled out as needed. It might feel inconvenient at first, but you’ll quickly discover how much calmer your mornings feel.
Step 3: Create Intentional Zones
Think of your counter space in zones, just like a professional kitchen. Each zone should serve one clear purpose.
The Coffee & Breakfast Zone: Group your coffee maker, mugs, and a small tray with sweeteners together in one corner. Keeping it contained makes it feel styled, not scattered.
The Prep Zone: This is the largest open area near your sink or cutting board. Keep it as clear as possible — this is your workspace.
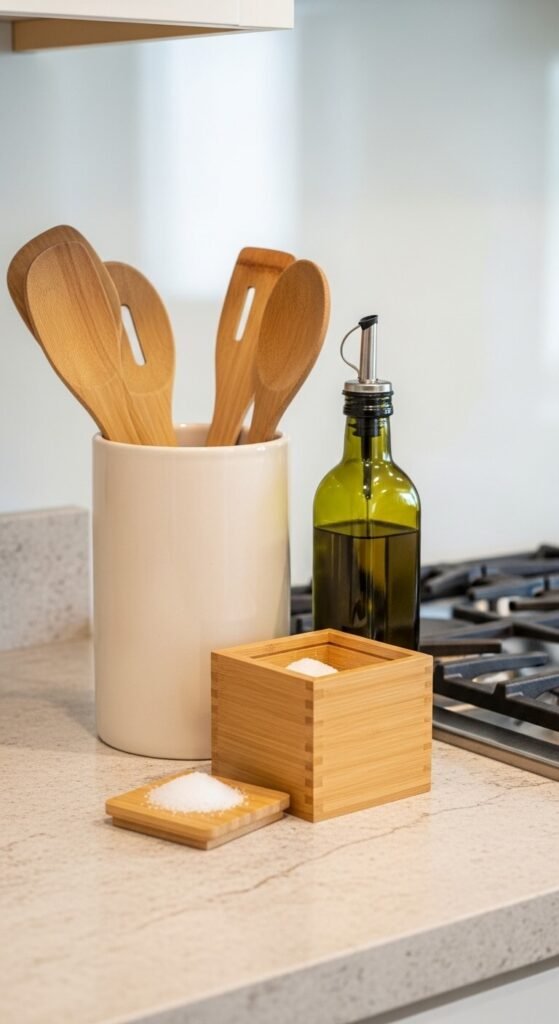
The Cooking Zone: Right next to the stove, keep only what you reach for while actively cooking: a small crock with spatulas and wooden spoons, your most-used oils, and a salt cellar.
Step 4: Use Smart Storage Solutions
The right tools make it easy to maintain your organized counters — not just achieve them once.
A few tried-and-true favorites:
- Tiered corner shelves — maximize awkward corner space without using more counter room
- Wall-mounted magnetic knife strips — free up valuable counter space entirely
- Under-cabinet hooks — hang mugs, small baskets, or utensils
- Trays and risers — group related items visually so they look intentional, not messy
- Clear canisters — store coffee, tea, or snacks in matching containers for a cohesive look
The key is to give every item a home so it’s easy to put away, not just set down.
Step 5: Style It So You’ll Want to Keep It Tidy
Here’s the secret that no one talks about: when your counters look beautiful, you’re far more motivated to keep them that way.
Add a small potted herb (basil or rosemary work great), a candle, or a simple ceramic dish to hold your keys. These finishing touches make the space feel curated rather than clinical.
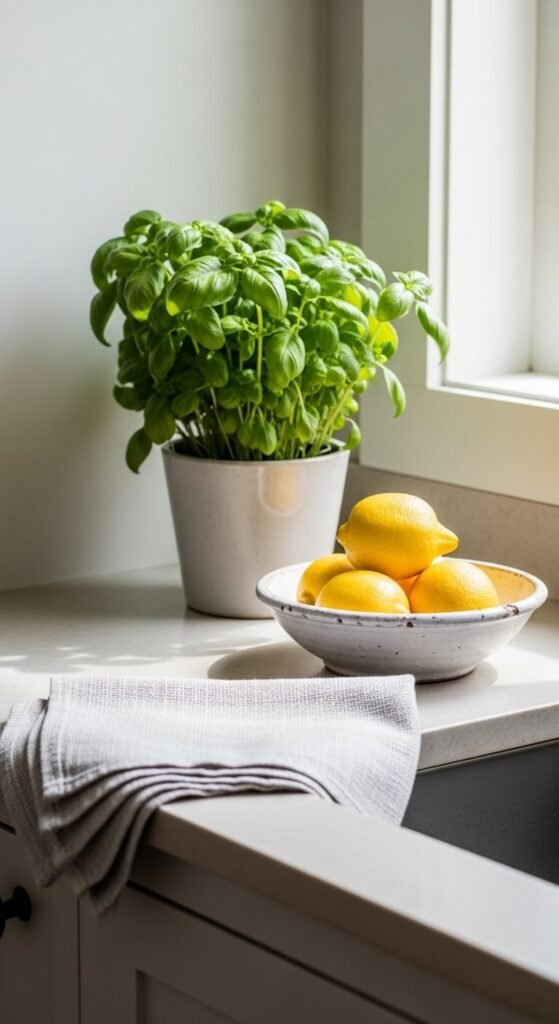
Stick to a cohesive color palette for any visible items — matching canisters, a coordinating fruit bowl, and neutral dish towels go a long way.
The Bottom Line
Organized kitchen counters aren’t about perfection — they’re about intention. When you decide what earns a permanent spot and what needs to live elsewhere, cooking becomes easier, mornings feel calmer, and your whole kitchen just breathes better.
Start with the clean sweep, build your zones, and add the little touches that make you smile every time you walk in.
Save this article for your next kitchen refresh — and share it with someone who’s been meaning to tackle their counters for months! 🌿