Your closet is probably not working as hard as it could. Most people are throwing money at storage bins and drawer organizers when the real fix is adding more shelves. DIY closet shelving is one of the most rewarding weekend projects you can tackle. You don’t need a contractor. You don’t need expensive tools. You just need a plan, a few hours, and a trip to the hardware store. Whether you have a tiny reach-in closet or a spacious walk-in, there’s a shelving setup that fits your space and your budget. These 30 plans will show you exactly how to make it happen.
1. Basic Plywood Shelf Stack
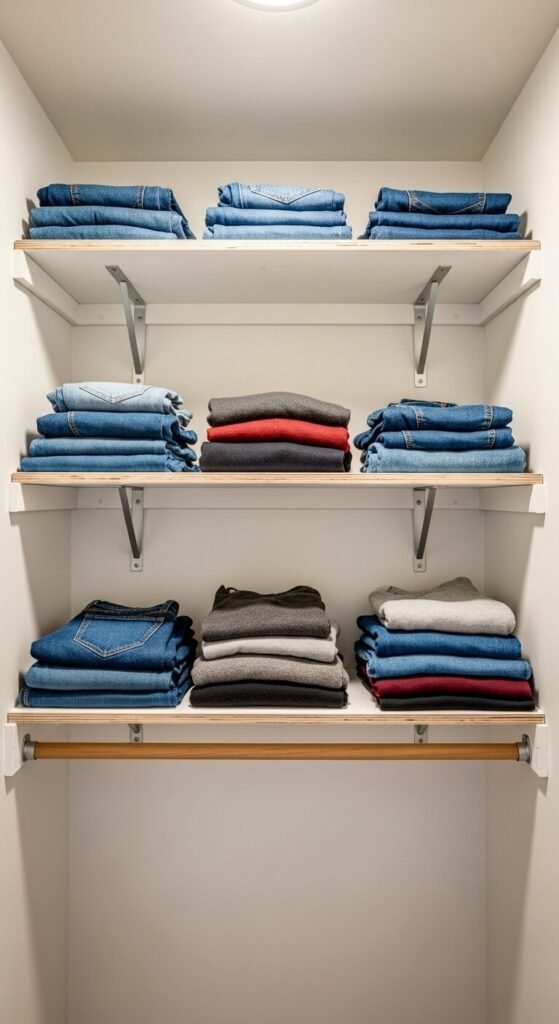
Start simple. Cut three pieces of 3/4-inch plywood to the width of your closet. Sand the edges smooth and paint them white. Mount wall brackets every 16 inches into studs. Each shelf can hold up to 50 lbs easily. Total cost is usually under $40. This is the perfect beginner plan — no fancy joinery, no power tools beyond a circular saw. It works in any standard reach-in closet. Once you have the basics down, you can expand from here.
2. Double Hanging Rod Setup
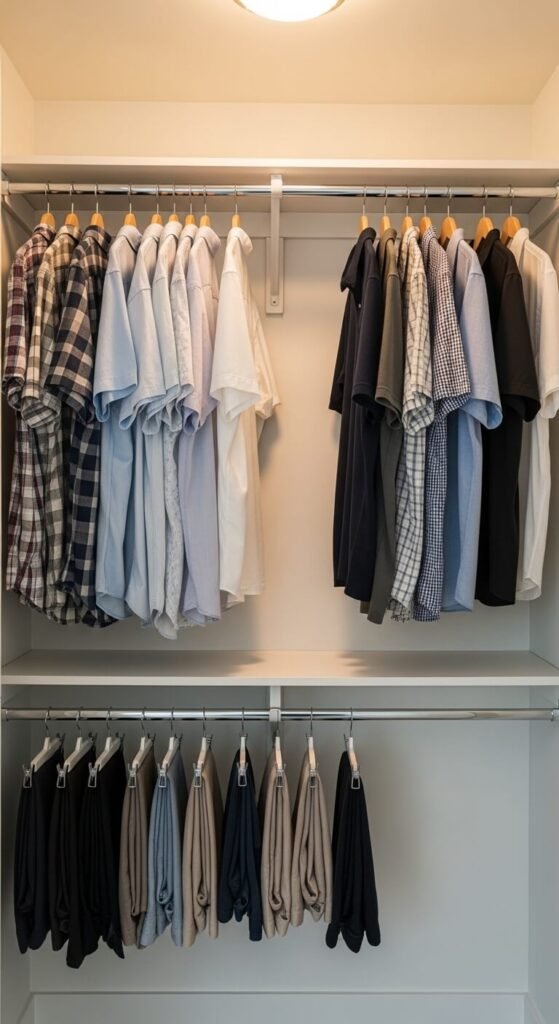
Double your hanging space without adding a single shelf. Mount one rod at 80 inches for long dresses and coats. Mount a second rod at 40 inches below. Short items like shirts and blazers hang on the top rod. Pants fold over the lower one. You just doubled your closet capacity for about $15 in hardware. Use 1-inch steel rods from any hardware store. Cut to length with a pipe cutter. This is one of the fastest closet upgrades you can do in under two hours.
3. Wire Shelf Grid System
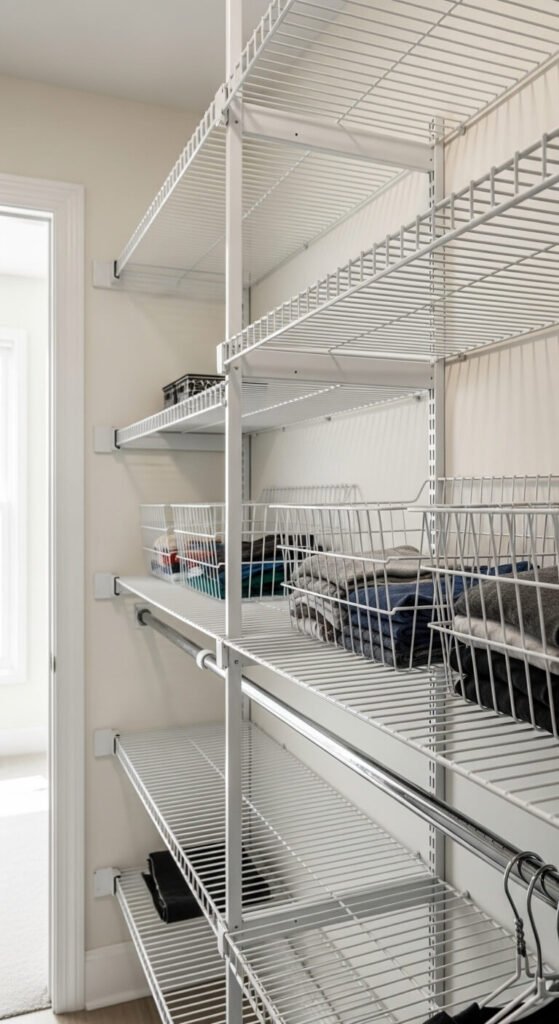
Wire shelving is cheap, adjustable, and surprisingly strong. A basic kit from any home improvement store runs $20–$35. The open grid design lets air circulate, which helps clothes stay fresh. Use wire shelf clips to anchor into drywall anchors if you can’t hit studs. Cut wire shelves with bolt cutters or a rotary tool. Add wire baskets for folded items. This system is great for rental apartments since installation damage is minimal and the whole thing comes down easily.
4. Floating Corner Shelf Unit
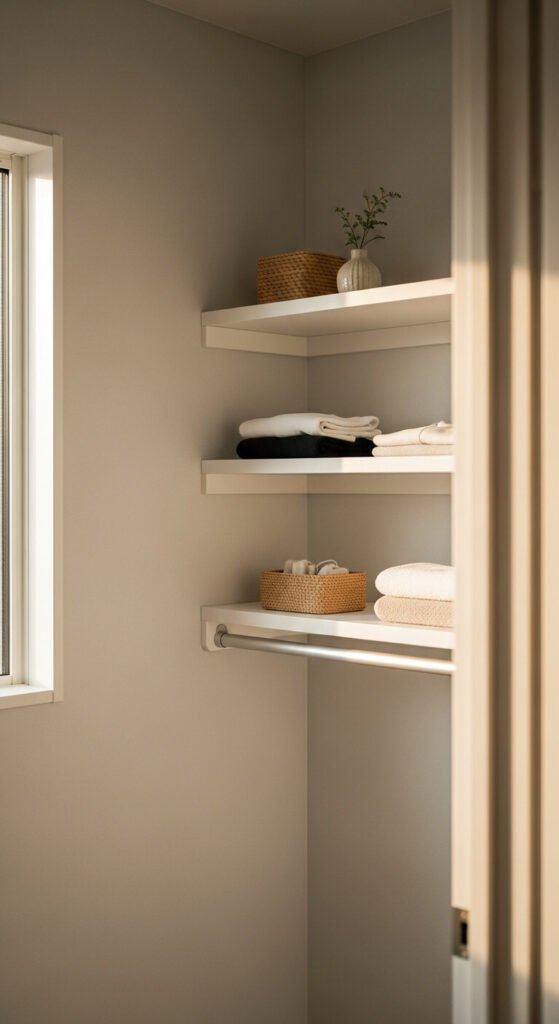
Corner space is almost always wasted. Fix that with two angled shelf boards cut to meet at 45 degrees. Each piece sits on L-brackets screwed into the studs on adjacent walls. Sand, prime, and paint them to match your walls. The total cost is under $25. You gain a full corner of usable storage that was previously dead space. This works especially well in walk-in closets where corners are plentiful but often ignored.
5. Shoe Shelf With Angled Slats
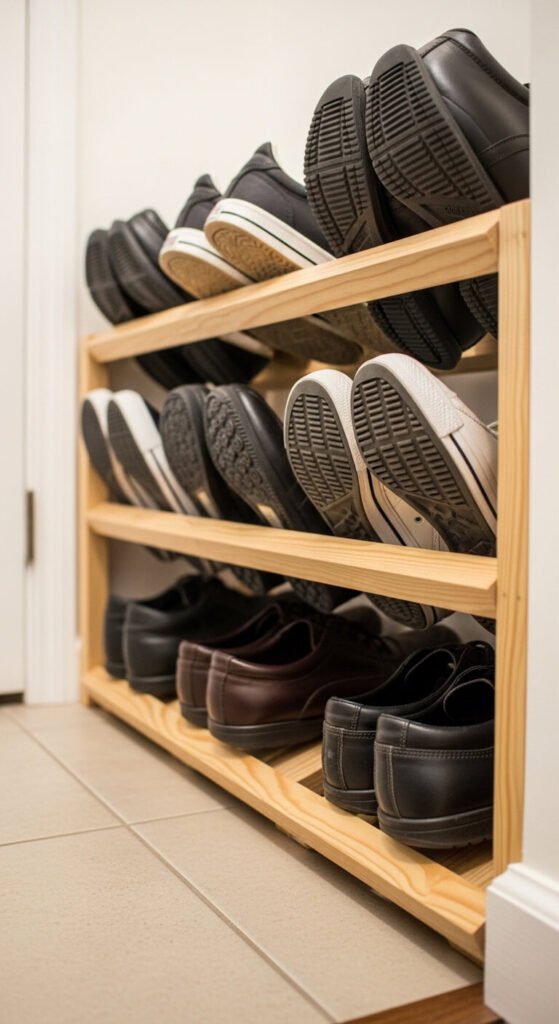
Angled shoe shelves display shoes front-to-back instead of side-by-side, saving about 40% of floor space. Build this from a single 1×6 pine board. Cut slats at a 15-degree angle and space them 3 inches apart. The toe of each shoe points up, making it easy to grab the pair you want. You can build a two-row version for around $18. Mount it low on the closet wall or let it stand free on the floor.
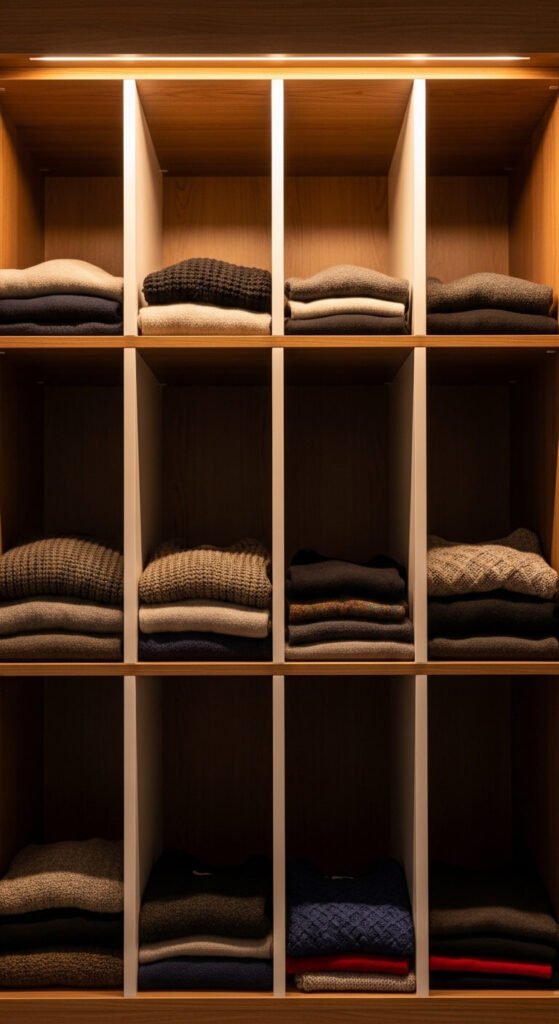
6. Open Cubby Organizer
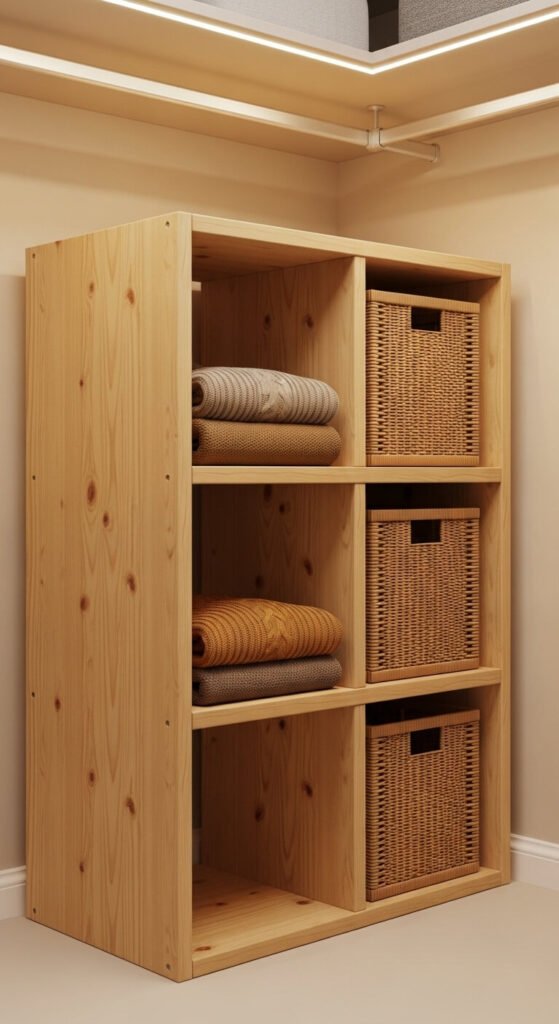
Cubbies are like shelves with built-in dividers. Build a six-cube unit from 1×12 pine boards. Use pocket screws or simple butt joints with wood glue. Each cube is roughly 12×12 inches — perfect for folded sweaters, bins, or wicker baskets. Finish it with a light stain. Cost is around $45 for the full unit. You can stack two units vertically or place them side by side for a custom look that fits your exact space.
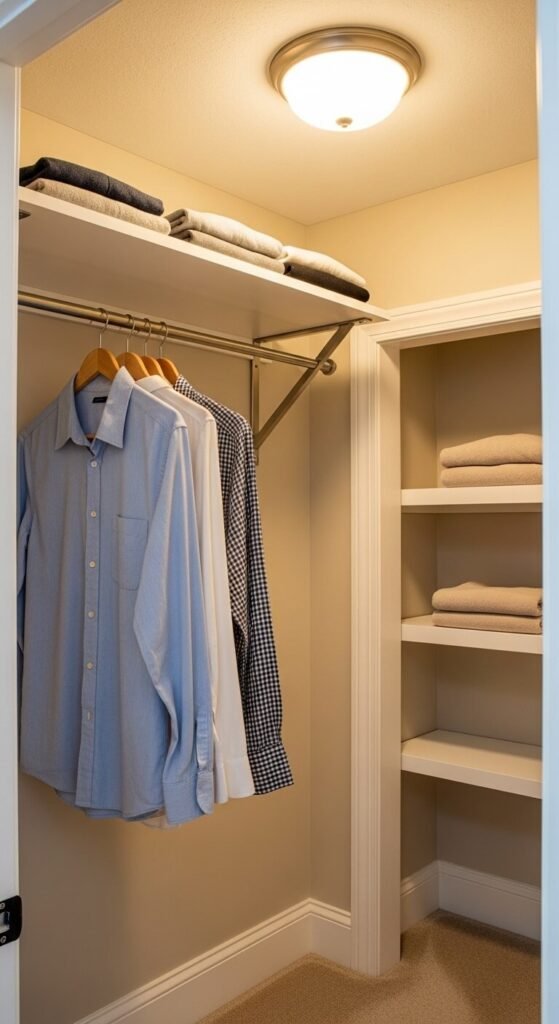
7. Closet Rod With Shelf Above
This is the most classic closet configuration for a reason — it works. Mount a shelf 12 inches below the ceiling. Drop a hanging rod 12 inches below that. The shelf holds luggage, bins, and seasonal items. The rod handles your everyday clothes. Build the shelf from 3/4-inch plywood or MDF. Support it with a cleat on three sides if it’s built into an alcove. This whole setup costs about $30 and takes a Saturday morning to install.
8. Pegboard Accessory Wall
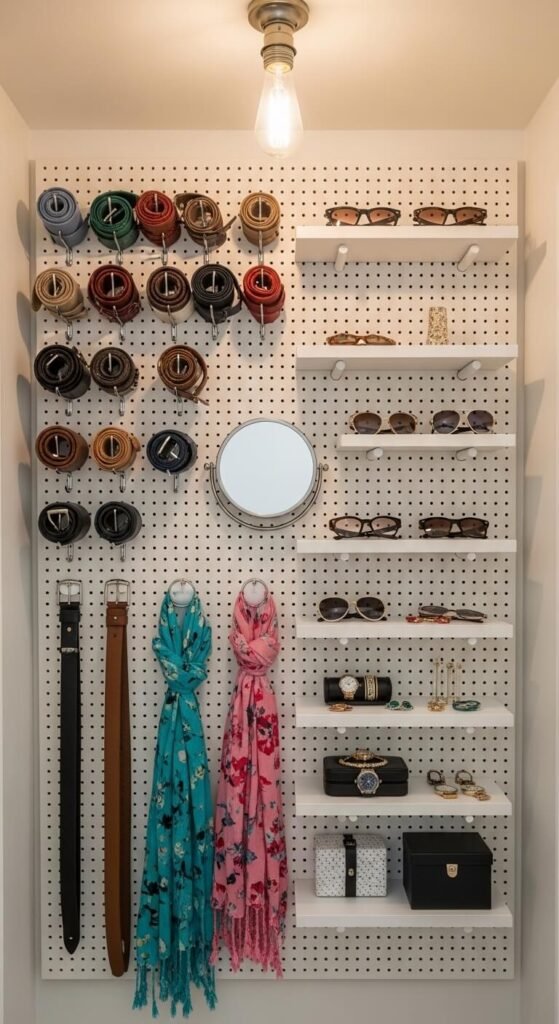
Pegboard is incredibly affordable — around $12 for a 4×4 sheet. Mount it to the back wall of your closet using 1-inch spacers to leave room for the hooks. Add metal peg hooks for belts, bags, and scarves. Add peg-in shelves for sunglasses and small items. The beauty of pegboard is that you can reconfigure the layout anytime without putting new holes in your wall. It’s one of the most flexible closet systems you can build yourself.
9. Reclaimed Wood Shelves
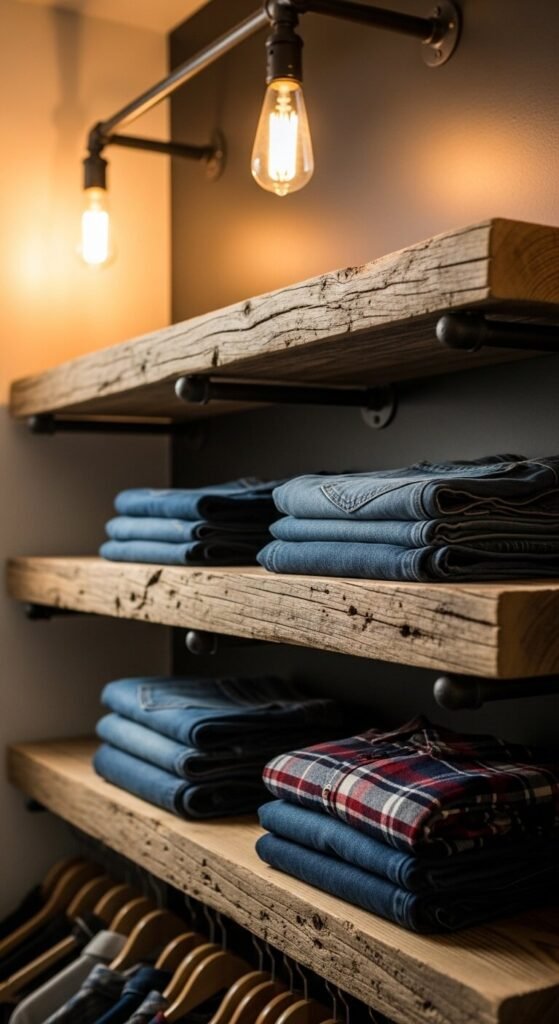
Old wood from a fence, barn board, or lumber yard adds serious character. Sand the edges smooth and seal with a clear coat to prevent snags. Mount the planks on black iron pipe brackets — they’re strong, stylish, and cost about $5 each. This whole look runs around $30–$50 depending on wood source. Reclaimed wood shelves work especially well in a bedroom walk-in where you want the closet to feel like part of the room’s design.
10. Kids’ Low-Reach Closet System

Kids need to reach their own stuff. Drop the hanging rod to 48 inches so a 5-year-old can grab their own jacket. Add two low shelves for shoes and bins. Keep a high shelf above the rod for seasonal items only adults need. Build the shelves from 1/2-inch plywood — lightweight but strong enough for folded clothes and small boxes. Paint everything a fun color. The whole child-friendly setup costs about $35 and makes mornings so much easier.
11. Stacked Drawer Inserts With Open Shelves Above
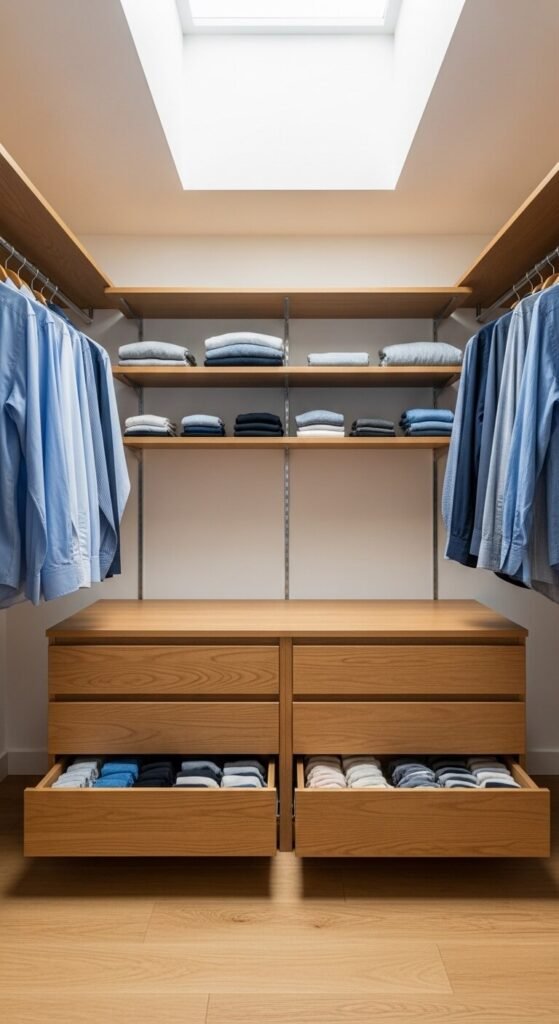
Combine open shelves with small drawer units for a built-in look without built-in prices. Buy two inexpensive 3-drawer chests — IKEA’s ALEX or any similar option works perfectly. Place them on the closet floor side by side. Build open shelves above on brackets. This hybrid gives you drawer storage for small items plus shelf space above. Cost is around $80–$120 depending on the drawers you choose. It looks custom but goes together in an afternoon.
12. Linen Closet Shelf Upgrade
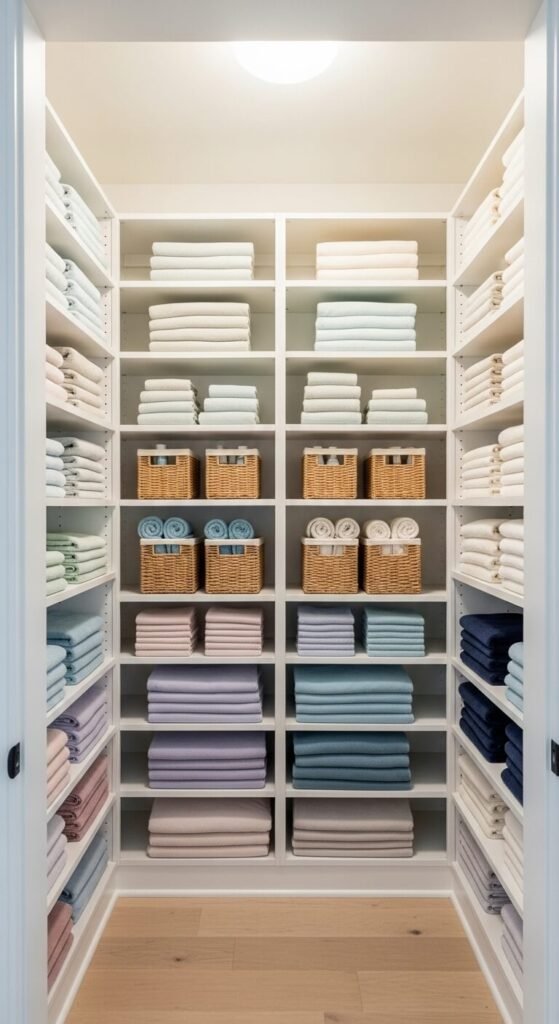
Most linen closets have only two or three shelves when they could easily fit five or six. Add extra shelves every 10–12 inches using shelf pins or small L-brackets. Cut 3/4-inch plywood to fit the depth of your closet — usually about 14–16 inches. Sand, prime, and paint white. Fill the entire closet from floor to ceiling. You’ll double or triple your linen storage for about $25 in materials. This is a single-afternoon project with huge practical payoff.
13. Closet Bench With Storage Below
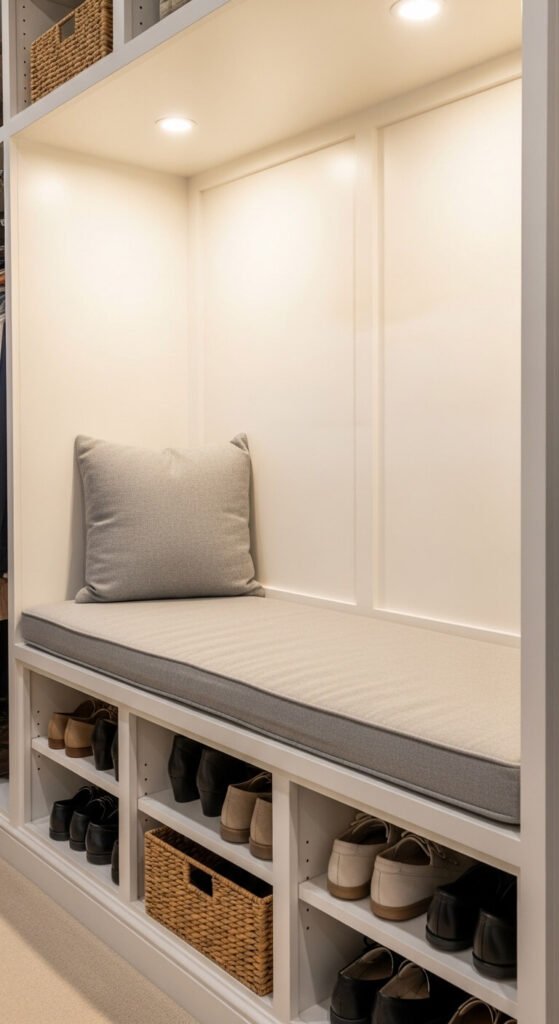
A bench at the back wall of a walk-in closet makes getting dressed much easier. Build one from two side panels and a top panel of 3/4-inch plywood. Leave the space below open for shoes or add a few cubbies. Mount the top panel at 18 inches high. Add a foam cushion cut to size and covered in fabric for comfort. Total build cost is around $50. It makes your closet feel like a proper dressing room and adds practical everyday function.
14. Over-Door Shelf Unit
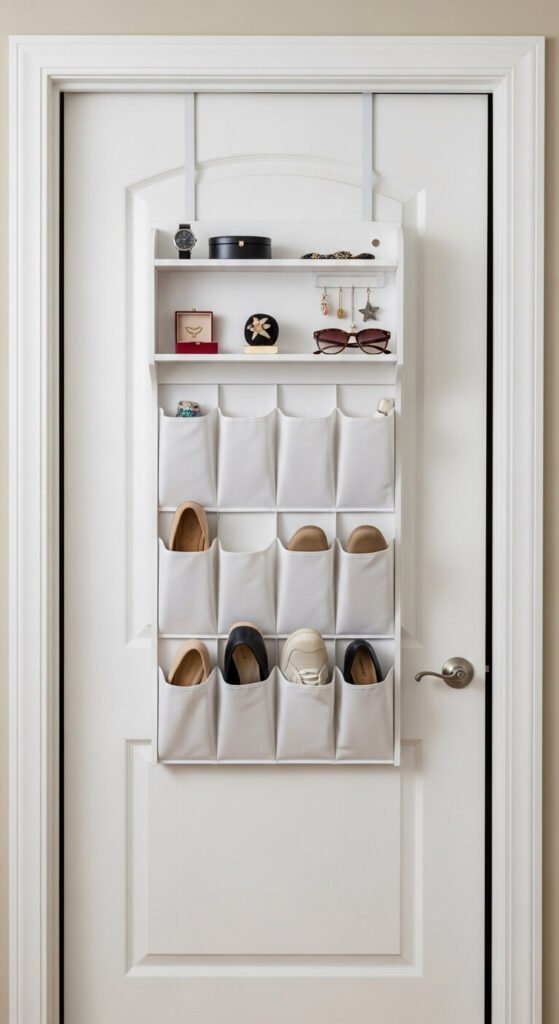
The back of your closet door is free real estate. Mount a narrow shelf unit — about 4 inches deep — directly to the door. Use 3/4-inch pine boards and a piano hinge or just screw directly into the door if it’s solid. Space four or five shelves evenly. Use it for shoes, small bags, or accessories. Keep the total weight under 15 lbs so it doesn’t stress the door hinges. This project costs less than $20 and adds storage you didn’t know you had.
15. Closet Island for Walk-Ins
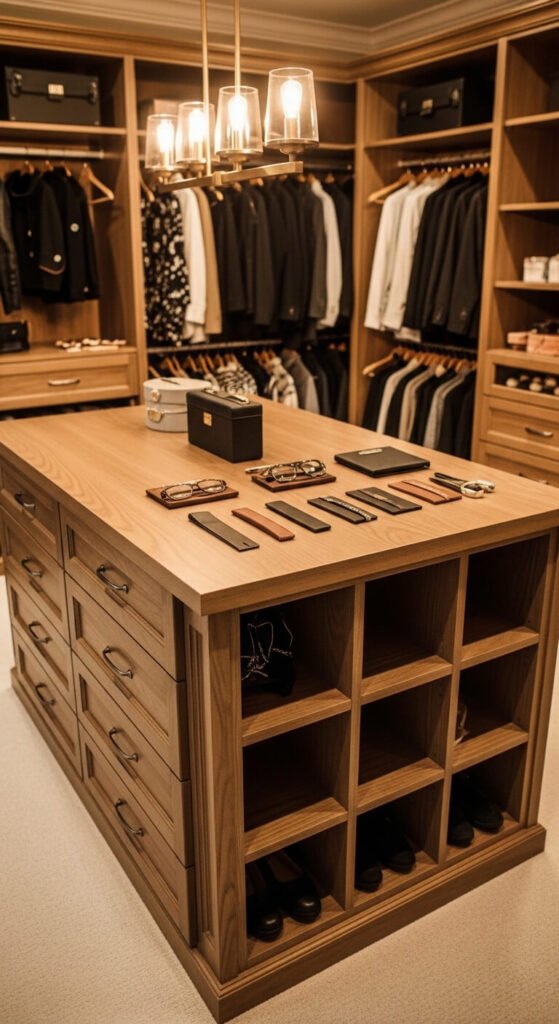
If you have a walk-in with at least 7 feet of clear center space, a closet island is a game changer. Build a simple base cabinet from 3/4-inch plywood — 24 inches wide, 18 inches deep, and 36 inches tall. Add drawers on one side and open cubbies on the other. Top it with a smooth wood surface for folding clothes. Build it from pine and paint it to match your walls. Materials run about $90–$130. It looks like a high-end custom feature.
16. Modular Cube Shelf Wall
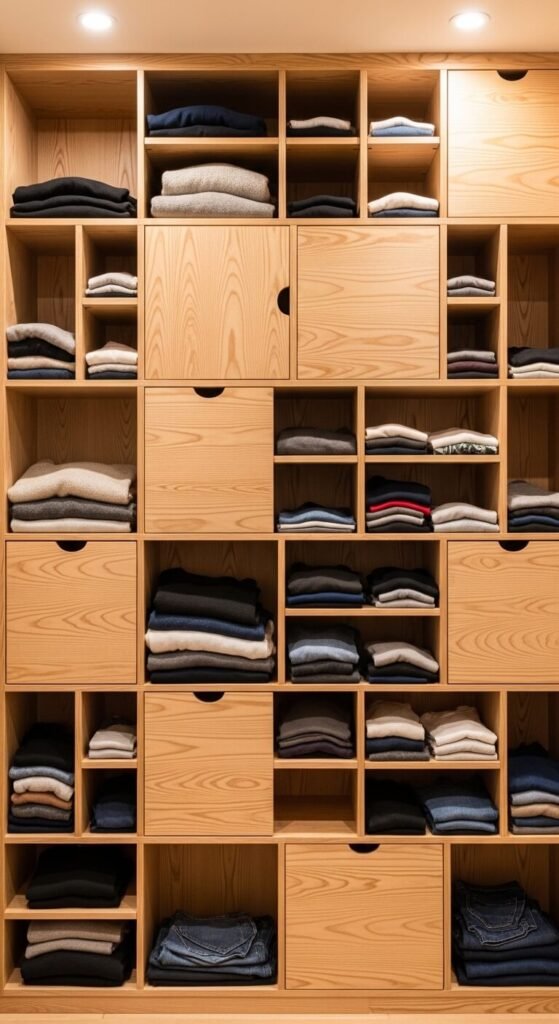
Build a modular wall of identical cube boxes and stack them however your space dictates. Each cube is 12x12x12 inches, built from 1/2-inch plywood with simple butt joints. Build 9 or 12 cubes and arrange them in a 3×3 or 3×4 grid. Screw them together and anchor the top row to the wall. Leave some cubes open, add bins to others. Cost for 12 cubes is about $60–$80 in materials. The modular design means you can rearrange or take it apart when you move.
17. Slim Shelf Tower for Narrow Spaces
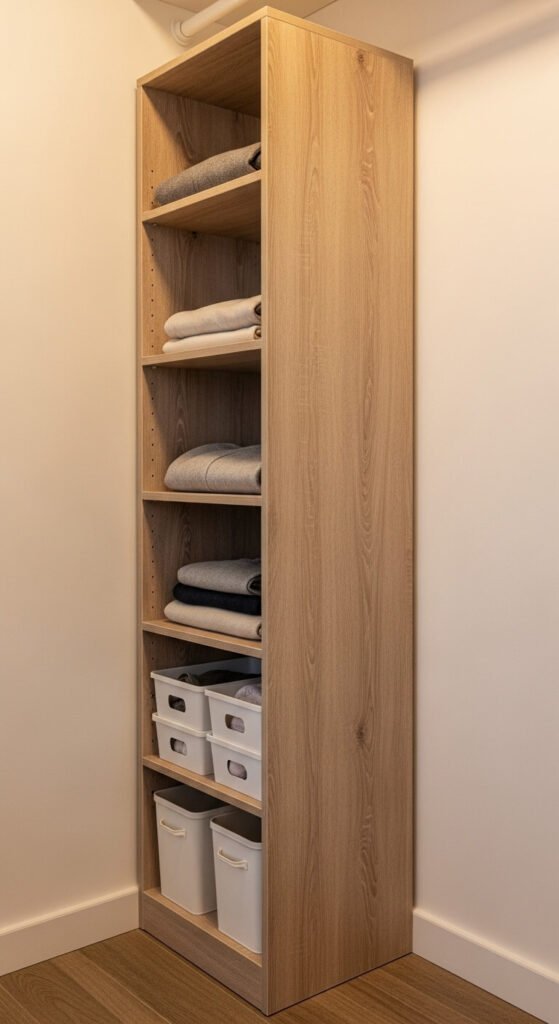
Got a 12-inch gap at the end of your closet? Build a slim tower shelf to fill it. Use 1×12 pine boards and build a tower with five shelves spaced 12 inches apart. Add a back panel of 1/4-inch plywood for rigidity. The whole unit stands about 6 feet tall. Anchor the top to the wall so it won’t tip. Cost is around $30. It fits in spaces where nothing else can go and holds a surprising amount of folded clothing, accessories, and small boxes.
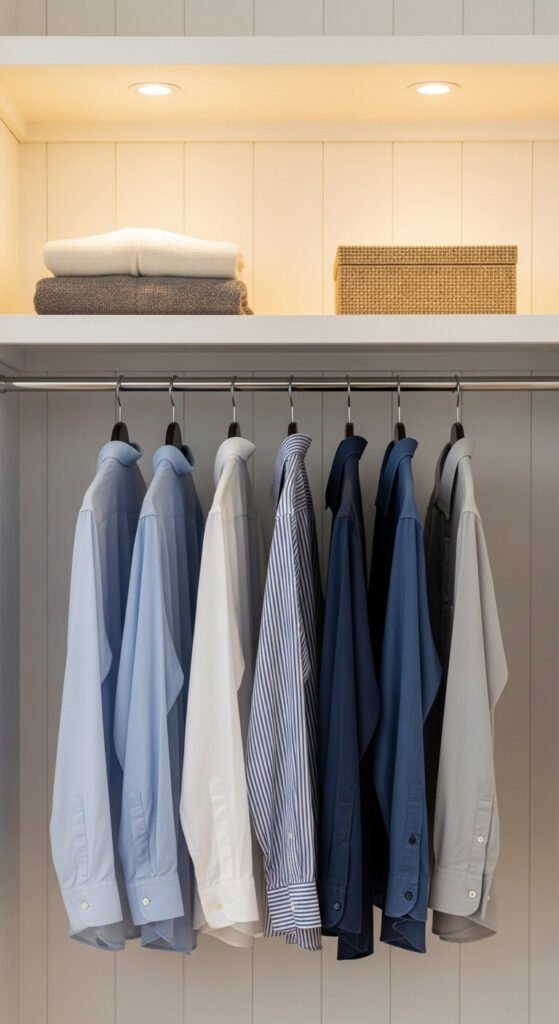
18. Floating Shelf With Hanging Rod Below
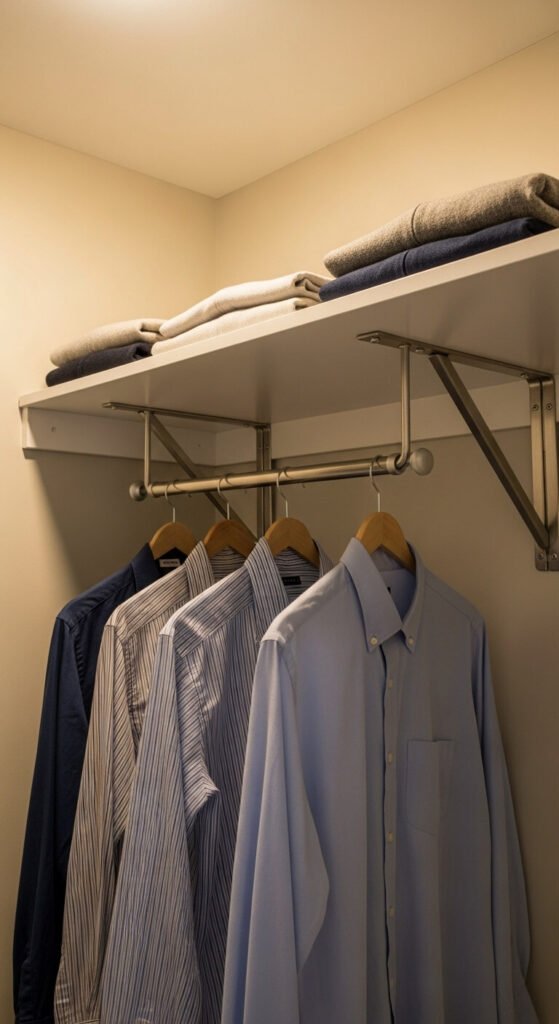
This plan mounts a floating shelf at about 72 inches and hangs a rod beneath it using two metal drop-rod brackets. The shelf sits on two wooden cleats screwed into the studs. The rod hangs from the bracket holes. This creates a floating, modern look compared to traditional brackets. It works especially well for a small section of the closet dedicated to suits, dresses, or dress shirts. Total cost is around $25.
19. Built-In Shelves With Baseboard Trim
Add baseboard trim to your DIY shelves and they immediately look like they came with the house. Build standard plywood shelves, then glue and nail a thin strip of baseboard molding to the front edge of each shelf. Add a small piece of crown molding at the top of the unit. Paint everything the same white. The material cost is only $10–$20 more than a basic shelf build, but the result looks custom and finished. This works best in visible closets like hallway linen closets.
20. Laundry Room Shelf Wall
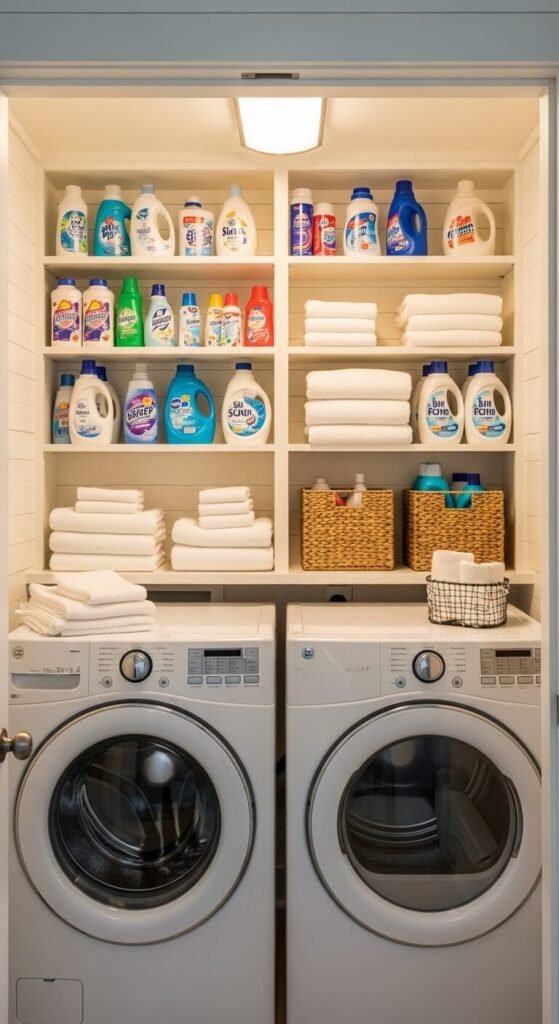
Your laundry room deserves more than a pile of detergent on the floor. Build a wall of shelves above the washer and dryer starting at about 52 inches high to clear the appliance lids. Use 3/4-inch plywood or 1×10 pine boards. Space shelves every 12 inches. Add a lower shelf at about 66 inches and go all the way to the ceiling. Paint everything white to reflect light. Cost is $35–$55 depending on wall width. Laundry day gets so much more manageable.
21. Closet Shelf With Pull-Out Baskets
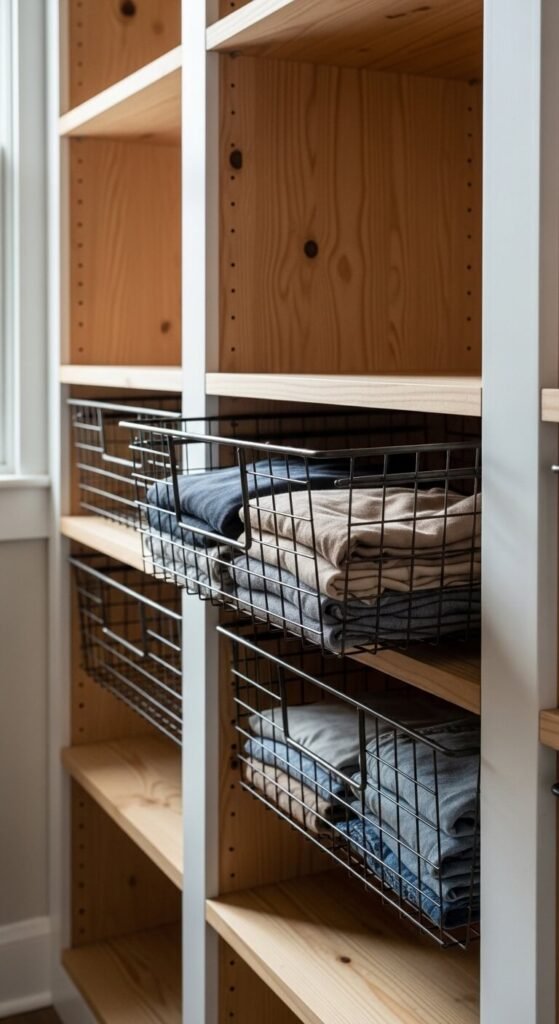
Slide-out baskets make deep shelves useful. Mount wire or wooden baskets on 20-inch full-extension drawer slides inside a shelf box. Build a basic box from 3/4-inch plywood — 24 inches wide, 16 inches deep, and 12 inches tall. Mount the slides inside, attach the basket, and you’ve got hidden pull-out storage. Cost per basket unit is about $20–$30. Build two or three and stack them. They’re perfect for kids’ rooms where you want organized storage that’s actually easy to use.
22. Closet Shelf With Built-In Jewelry Organizer

Hide a jewelry organizer inside a hinged shadow box mounted to the wall. Build a box about 4 inches deep from 1/2-inch plywood. Line the interior with fabric or corkboard. Mount small hooks for necklaces and add foam slots for rings. Hinge it to the wall so it swings open. When closed, it looks like a flat decorative panel. When open, it reveals everything neatly. Cost is about $15–$25 to build. It’s one of the most satisfying small DIY projects you can do in an afternoon.
23. Overhead Luggage Shelf
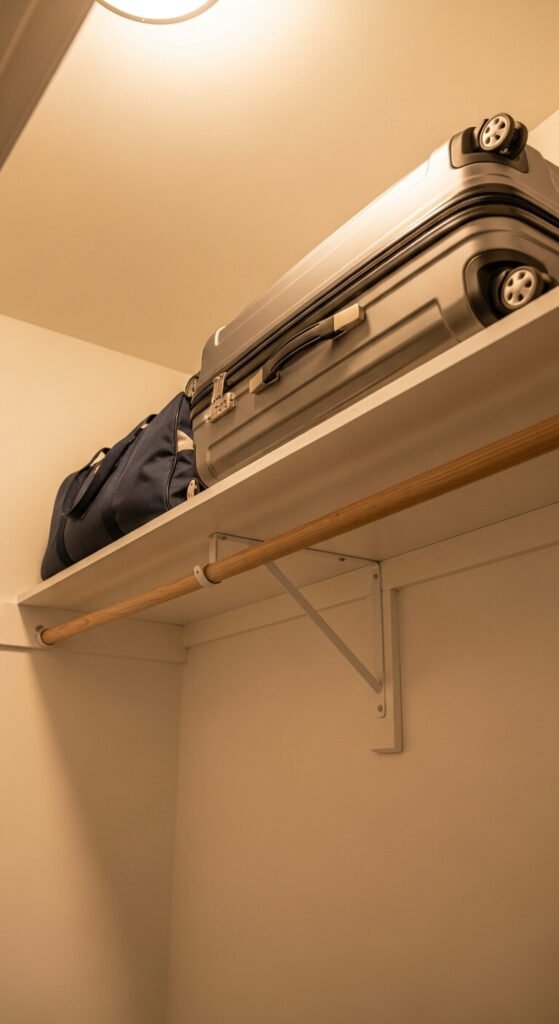
The space above your clothes rod is usually just dead air. Fill it with a deep overhead shelf at 80–84 inches. Use 3/4-inch plywood cut 16–20 inches deep. Mount heavy-duty shelf brackets into studs because luggage is heavy. This shelf becomes your home for suitcases, duvet bags, and holiday decorations — anything bulky that you only need a few times a year. Cost is about $20–$35. You free up floor space and ceiling space simultaneously.
24. Closet Shelf With Tie and Belt Rack
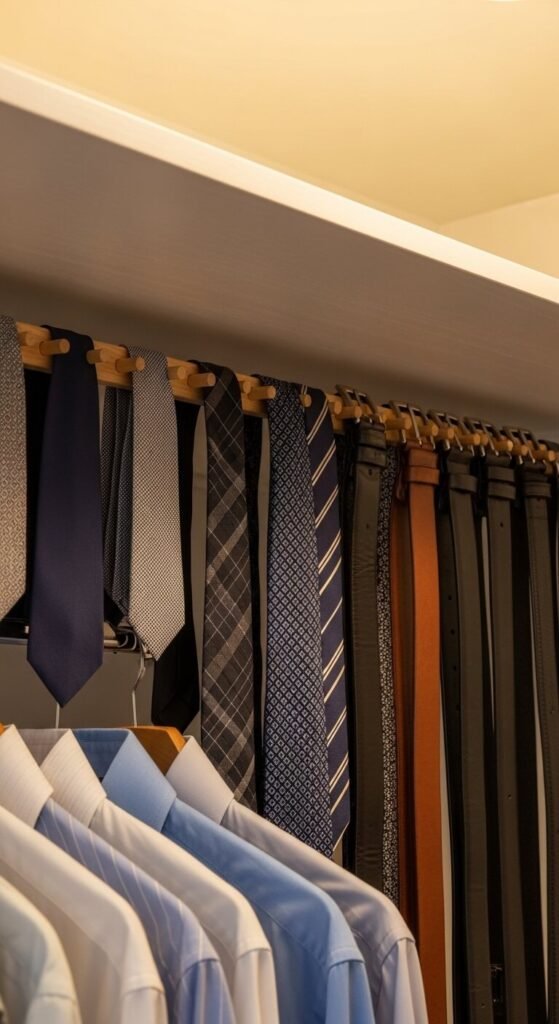
Mount a row of small wooden or metal dowels to the underside of an existing shelf to create a hanging rack for ties and belts. Drill holes in a 1×2 strip, insert 3-inch dowels with wood glue, and screw the strip to the bottom of the shelf. Cost is under $10. Each dowel holds multiple ties or a rolled belt. This keeps accessories off the floor and out of drawers without taking up any extra space. It’s a tiny project that solves a daily frustration.
25. Cedar Closet Shelf Liner System
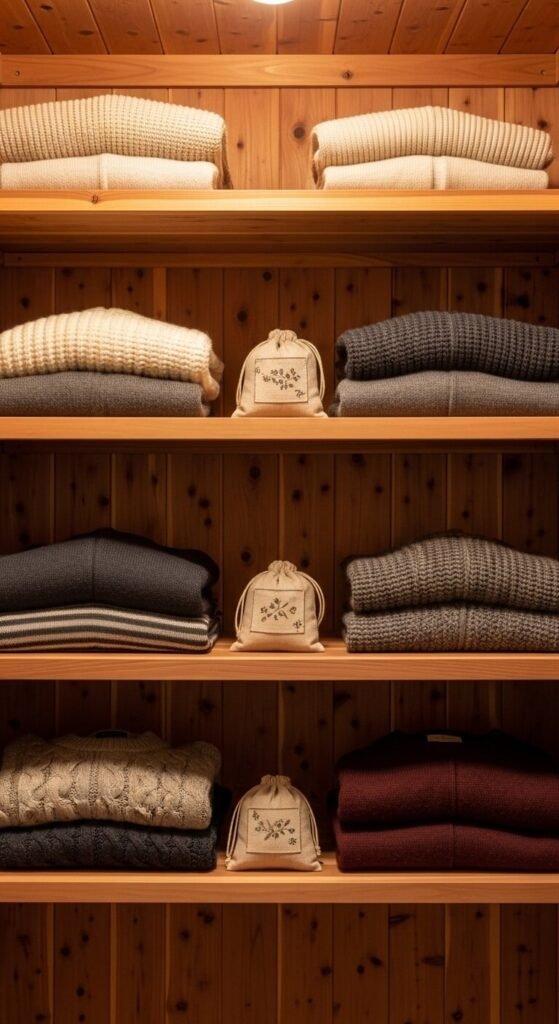
Cedar naturally repels moths and keeps clothes smelling fresh. Line your existing closet shelves with thin cedar planks or cedar shelf liner boards. Cut to fit and use a brad nailer or wood glue to attach them. Cedar planks run about $1–$2 per linear foot. You don’t have to rebuild anything — just add cedar on top of what’s already there. Sand lightly each year to refresh the scent. This is a simple upgrade that protects your clothes and makes your closet smell amazing.
26. Freestanding PVC Pipe Clothing Rack
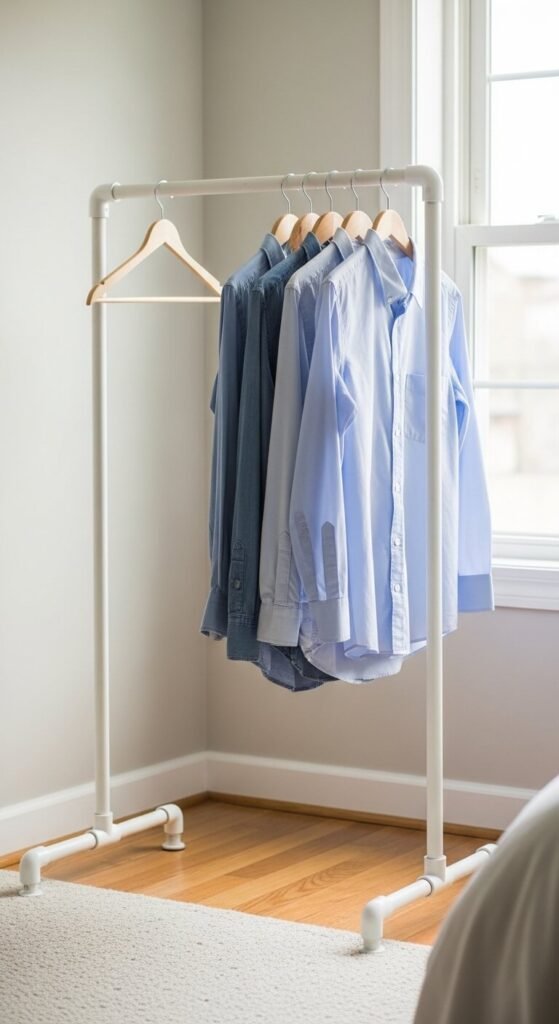
Build a freestanding open rack from 1-inch PVC pipe and fittings in about 30 minutes. Cut two 36-inch vertical pipes, two 18-inch base pipes, and one 48-inch horizontal top pipe. Use T-fittings and elbow connectors. No glue needed for a temporary rack. Total cost is $15–$20. This is perfect for a guest room closet, a laundry area, or anywhere you need extra hanging space without permanent installation. PVC is lightweight, easy to cut, and totally moveable.
27. Shelf Dividers for Folded Stacks
Folded stacks always topple. Shelf dividers keep them upright and separated. Cut thin pieces of 1/4-inch plywood or MDF into 10×12-inch rectangles. Slot them over the shelf edge — cut a thin notch at the bottom to grip the shelf lip. Sand smooth so they don’t snag fabric. Cost is almost nothing if you have scrap wood. Make four or five and space them 12–14 inches apart on your sweater shelves. This is one of the smallest changes with one of the most noticeable daily impacts.
28. Under-Stair Closet Shelf System
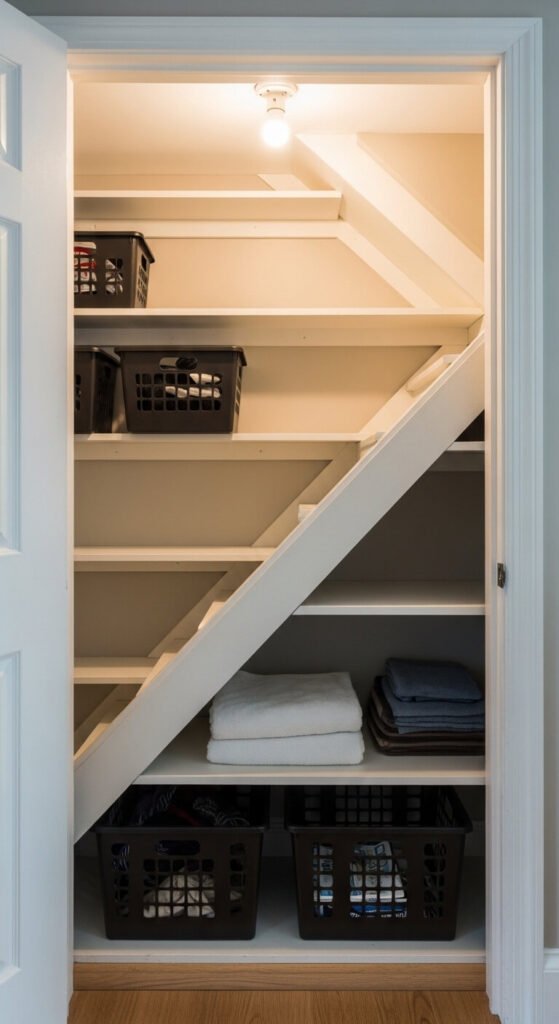
Under-stair spaces are awkward but full of potential. Build shelves that follow the slope of the staircase using different shelf heights at each bay. The tall section near the front of the stairs fits coats and tall boxes. The short section at the back fits shoes and flat bins. Cut each shelf to fit the specific width and depth of its bay. This project takes more planning but costs about $60–$80 in materials and turns wasted space into serious storage.
29. Adjustable Shelf Pin System
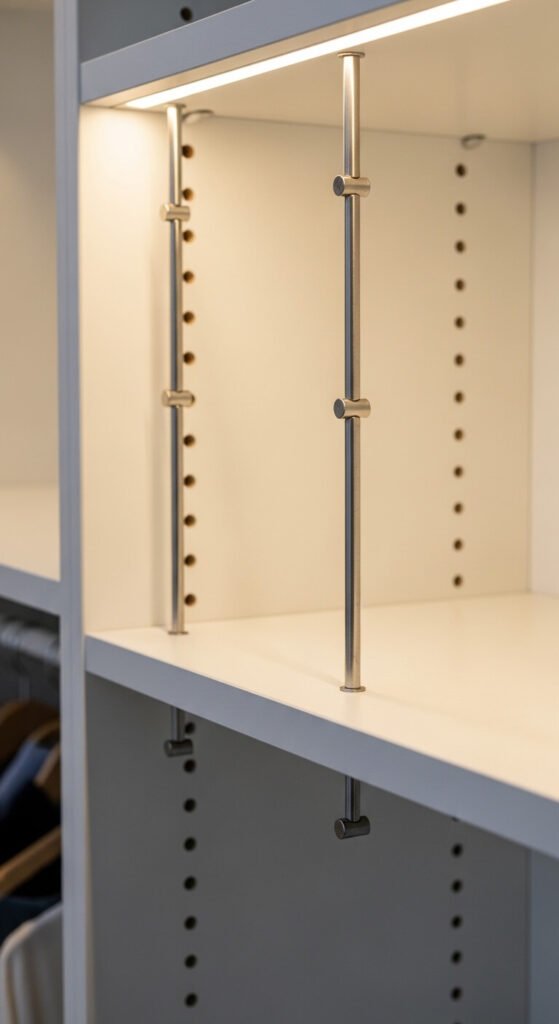
Build any shelf unit with adjustable shelf pins and you’ll never have to rebuild it when your storage needs change. Drill two columns of 1/4-inch holes spaced every inch up the inside walls of your shelf unit using a simple jig made from a strip of pegboard. Insert metal shelf pins at whatever height you need. Raise or lower shelves in seconds. This technique adds only $5 to any shelf build and gives you flexibility for years. Every DIY closet shelf should be built this way.
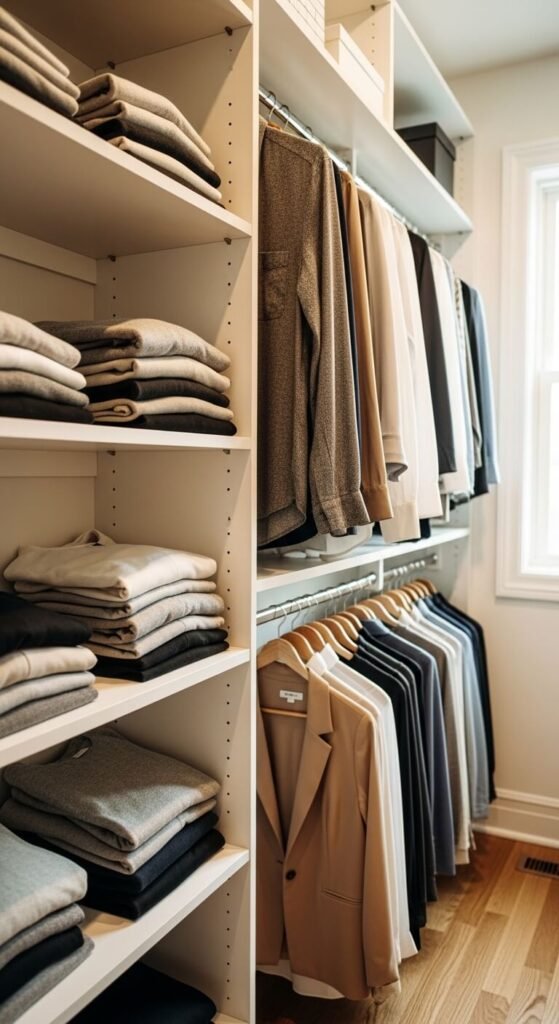
30. Full Closet Makeover With Zones
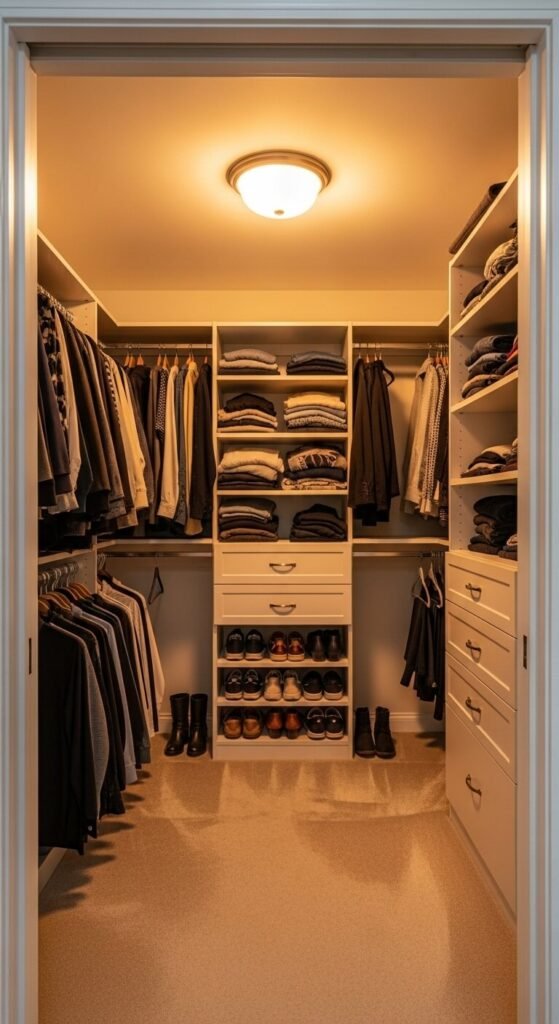
Put it all together with a zoned closet plan. Divide your closet into three sections: hanging zone, folded-clothes zone, and accessories zone. Use the double-rod system on one side, a cubby tower in the center, and an open shelf with shoe storage on the other side. Plan it on paper first. Measure everything. Buy materials for each zone separately so costs stay manageable. A full DIY makeover like this typically runs $100–$200 in materials but adds real daily function and makes your entire morning routine easier.
Conclusion
You don’t need to spend thousands on a California Closets installation or a professional carpenter. Every single plan on this list uses basic materials, simple tools, and beginner-friendly techniques. Start with one project this weekend. Add a shelf, double your hanging rod, or line a closet with cedar. Each small change builds toward a system that actually works for your life. The best closet is the one you use every day without frustration. Pick a plan, grab your tools, and start building.