If your kitchen cabinets feel like a black hole where pots disappear and spice jars multiply overnight, you are not alone. Most home cooks struggle with cabinets that were never really set up for actual cooking. The good news? You do not need a full renovation or a big budget to fix it. Small, smart changes can completely transform how your kitchen works. These 29 ideas are practical, affordable, and designed for real kitchens — not magazine spreads. Pick a few that match your space and start there.
1. Sort by Cooking Zone
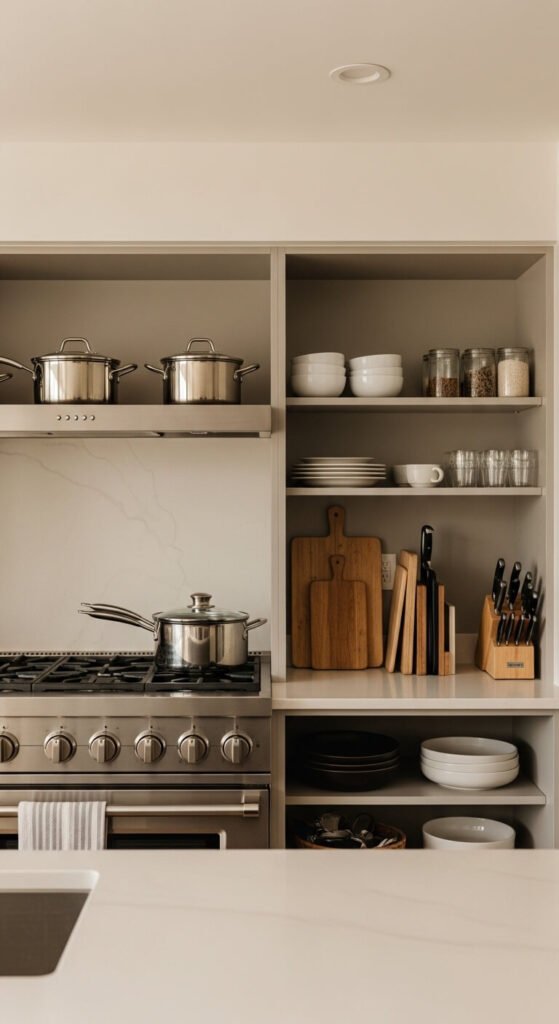
Group cabinet contents by what you actually do in each area. Keep pots near the stove, prep tools near the counter, and baking supplies in one dedicated zone. Stop mixing unrelated items on the same shelf. When everything lives near where it gets used, cooking becomes faster and less frustrating. This is the single most impactful change you can make before buying any organizer. Walk through your cooking routine once and rethink the layout based on real habits.
2. Use a Lazy Susan in Corner Cabinets
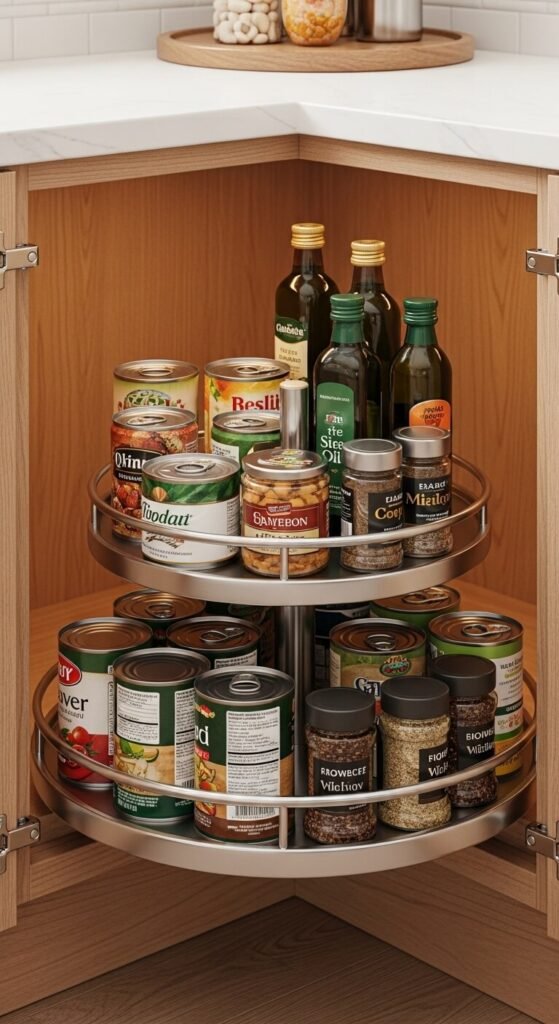
Corner cabinets waste more space than almost anything else in a kitchen. A lazy Susan turntable solves this instantly. Spin it to find what you need instead of digging into the dark back corner. Two-tier versions double your usable space. You can buy a basic plastic one for under $15 at most home stores. Use it for oils, vinegars, canned goods, or spices. It takes five minutes to install — no drilling, no tools.
3. Add a Second Shelf Inside Cabinets
Most cabinet shelves are spaced too far apart, wasting the vertical space between items. A shelf riser or cabinet shelf insert lets you stack two rows of dishes, glasses, or pantry goods where only one fit before. These are available in wire, bamboo, or coated steel for $8–$20. No installation needed — they just sit on your existing shelf. This one trick can effectively double your cabinet storage without moving a single screw.
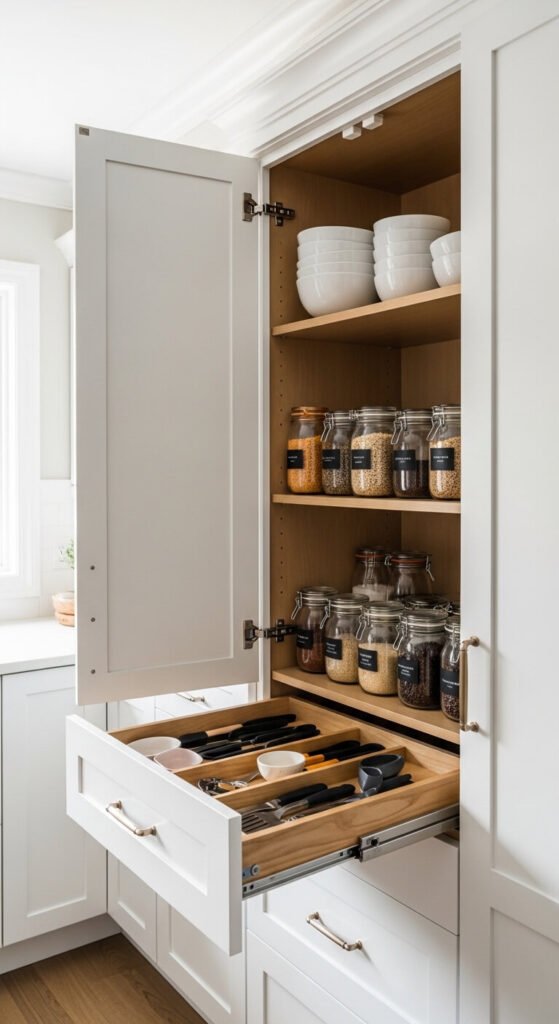
4. Install Pull-Out Drawers Inside Cabinets
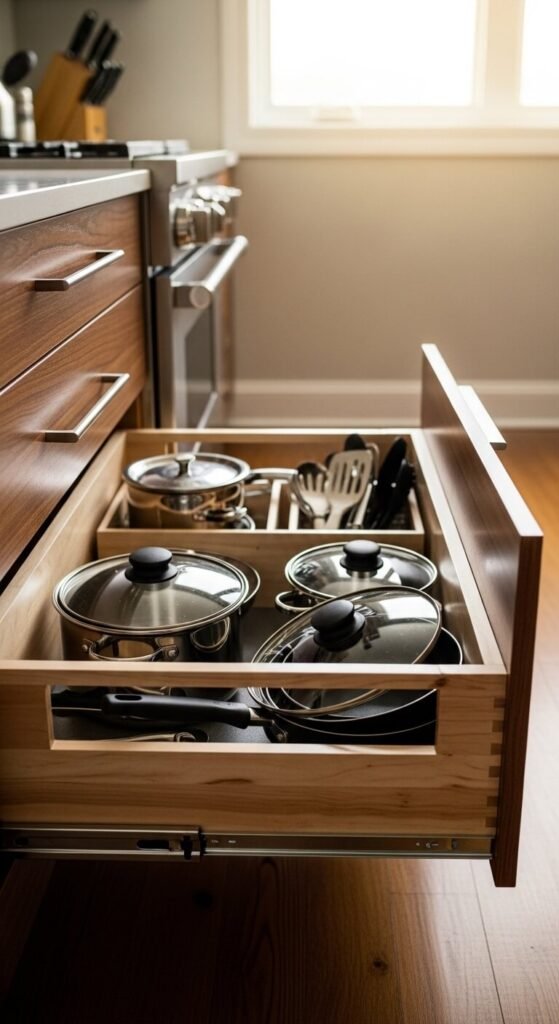
Deep lower cabinets are notoriously hard to use. Things get shoved to the back and forgotten. Pull-out cabinet drawers fix this by bringing everything to you. Slide the drawer out and see everything at once — no crouching, no digging. You can buy slide-out shelves online for $30–$60 and install them yourself with basic tools. Look for ones with soft-close glides. They work especially well for pots, pans, and small appliances.
5. Mount a Tension Rod for Lids
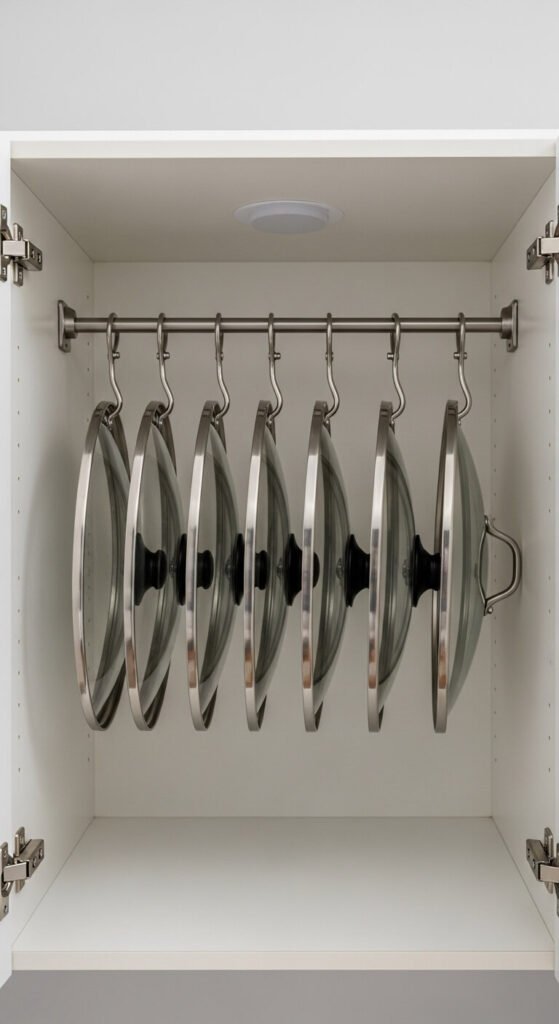
Pot lids are a storage nightmare. They slide around, fall over, and take up way too much room. A simple tension rod mounted horizontally inside a cabinet holds lids upright like files in a drawer. It costs almost nothing — tension rods run $3–$8. No drilling required. Adjust the rod to fit your cabinet width and slide lids in vertically. This clears shelf space for the actual pots and keeps lids visible and accessible.
6. Label Everything Clearly
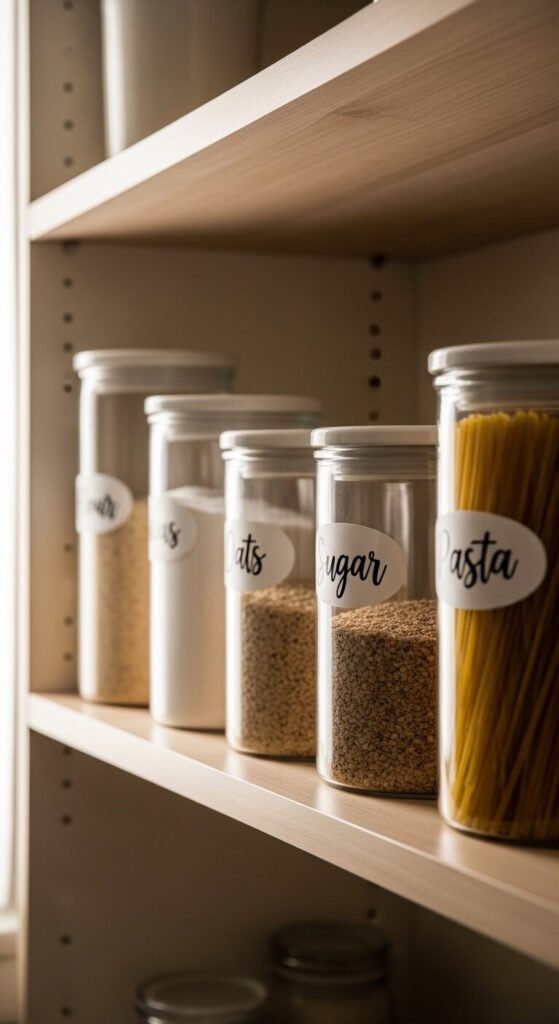
Labels sound obvious, but most people skip them. Without labels, you second-guess containers and waste time opening lids to check contents. Use a label maker, masking tape, or chalkboard labels — all cheap options. Label shelves too, not just containers. When every family member knows where things live, things actually get put back. This small habit keeps your organized cabinet from sliding back into chaos within a week.
7. Group Spices on a Tiered Rack
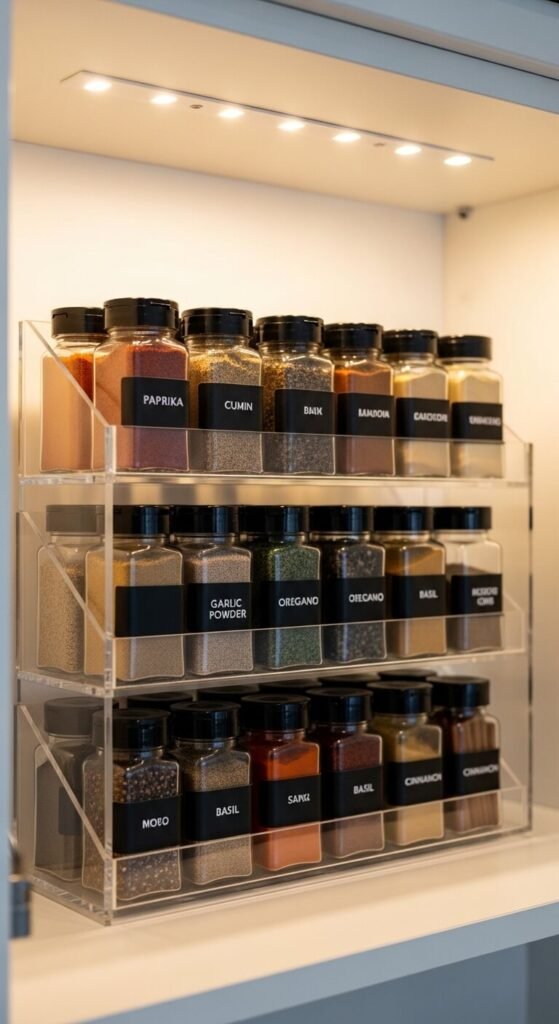
Digging through a flat pile of spice jars to find cumin is one of the most common kitchen frustrations. A tiered spice rack lifts the back rows so every jar is visible at once. Bamboo and acrylic versions cost $12–$25 and fit most standard cabinets. Arrange spices alphabetically or by cuisine — whatever matches how you actually cook. Uniform jars look cleaner and fit better, but even keeping your existing jars in a rack makes a huge difference.
8. Dedicate One Drawer to Wraps and Bags
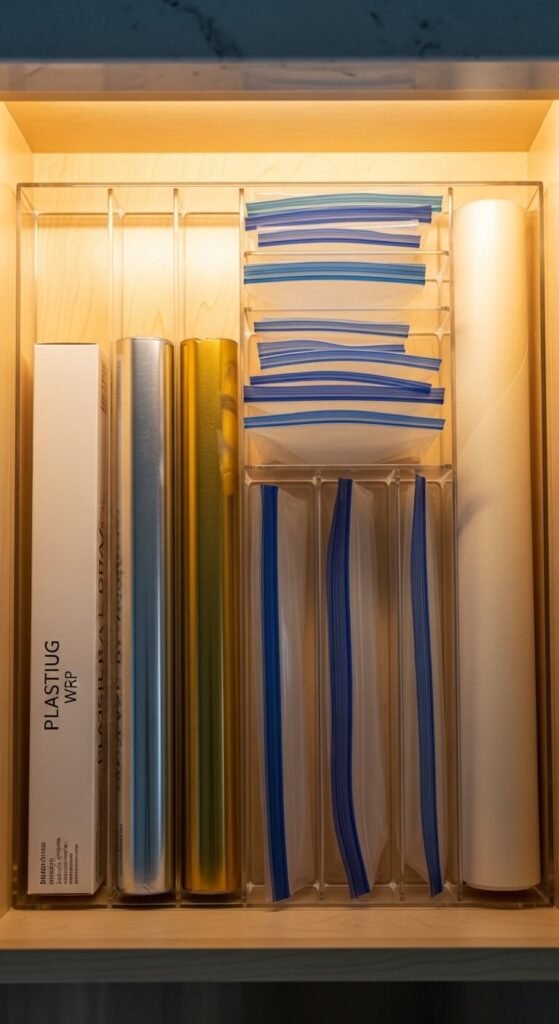
Plastic wrap, foil, zip bags, and parchment paper tend to get thrown into random drawers and cabinets. Give them one dedicated home — ideally a shallow drawer near your prep area. Use a drawer divider or simple bins to keep each type separated. Everything stays flat, rolls stay in place, and you stop tearing apart drawers looking for the right size bag. This single-purpose drawer takes five minutes to set up and saves real time every day.
9. Hang Measuring Cups on a Hook Rail
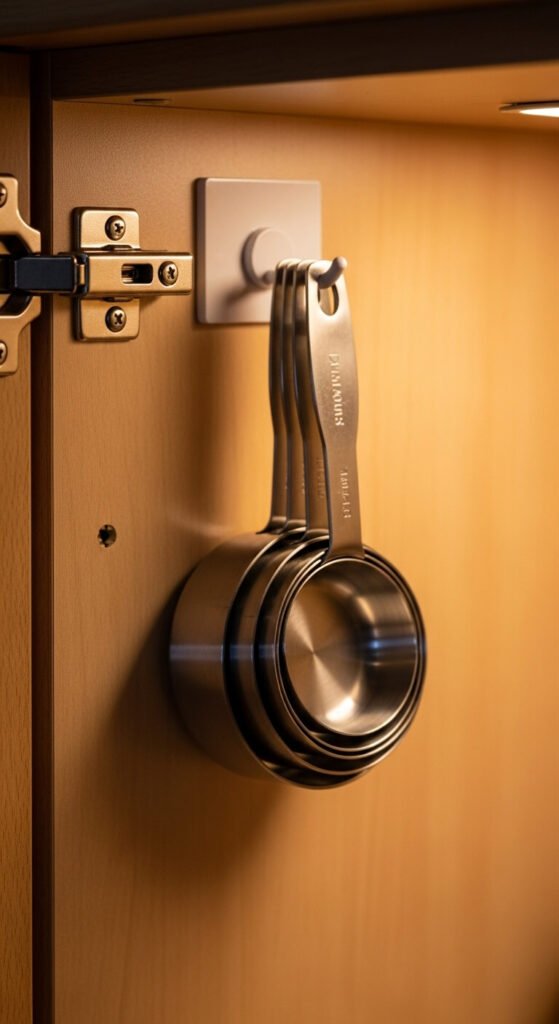
Measuring cups and spoons disappear into drawers and come out tangled. Hanging them on the inside of a cabinet door keeps them visible and within reach. Use adhesive hook strips — no drilling needed. Command hooks from any hardware store cost about $5 for a pack. Hang cups by their handles in graduated size order. It takes under three minutes and immediately clears drawer space for other tools.
10. Use Clear Bins to Group Pantry Items

Random pantry items spread across shelves create visual chaos and make things easy to miss. Clear bins act like drawers on open shelves — everything in a category goes in one bin, and you pull the whole bin out to access it. Look for matching rectangular ones from dollar stores or discount home goods shops. A four-pack often costs under $12. Assign one bin per category: snacks, canned goods, grains, baking supplies.
11. Store Baking Sheets Vertically
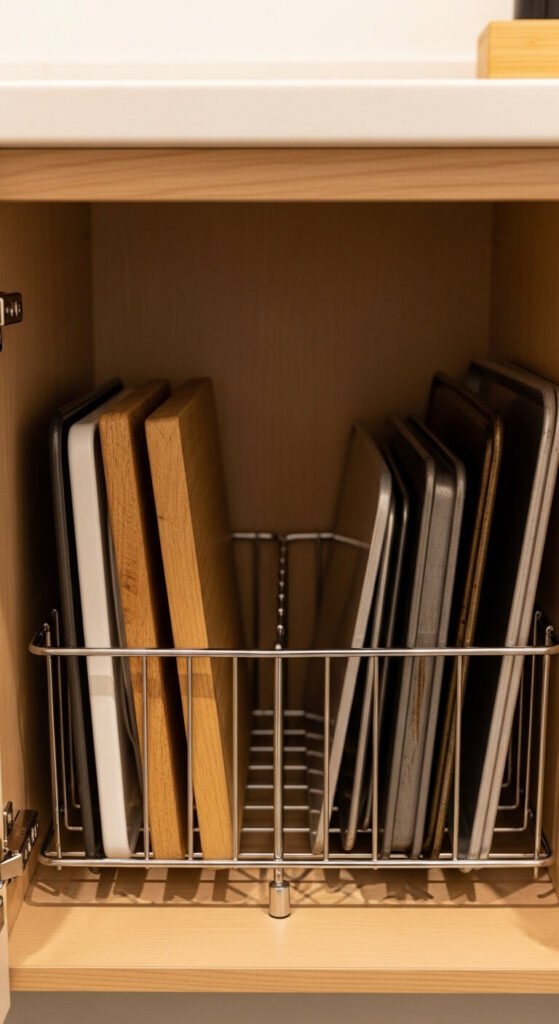
Stacking baking sheets flat means pulling out the whole pile every time you need the one on the bottom. Store them vertically like books using a wire rack divider. These dividers cost $8–$15 at kitchen stores or online and fit most lower cabinets. Stand sheets, cutting boards, and baking pans upright and pull out only what you need. It is faster, less frustrating, and actually protects the surfaces from scratching.
12. Create a Coffee and Tea Drawer
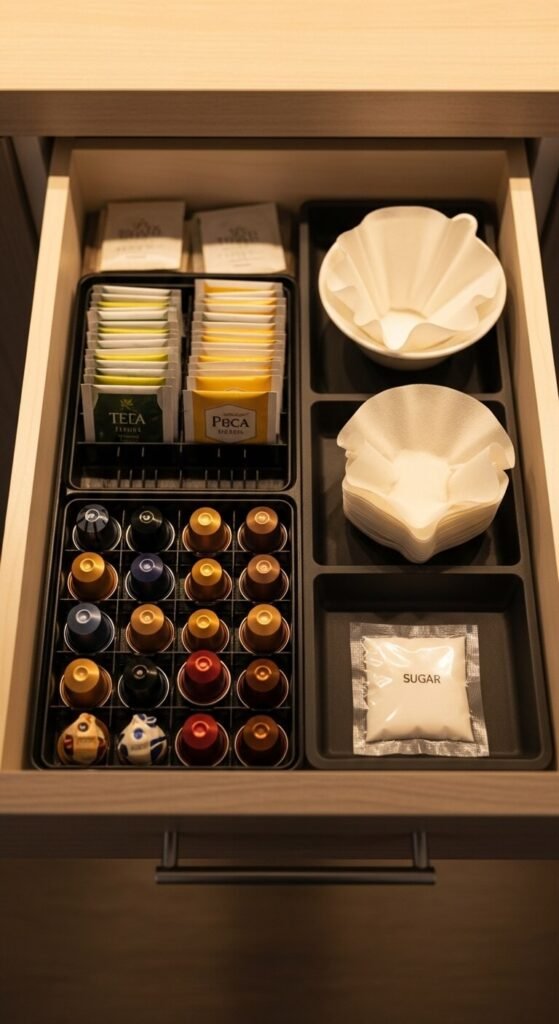
If coffee and tea supplies live across three different cabinets and two drawers, mornings become a treasure hunt. Designate one small drawer for everything hot-drink related — pods, tea bags, filters, sugar packets, and a small spoon. Use a simple drawer tray with compartments, or DIY one with small boxes lined up inside. This takes ten minutes to set up and makes every morning noticeably smoother.
13. Put Heavy Items on Lower Shelves
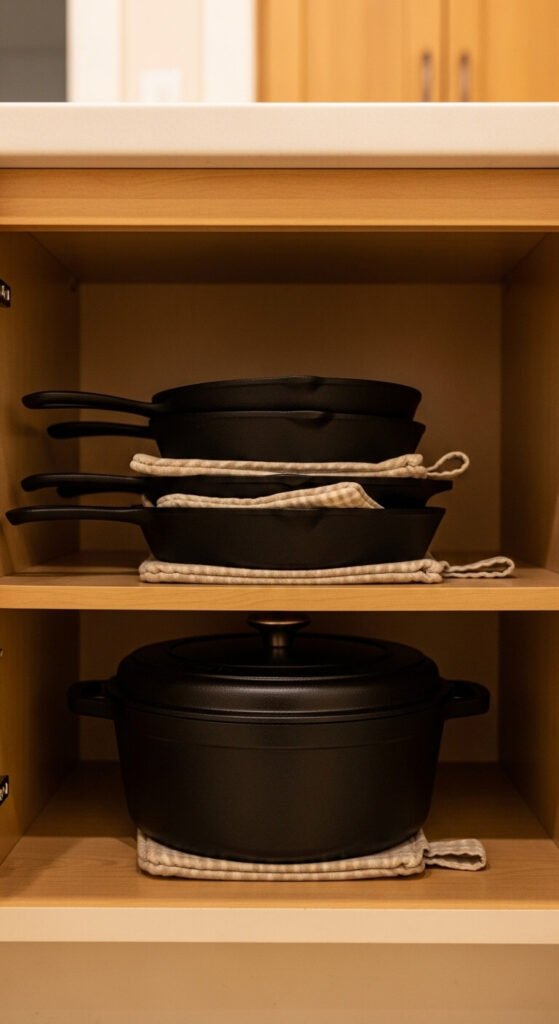
Heavy pots, Dutch ovens, and cast iron pans belong at the bottom — not stacked on high shelves where lifting them risks dropping something. Low placement reduces injury risk and makes cooking easier. Use the bottom shelf of a lower cabinet or even the floor of the cabinet for the heaviest items. Store lighter pieces above. It is a simple logic most people overlook when originally loading up their cabinets.
14. Add a Pegboard Inside a Cabinet Door
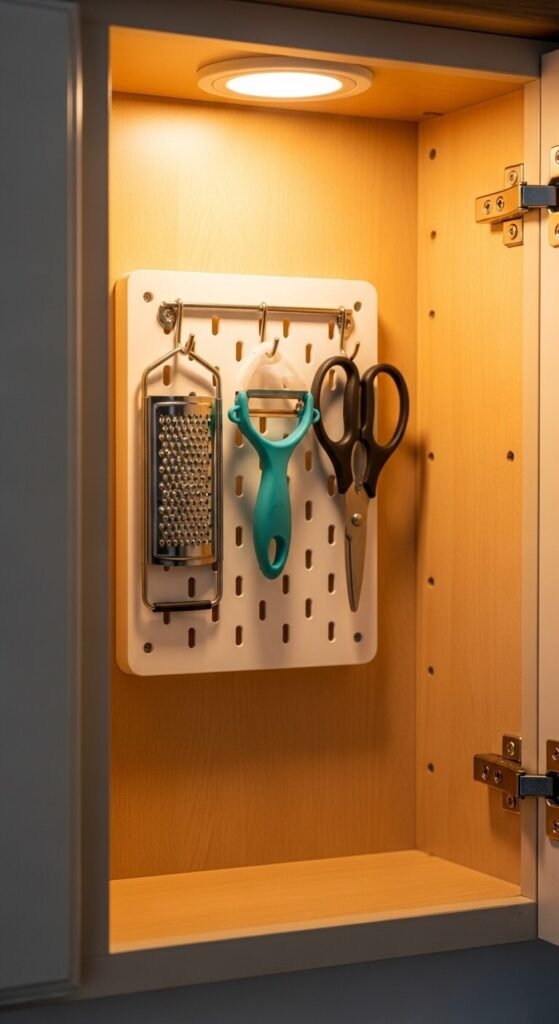
The inside surface of cabinet doors is almost always wasted space. A small pegboard panel mounted to the interior gives you a hanging wall for lightweight tools. Use removable adhesive mounts or screws to attach a thin piece of pegboard cut to fit. Add metal hooks and hang peelers, graters, small scissors, or even spice packets. This DIY project costs under $15 in materials and opens up significant drawer and shelf space.
15. Use Drawer Dividers for Utensils
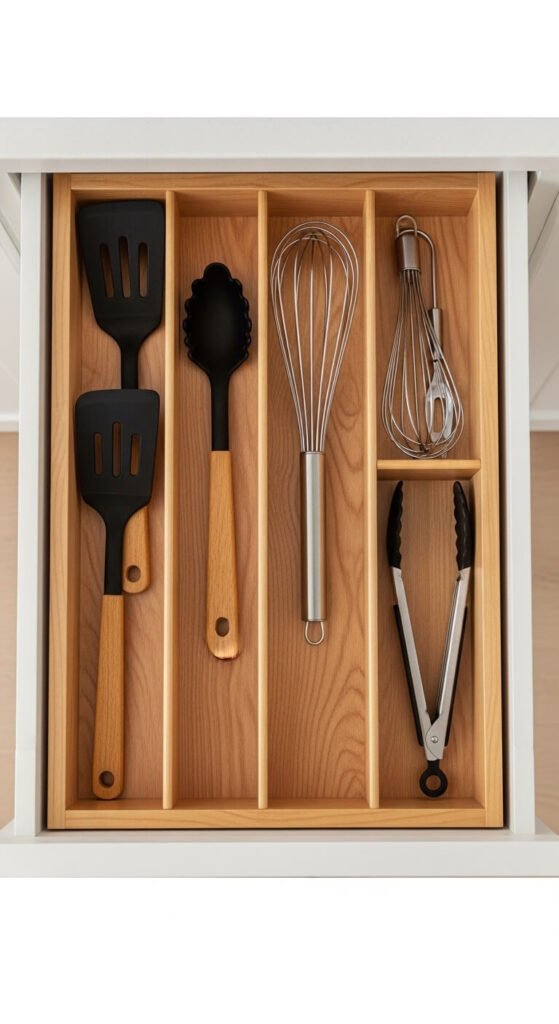
The classic junk drawer full of tangled spatulas and mystery tools is fixable with expandable drawer dividers. Bamboo versions cost $10–$20 and adjust to fit almost any drawer width. Group tools by type: flipping, stirring, cutting. If you have more than fits neatly, that is a sign to remove tools you rarely use. A clean utensil drawer means faster cooking because you are not fishing around for the right tool every time.
16. Stack Plates with Foam Protectors
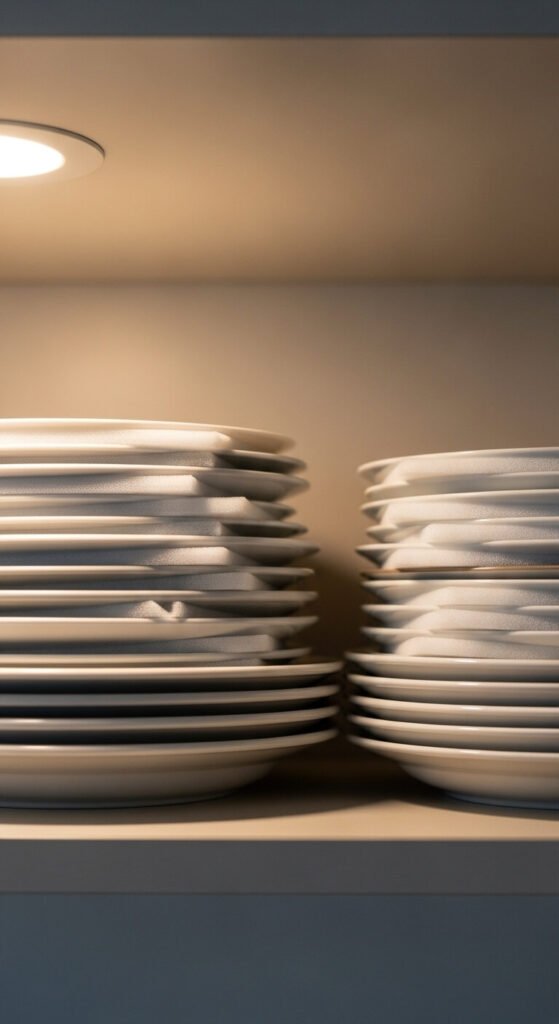
Stacking plates without protection causes chips and scratches over time — especially with heavier ceramic and stoneware. Thin foam plate protectors or felt pads sit between each plate and prevent surface damage. A pack of 20–30 costs under $10. They also make unstacking quieter, which matters in households with early risers or light sleepers. Stack confidently and keep your dishes lasting longer without buying anything fancy.
17. Create a Snack Basket for Kids
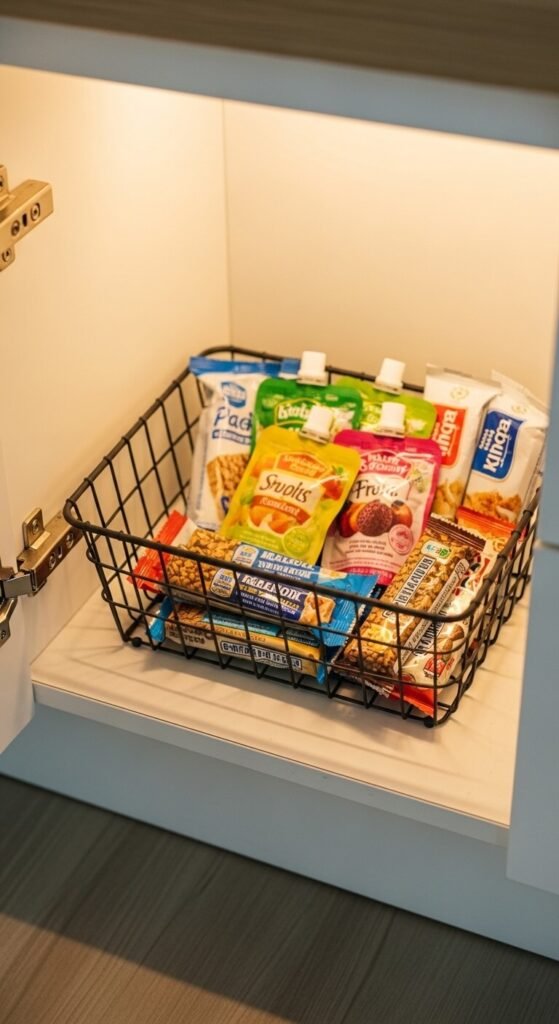
Put kid-friendly snacks in one low, accessible basket so children can help themselves without opening every cabinet. Use a simple wire or wicker basket on a lower shelf. Keep only approved snack options in there. It teaches kids independence and stops the cycle of “I can’t find anything to eat” followed by cabinet doors hanging open. Refill the basket weekly and move sweets or off-limit snacks to higher shelves.
18. Hang a Slim Spice Rack on the Cabinet Wall
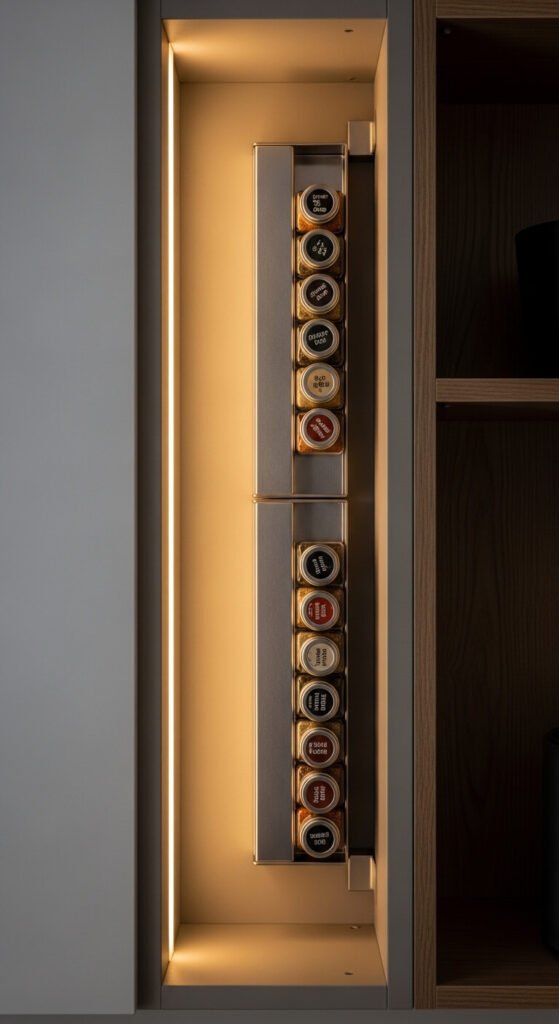
If you are short on shelf space, mount a narrow spice rack directly to the interior side wall of a cabinet. Many of these racks come with adhesive mounting hardware — no studs needed for lightweight versions. Magnetic spice tins also work on metal rack bars. This keeps spices off the shelf entirely and frees that surface for other items. A two-tier wall-mounted spice rack can hold 16–24 jars without using any shelf real estate.
19. Consolidate Plastic Container Lids

Mismatched plastic container lids are a universal kitchen frustration. Dedicate one small section or bin just for lids, sorted by size. A narrow vertical file rack works perfectly — stand lids upright and flip through them like records. Toss lids without matching containers and containers without lids. Once the collection is paired down to what actually matches, find a system and stick to it. This takes 20 minutes once and saves ongoing daily frustration.
20. Use a Wall-Mounted Magnetic Strip Inside Cabinets
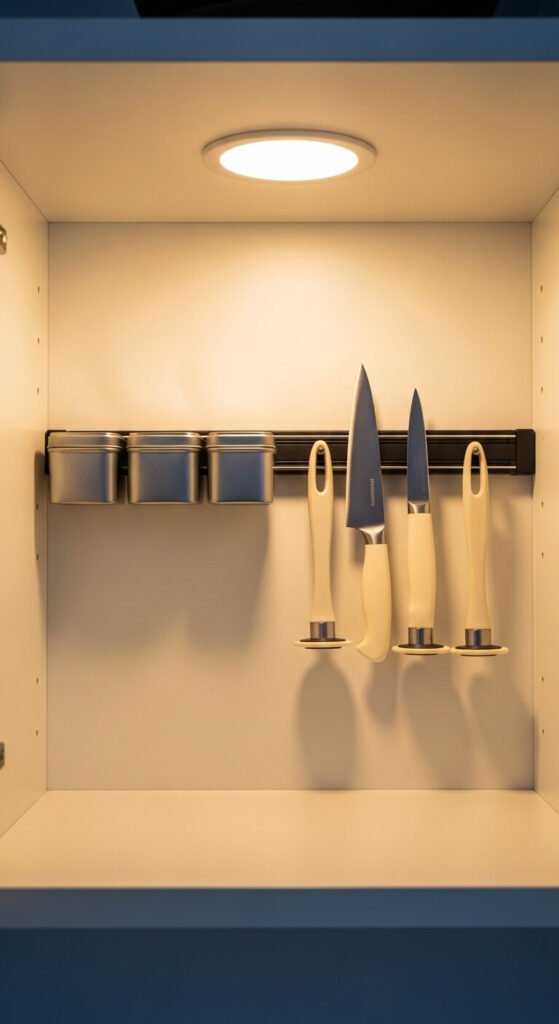
Magnetic strips are not just for knife blocks on the counter. Mount one inside a cabinet back wall to hold metal spice tins, small tools, or even a bottle opener. Adhesive-backed magnetic strips are inexpensive and require no tools to install. Pair with magnetic spice containers for a system that keeps your shelf completely clear. This works well in narrow cabinets where shelves are already crowded.
21. Designate a Baking Supply Cabinet
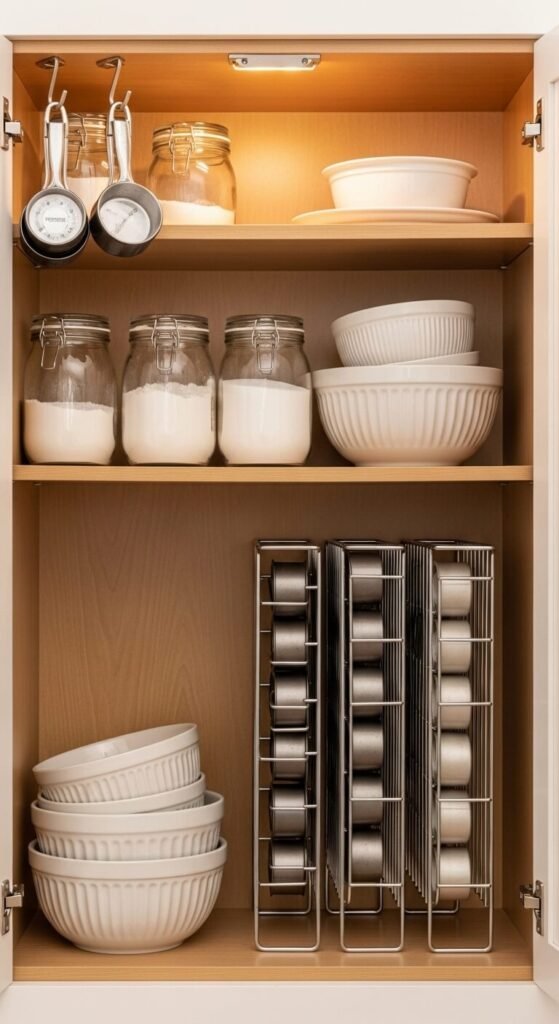
Mixing baking supplies across multiple cabinets makes the whole process slower. Give all your baking supplies one home — flour, sugar, baking soda, vanilla, measuring tools, and pans. When everything is together, you set up faster and clean up faster. Use the interior door for hanging measuring cups and the main shelf for dry goods in labeled jars. Baking pans go vertical in a rack at the bottom or side.
22. Add Roll-Out Trash Bag Storage
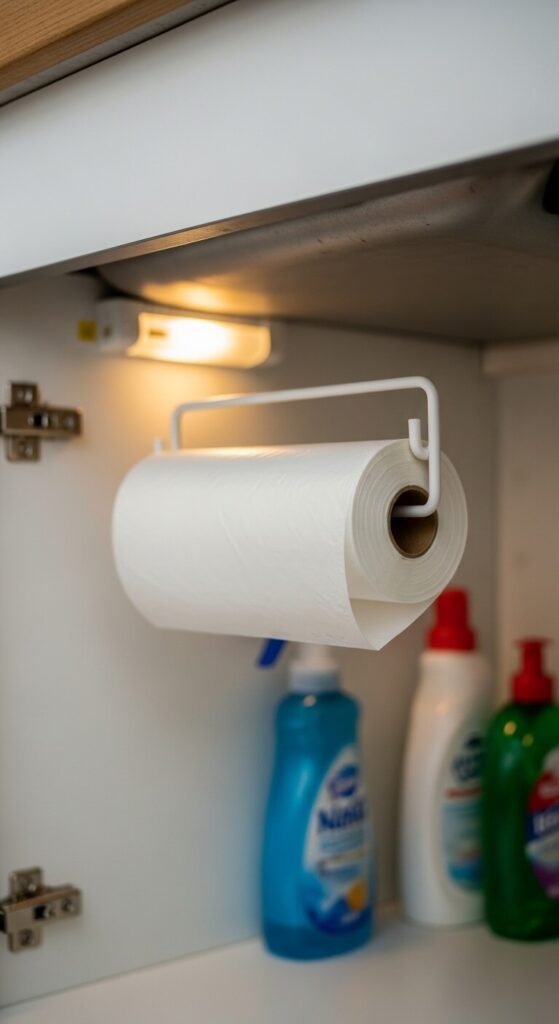
Trash bags stuffed into a random drawer or shoved under the sink never come out cleanly. Mount a simple bag roll holder inside your under-sink cabinet or any lower cabinet door. These cost just a few dollars and mount with screws or adhesive. Pull a bag off the roll with one hand. This sounds minor but removing friction from small daily tasks adds up to a noticeably smoother kitchen routine.
23. Keep a Step Stool Nearby for High Cabinets
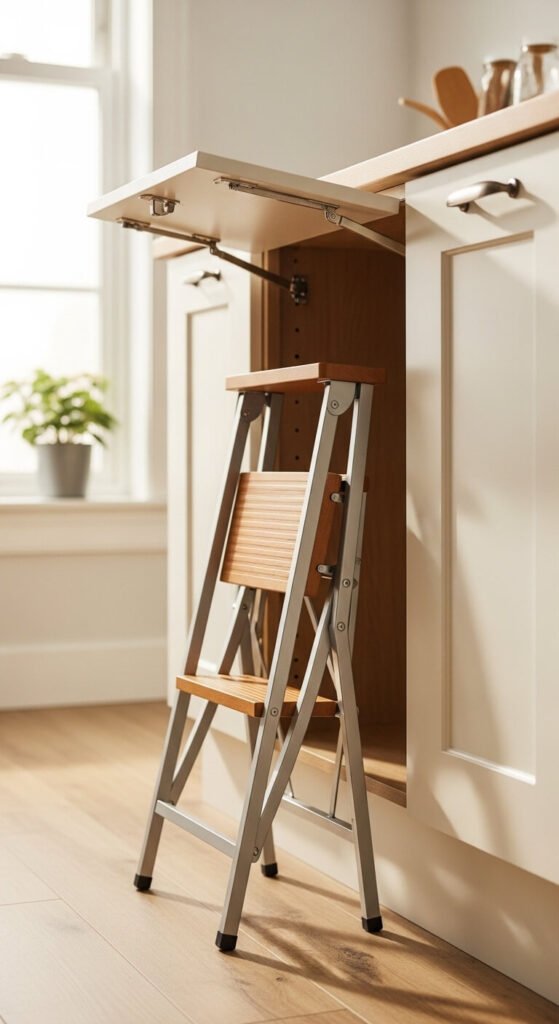
High cabinets often become dead storage zones because reaching them is inconvenient. A slim folding step stool stored inside a cabinet or hung on a wall hook changes this. Use high cabinets for seasonal or rarely used items — holiday serving dishes, specialty gadgets, extra stock. When your step stool is easy to grab, those upper shelves become genuinely useful instead of wasted. Look for a two-step folding version that stores flat for around $20–$35.
24. Line Shelves with Grip Liners
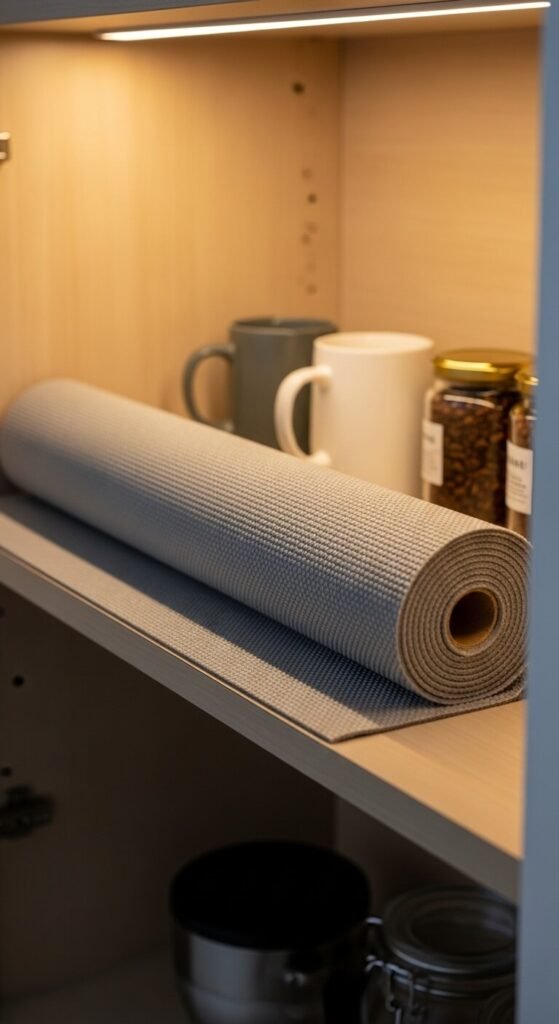
Dishes sliding around, jars tipping over, and shelves getting scratched — non-slip shelf liners solve all three. They cost $5–$12 for a roll that covers multiple shelves. Cut to fit with scissors — no measuring required. The liner grips both the shelf and whatever sits on it. Cabinets stay cleaner longer too, since the liner catches crumbs and spills instead of the wood. Wash or replace as needed.
25. Store Cutting Boards Upright by the Sink
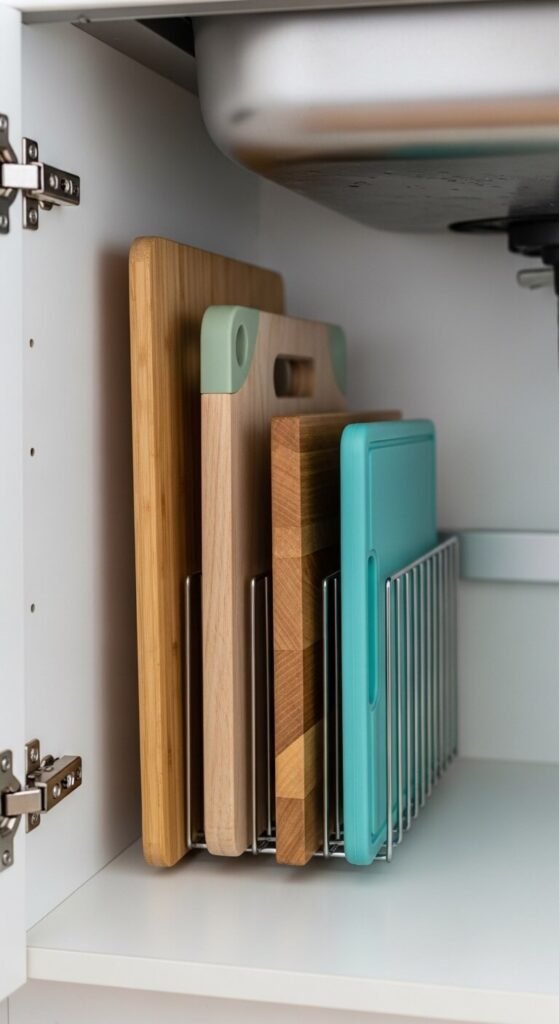
Cutting boards stacked flat are heavy, awkward to grab, and impossible to separate quickly. Stand them vertically in a wire rack inside the cabinet closest to your prep area or sink. Pull out exactly the board you need without lifting the others. A simple plate rack or file organizer works just as well as a specialty cutting board holder. Keep this cabinet near your main prep zone so boards are always within arm’s reach.
26. Put Frequently Used Items at Eye Level
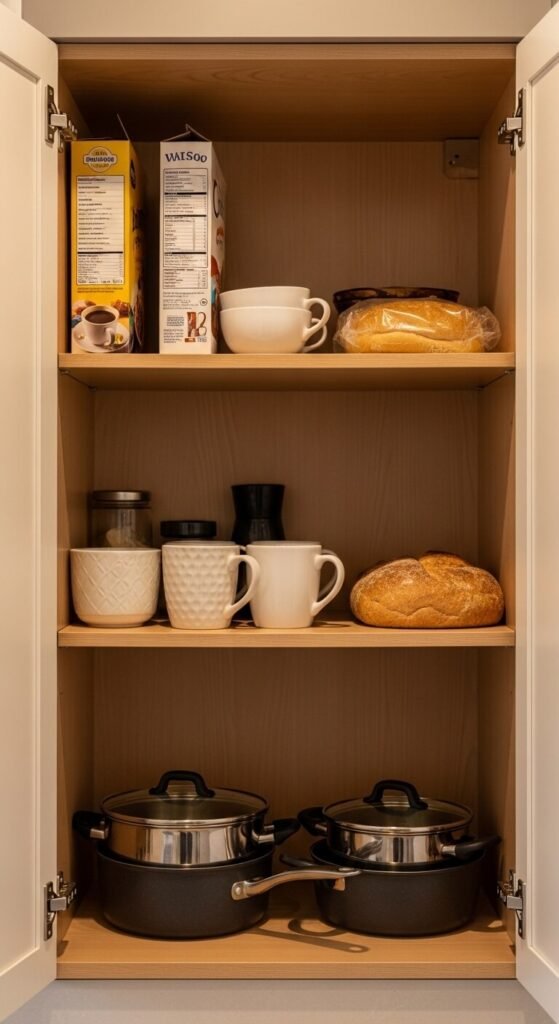
Cabinet organization often fails because items are stored by category rather than by frequency of use. Move your most-used items to the shelf your eyes naturally land on when you open the door. Daily dishes, go-to spices, and the cereal you eat every morning should all be at eye level. Reserve high and low shelves for things you grab weekly or less. This one shift alone makes your kitchen feel dramatically more efficient.
27. Use Baskets to Corral Loose Packets
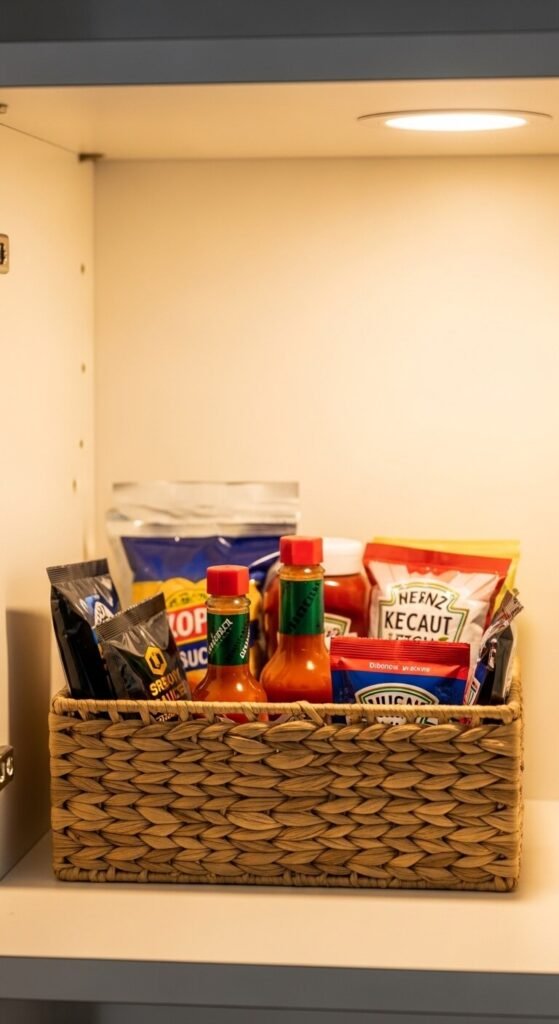
Loose sauce packets, seasoning mixes, and takeout condiments multiply fast and scatter across shelves. A small basket or bin corrals them all in one place. Toss all packets into it, no sorting needed. When you want hot sauce or soy packets, pull out the basket and dig through just that contained space. Every few weeks, purge expired ones. A small wicker or wire basket from a dollar store works perfectly.
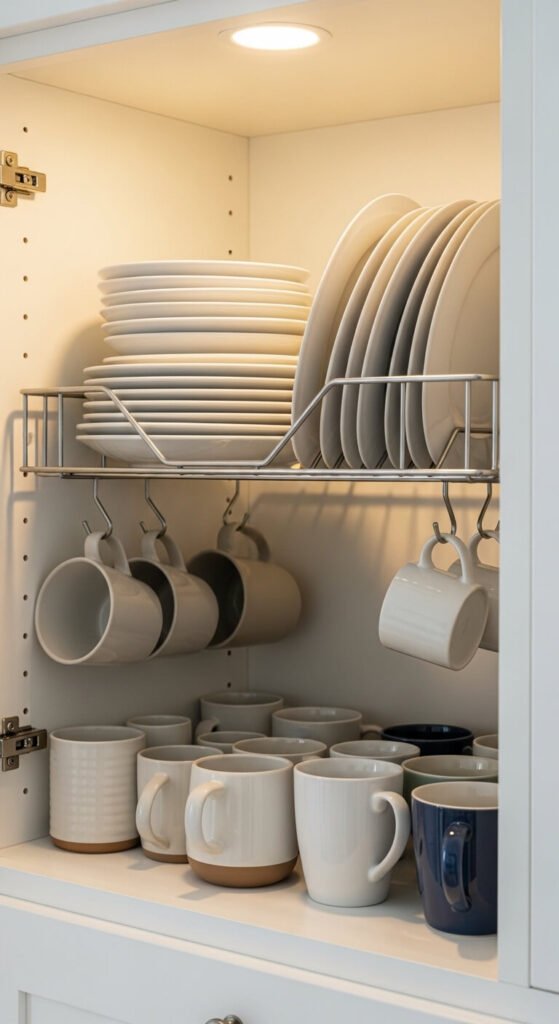
28. Install Under-Cabinet Hooks for Mugs
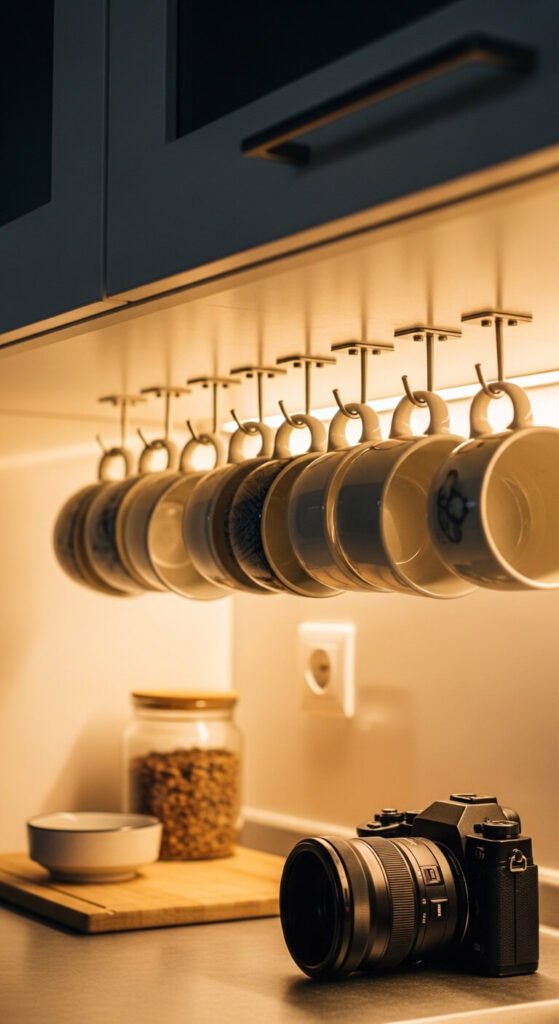
Cabinet shelf space is often used to store mugs that could hang instead. Under-cabinet mug hooks attach to the underside of a shelf and hold mugs by the handle. A pack of 6–8 hooks costs $5–$10. No drilling needed for adhesive versions. Hanging mugs frees up an entire shelf row for other items and also looks intentional and clean. Just confirm your mugs have a handle loop large enough to fit the hook.
29. Do a Monthly Cabinet Reset

Organization is not a one-time event. Cabinets drift back toward chaos as shopping habits change and new items arrive. Schedule a 15-minute cabinet reset once a month — pull everything out, wipe the shelf, and put things back intentionally. Check expiration dates, return items to their correct zones, and discard what is not getting used. This short habit keeps your system working without ever needing a major overhaul again.
Conclusion
An organized kitchen cabinet is not about perfection — it is about making cooking easier and less stressful every single day. You do not have to tackle all 29 ideas at once. Start with the two or three that address your biggest frustrations right now. Maybe that is a lazy Susan for your corner cabinet, a shelf riser to double your dish storage, or simply moving your daily mugs to a hook so they stop taking up valuable shelf space. Small changes compound quickly. Within a week of focused effort, your kitchen can feel like a completely different place — one where cooking is actually enjoyable.