If your junk drawer is a black hole where pens, batteries, and mystery screws disappear forever, you are not alone. Most homes have at least one drawer that defeats every attempt at order. The good news? You do not need to spend a lot of money to fix it. DIY drawer dividers are one of the easiest weekend projects you can do, and they work in kitchens, offices, bathrooms, and bedrooms. This list covers 24 practical, affordable solutions — from repurposed cardboard boxes to custom-cut wood — so you can find an idea that fits your space, your budget, and your skill level.
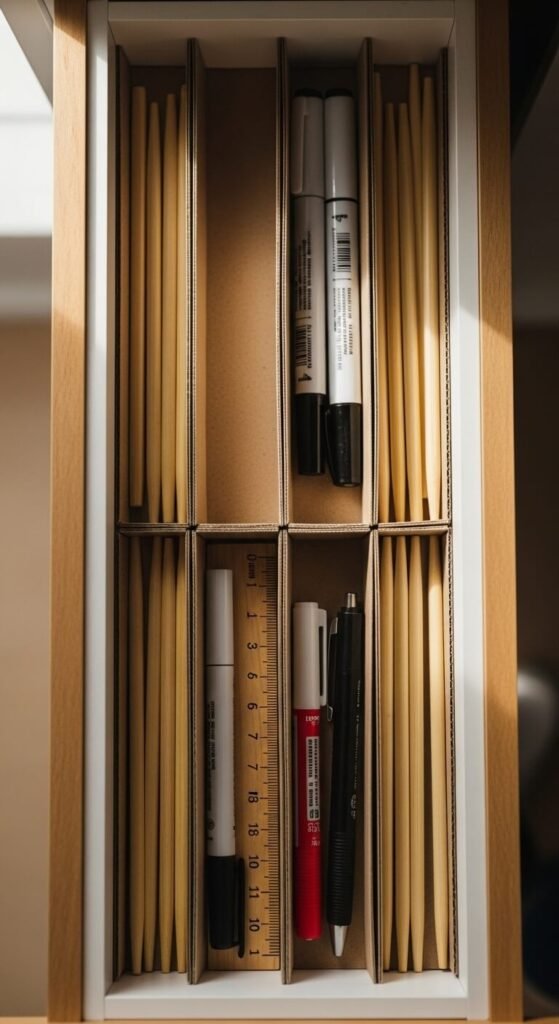
1. Cardboard Box Dividers
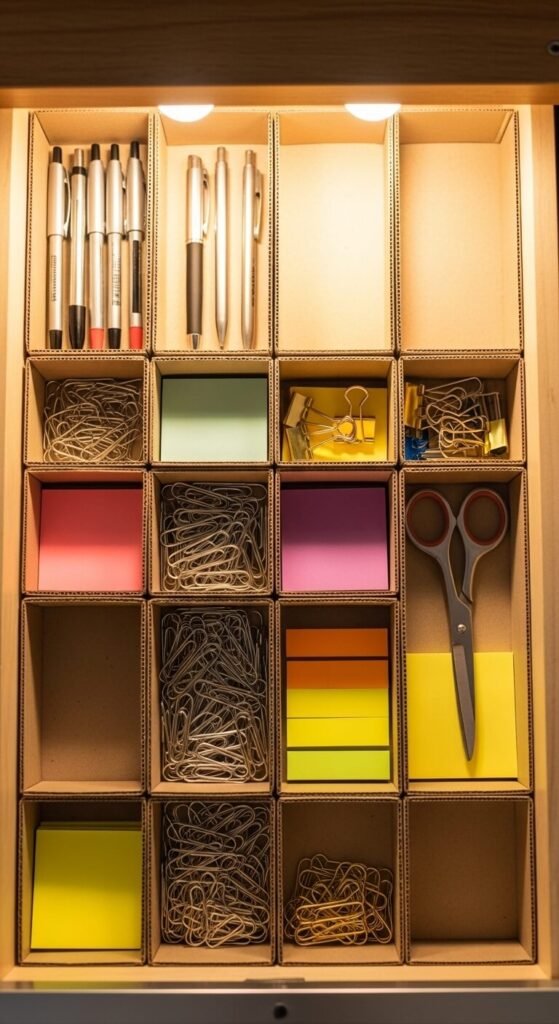
Cardboard is free and it works. Save cereal boxes, cracker boxes, or shipping boxes and cut them to fit your drawer. Measure the drawer depth, then cut strips to that height. Tape or glue them together in a grid. You can cover them with contact paper for a cleaner look. This project takes about 20 minutes and costs nothing. It is a great starting point if you are not sure how you want to organize things yet, since you can easily rearrange or toss the whole thing.
2. Foam Board Grid Inserts
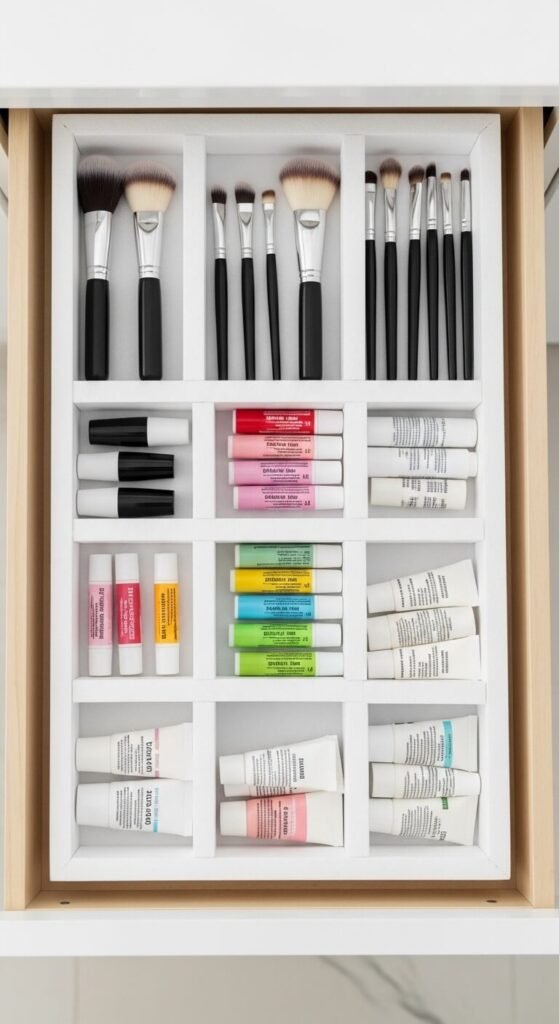
Foam board from a dollar store costs about $1 a sheet and cuts cleanly with a box cutter. Score and fold it to make divider walls, then glue the pieces together with a hot glue gun. The result is lightweight, sturdy, and surprisingly tidy. You can customize every compartment size to match what you are storing — wide slots for spatulas, narrow ones for lip balm. This works especially well in bathroom drawers where you need lots of small sections.
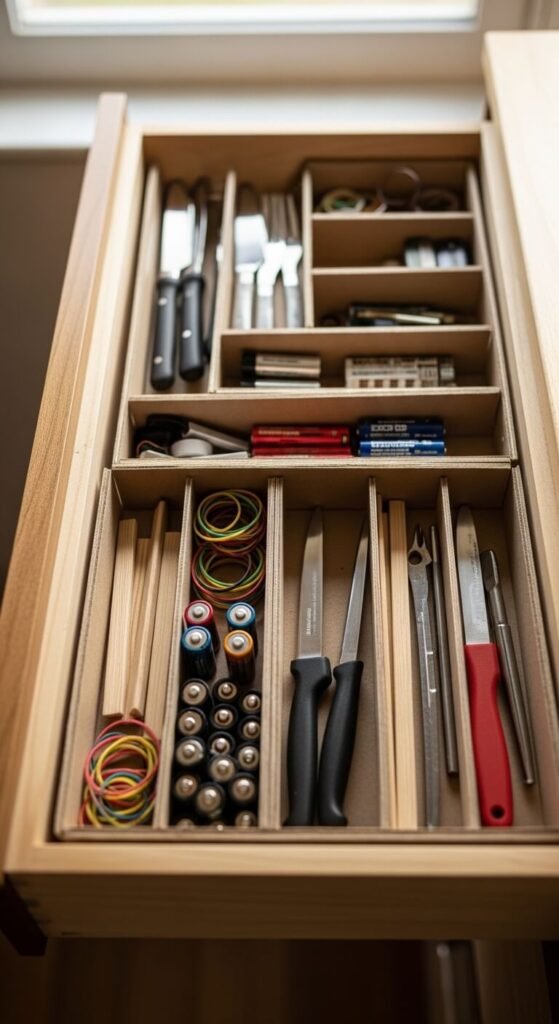
3. Tension Rod Dividers
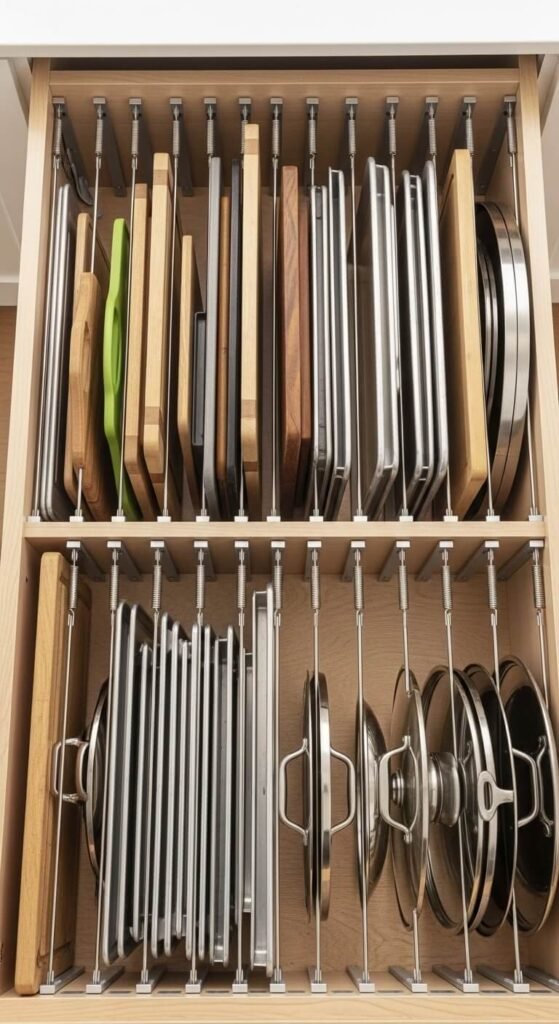
Tension rods are not just for curtains. Small ones — the kind sold in packs at dollar stores — fit snugly inside drawers and create vertical dividers. No tools, no glue, no damage. Just press them in between the drawer walls. They are perfect for separating cutting boards, baking sheets, or file folders standing upright. A pack of four rods usually costs around $3. You can reposition them any time your storage situation changes.
4. Ice Cube Tray Organizers

Ice cube trays are dirt-cheap and perfectly sized for tiny items. Drop a few in a shallow drawer to corral thumbtacks, paper clips, earring backs, or spare screws. They are already divided into individual cells, so zero cutting or assembly is required. Look for flat, standard-size trays at thrift stores for under $1 each. Two trays placed side by side can fill a standard kitchen or office drawer. This is the laziest possible solution — and it genuinely works.
5. Bamboo Utensil Tray Hack
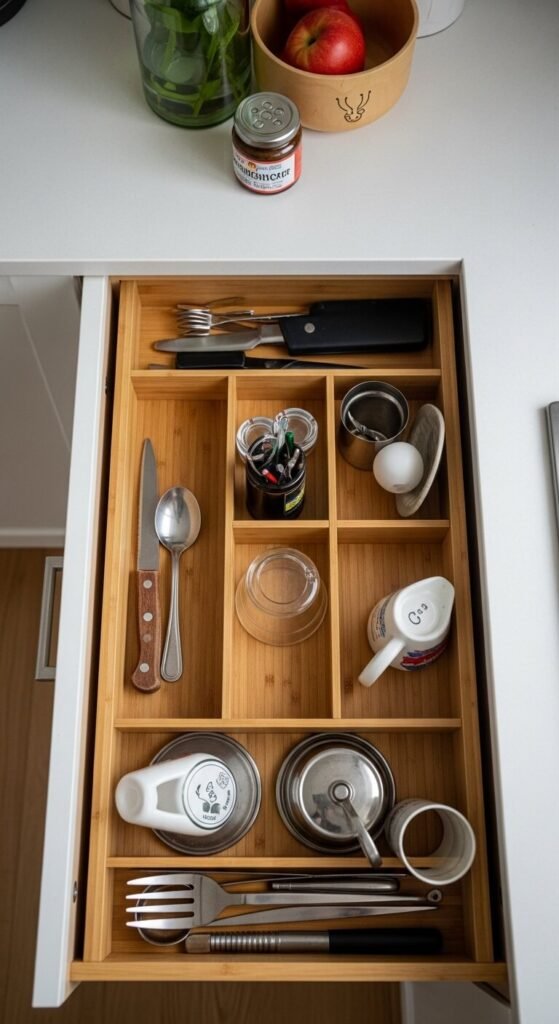
Bamboo utensil trays are sold at every discount store for $5 to $10. They usually have four or five fixed compartments and fit most standard kitchen drawers. Buy one a size smaller than your drawer and use the leftover space for overflow items. The natural wood tone looks clean and organized. You can also stack a small tray on top of another using foam bumpers to create a two-layer system. Simple, affordable, and no DIY skills required.
6. Popsicle Stick Divider Grid
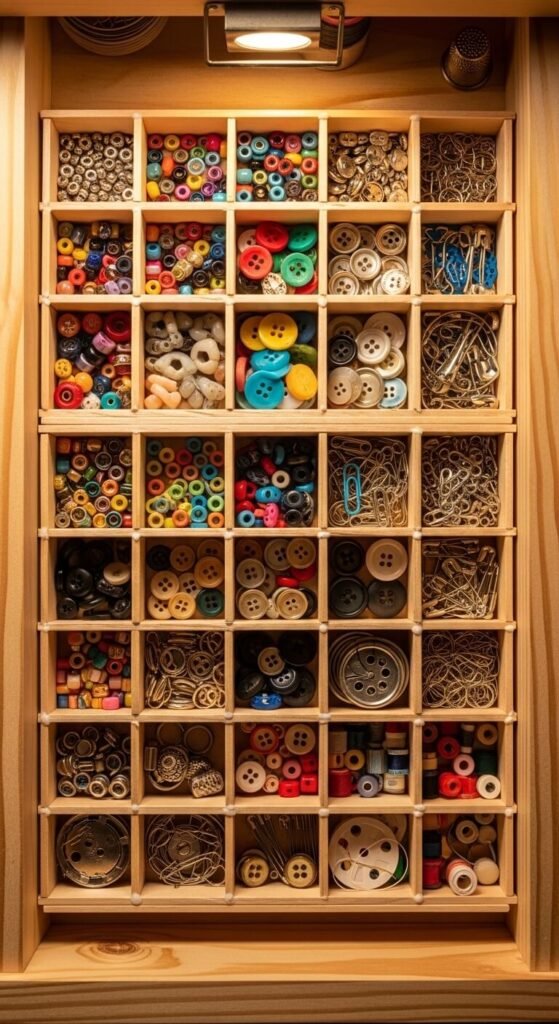
A box of 1,000 popsicle sticks costs about $3 online. Glue them together in a grid pattern using a hot glue gun to build a custom insert for small drawers. This is a great project for craft supply drawers, jewelry boxes, or desk drawers holding tiny items. Let the glue dry fully before dropping anything in. You can paint or stain the sticks to match your decor. The result looks more intentional than you would expect for such a low-cost build.
7. Repurposed Mint Tin Sections
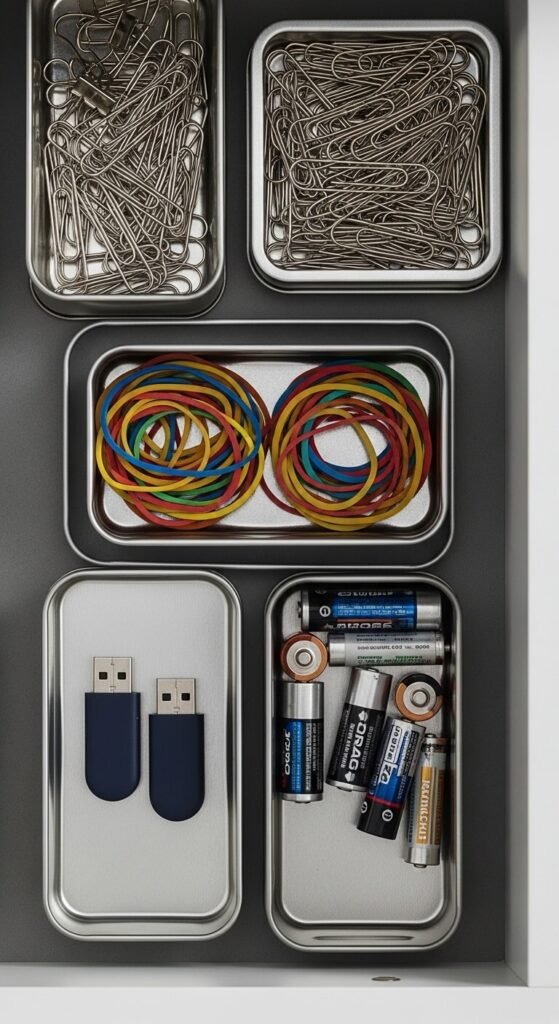
Altoids tins and other small metal containers make surprisingly good drawer organizers. Line them up inside a larger drawer and fill each one with a different type of small item. They are sturdy, stackable, and free if you already have them. The lids can stay on or off depending on how much you want to contain. Group them by category — one for batteries, one for screws, one for rubber bands. This works especially well inside tool drawers where items can easily get jumbled.
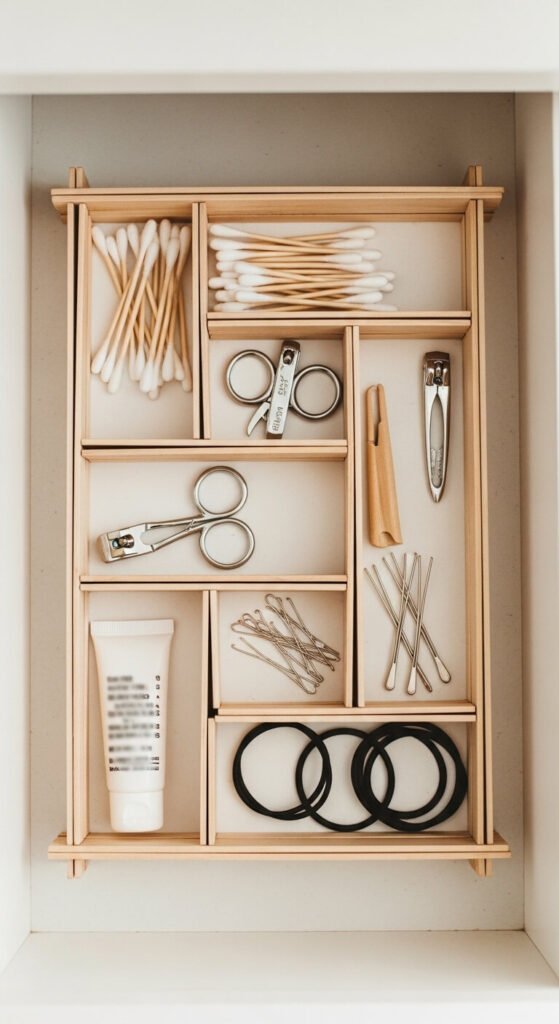
8. Balsa Wood Custom Inserts
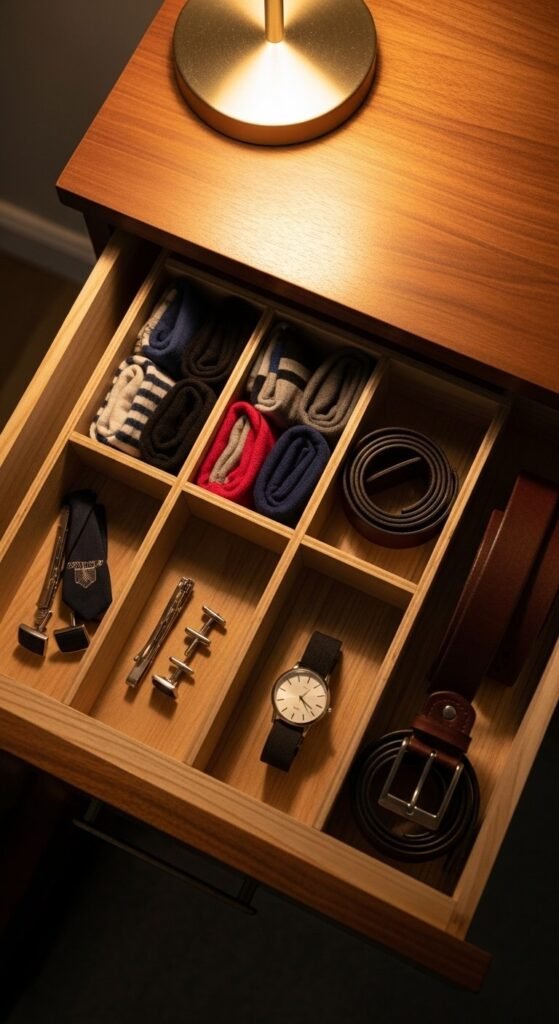
Balsa wood is lightweight, easy to cut with a craft knife, and available at hobby stores for about $2 to $5 per sheet. Cut notches halfway down two strips and slot them together in a cross pattern — no glue needed. Repeat to build a full grid. You can sand the edges smooth for a polished finish. This technique is popular for drawer inserts in dressers and bedroom drawers. Once you get the hang of the notch-and-slot method, you can build any size grid in under an hour.
9. Muffin Tin Tray Insert
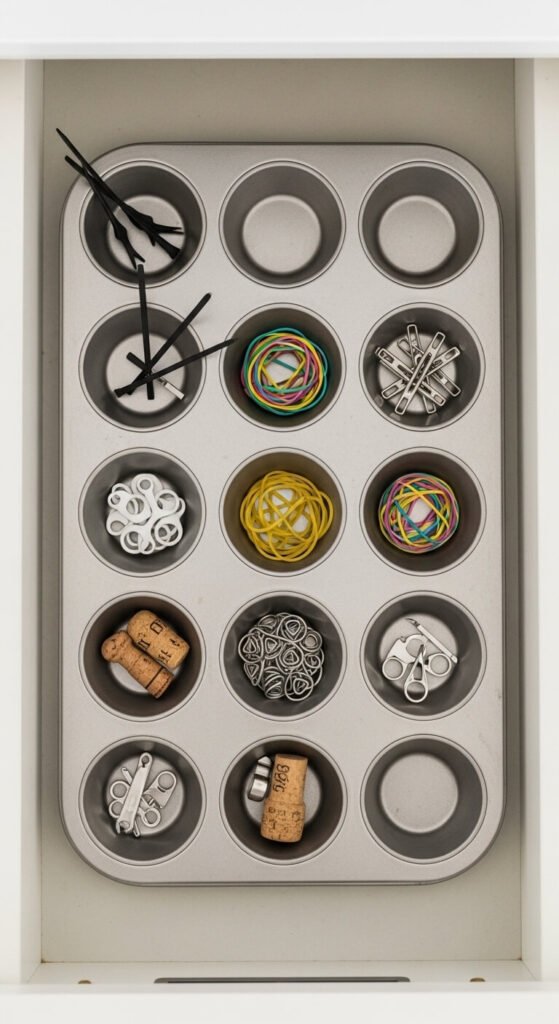
A standard 12-cup muffin tin fits inside many kitchen, garage, or utility drawers and instantly creates 12 organized sections. Each cup is the perfect size for twist ties, rubber bands, chip clips, spare screws, or small tools. This is a zero-cost solution if you already own a muffin tin. It is also easy to remove the whole tin, shake it clean, and drop it back in. Not the most stylish option, but highly functional for garage workbenches or utility spaces.
10. PVC Pipe Drawer Cylinders
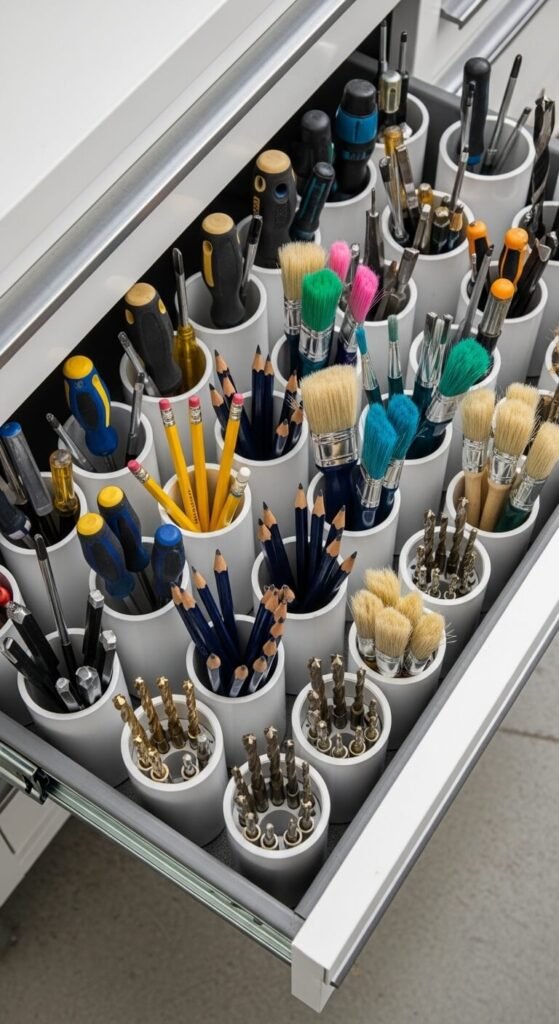
Cut short sections of PVC pipe to fit the depth of your drawer. Stand the cylinders upright to hold pens, scissors, screwdrivers, or paintbrushes in tidy vertical slots. PVC pipe is sold by the foot at hardware stores and costs almost nothing per section. Use a hacksaw or miter saw to cut clean edges. Sand the cut ends lightly to avoid snags. You can hot glue the cylinders together or leave them loose so you can rearrange the layout. Great for workshop or utility drawers.
11. Hot Glue and Craft Stick Frame
Craft sticks (the wider version of popsicle sticks) glued into a custom frame make a sturdy, flat drawer insert. Build a rectangular outer frame first, then add interior dividers to create the compartment layout you want. This takes about 30 to 45 minutes. The result is a lightweight insert that sits flat in the drawer and does not slide around. You can stain or paint it before adding it to the drawer. Budget: about $2 for the sticks and a few glue sticks.
12. Egg Carton Sections
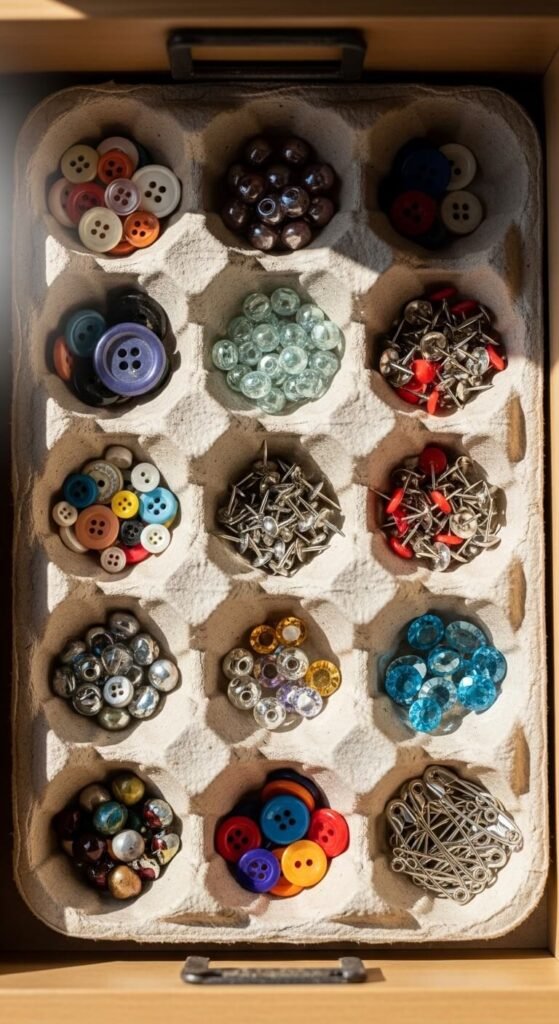
Egg cartons are one of the most overlooked organizers in the kitchen. Cut off the lid and drop the base into a shallow drawer for instant divided sections. Each cup holds small items like buttons, beads, safety pins, or coins. A dozen-egg carton gives you 12 compartments. Two of them side by side fill most standard drawers. They are free, easy to replace, and completely guilt-free to throw away when they wear out. Best suited for craft drawers, sewing kits, or hobby supplies.
13. Adhesive-Backed Drawer Cups
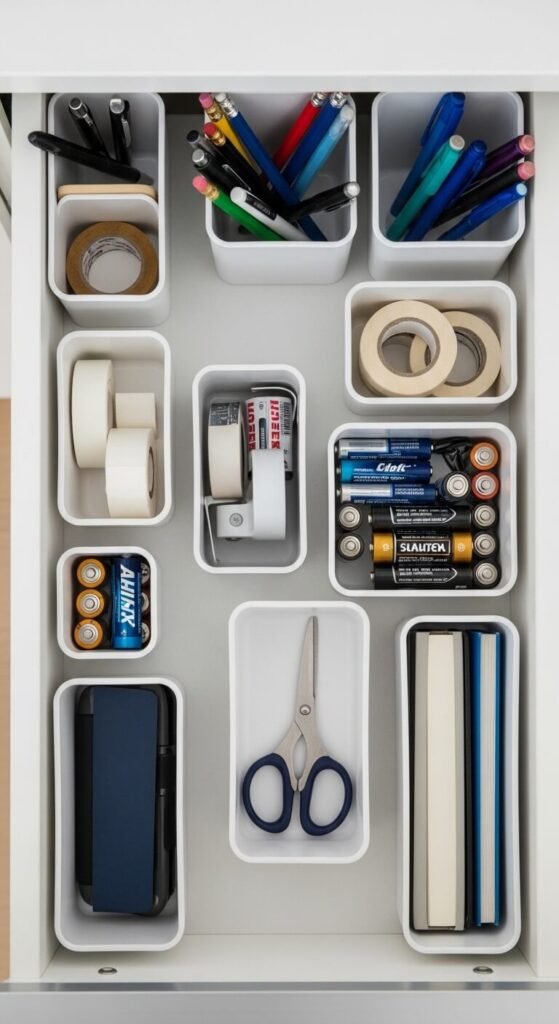
Peel-and-stick organizer cups are sold at most dollar stores and big-box stores for a few dollars per pack. Press them directly onto the drawer bottom and fill each cup with a category of small items. Because they are adhesive, they will not slide when you open and close the drawer. The downside is they can leave residue, so test a small patch first. This is one of the fastest solutions on this list — setup takes less than five minutes. Ideal for kitchen junk drawers you want to fix quickly.
14. Wooden Chopstick Dividers
Disposable wooden chopsticks laid flat across a drawer make simple, zero-cost dividers. Cut small notches in cardboard side rails and rest the chopsticks in the notches to keep them in place. Adjust the spacing to match what you are organizing. This works well in slim drawers for sorting pens, markers, brushes, or skincare items by length. You can also hot glue the chopsticks directly to a cardboard base for a more permanent setup. Free, quick, and surprisingly tidy looking.
15. Shoeboxes Cut-Down to Drawer Height
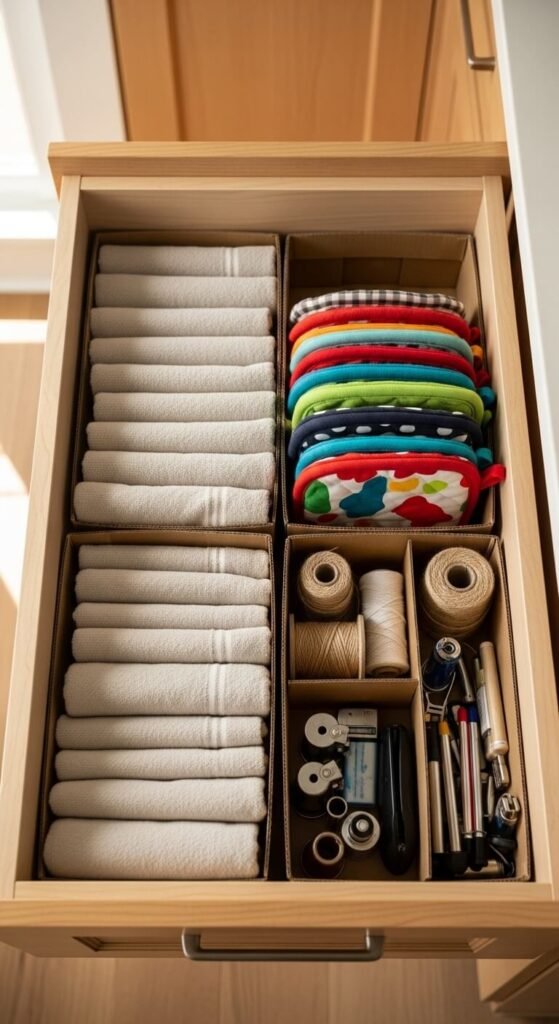
Cut the sides of a shoebox lid down to match your drawer height and you have a free drawer insert. Place two or three trimmed lids side by side to fill a wide drawer with clean, separate sections. This is especially useful in kitchen drawers holding larger items like towels, pot holders, or zip-lock bags. You can line the inside with craft paper or contact paper to make them look intentional. Replace them every year or when they start looking worn. Budget: $0 if you save your shoeboxes.
16. Small Baskets From the Dollar Store
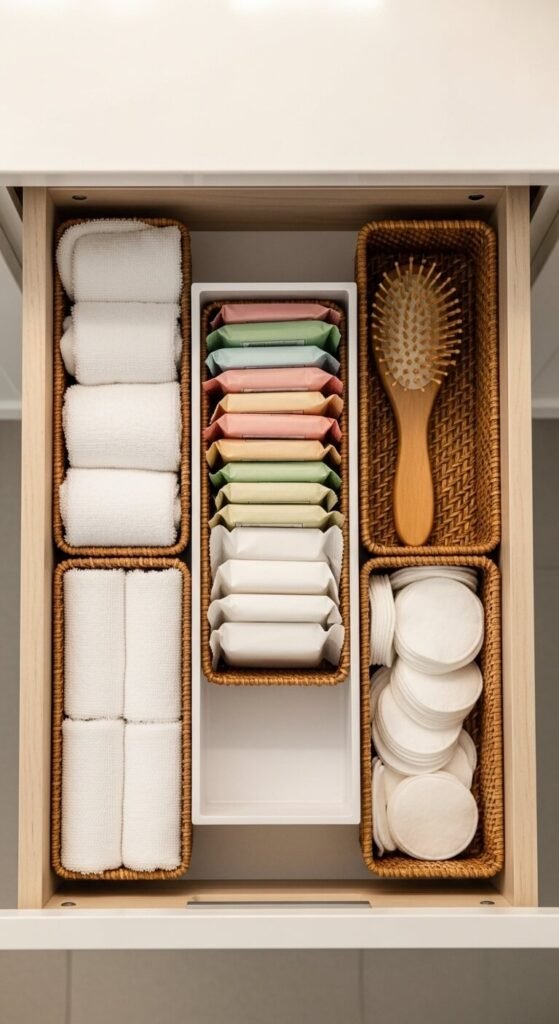
Dollar store baskets — the small rectangular ones meant for shelves — often fit perfectly inside bathroom and bedroom drawers. Drop two or three inside a wide drawer and you have instant divided storage with no cutting or building required. Look for baskets that are the same height as your drawer depth so the drawer closes fully. Woven plastic or wire styles both work well. At $1 to $2 each, this is one of the cheapest finished-looking solutions on the list.
17. Foam Pool Noodle Sections
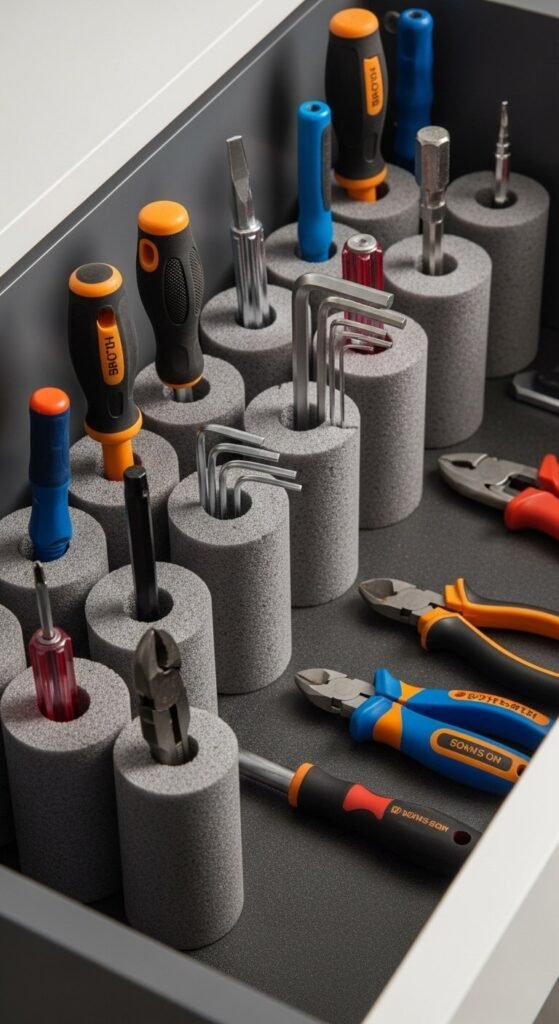
Cut a foam pool noodle into short sections and stand them upright in a deep drawer to hold tools, scissors, or knitting needles. Each hollow cylinder acts as a sleeve that keeps items from tipping over. Pool noodles cost around $1 to $2 at dollar stores during summer, or you can find them year-round at hobby stores. Use a serrated kitchen knife to cut smooth, even sections. This is a favorite hack for workshop drawers and craft supply storage.
18. Plastic Berry Container Grid
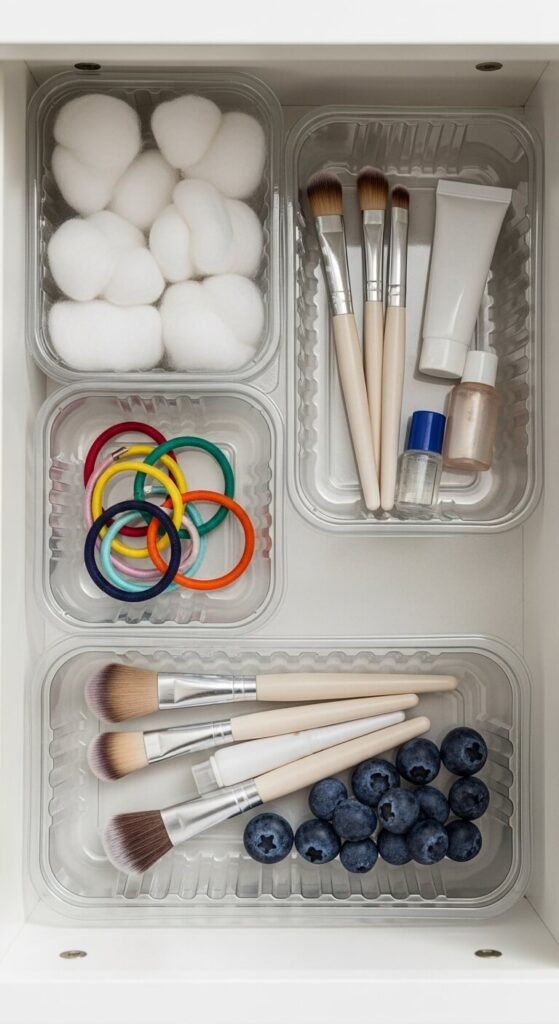
Those clear plastic clamshell containers that berries come in from the grocery store are already divided into sections. Rinse them out and drop them in a drawer for zero-cost compartmentalized storage. They are lightweight, transparent (so you can see what is inside), and easy to replace. Use them for cotton balls, hair accessories, small makeup items, or craft supplies. Stack two in a side-by-side arrangement to fill a standard vanity drawer. This is about as cheap as a DIY solution gets.
19. Painted Cardboard Tube Bundles
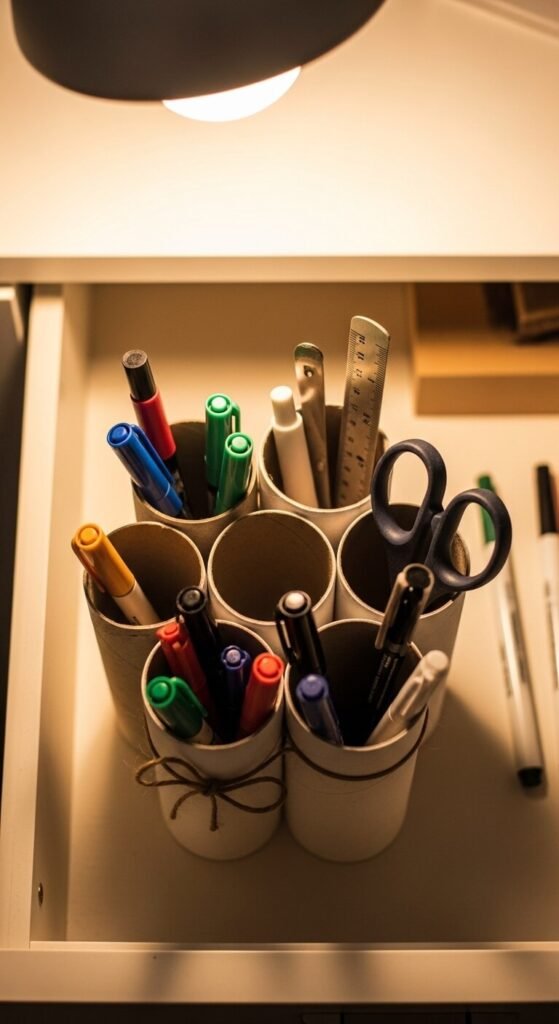
Toilet paper and paper towel tubes cut to drawer depth and bundled together make a honeycomb-style holder for pens, scissors, and tall items. Wrap them tightly with twine or a rubber band and drop the bundle into the drawer. You can spray paint them all one color for a clean, matching look. Each tube costs nothing. A bundle of 10 to 15 tubes fits most standard desk drawers perfectly. This is a great kids’ bedroom project — they can help paint and decorate the tubes.
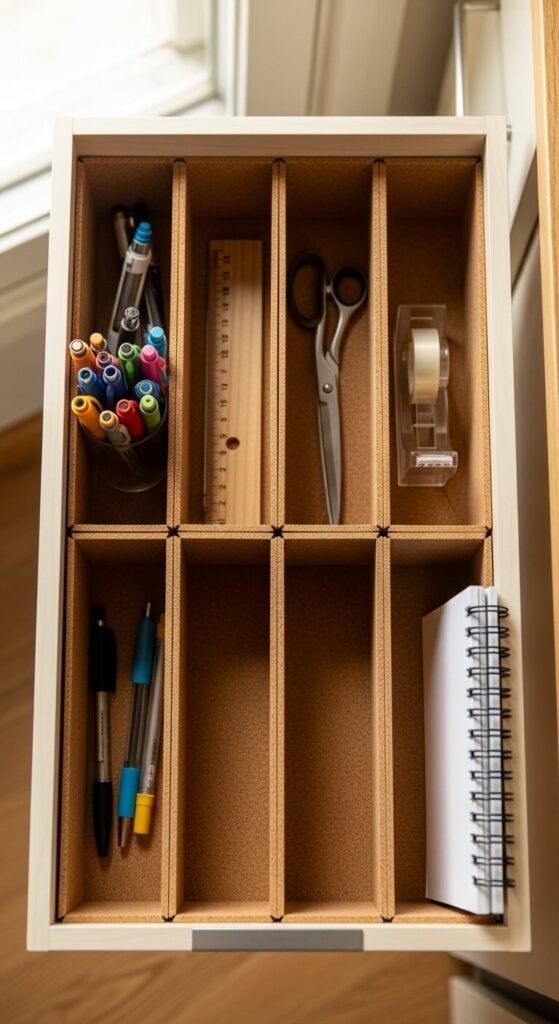
20. Thin Plywood Notch-and-Slot Dividers
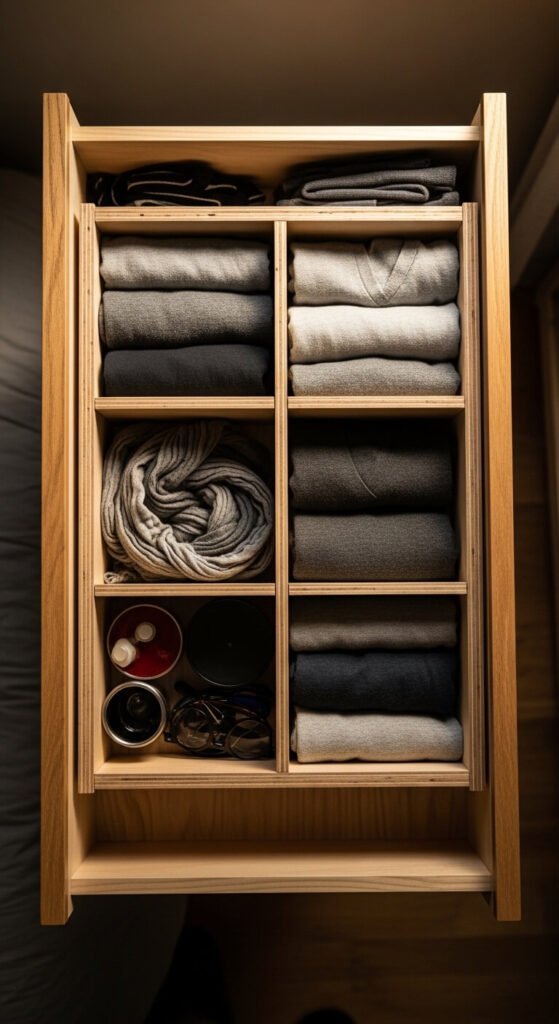
Thin plywood (⅛ inch or ¼ inch) from a hardware store is affordable and makes the cleanest looking DIY divider on this list. Cut strips to match your drawer depth, then cut notches halfway down to slot the pieces together without any fasteners. This notch-and-slot method is used by cabinet makers and requires no glue or nails. A single 2×4 foot sheet of ⅛-inch plywood costs about $8 to $12 and can make dividers for three or four drawers. Sand the edges smooth for a finished look.
21. Velcro-Attached Acrylic Bins
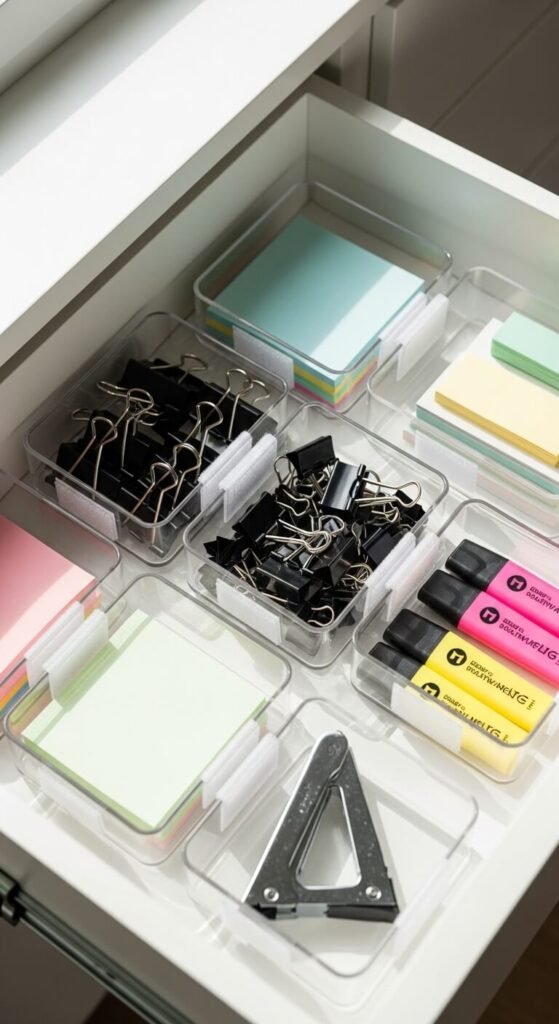
Small clear acrylic bins are sold at most organizing stores and big-box retailers for $2 to $5 each. Stick a velcro dot to the bottom of each bin and the corresponding piece to the drawer floor. Now the bins will not slide when the drawer opens, but you can still reposition them whenever you want to redesign your layout. The clear acrylic makes it easy to see exactly what is in each bin without pulling them out. This is a low-cost, semi-permanent solution that looks polished.
22. Repurposed Gift Boxes as Sections
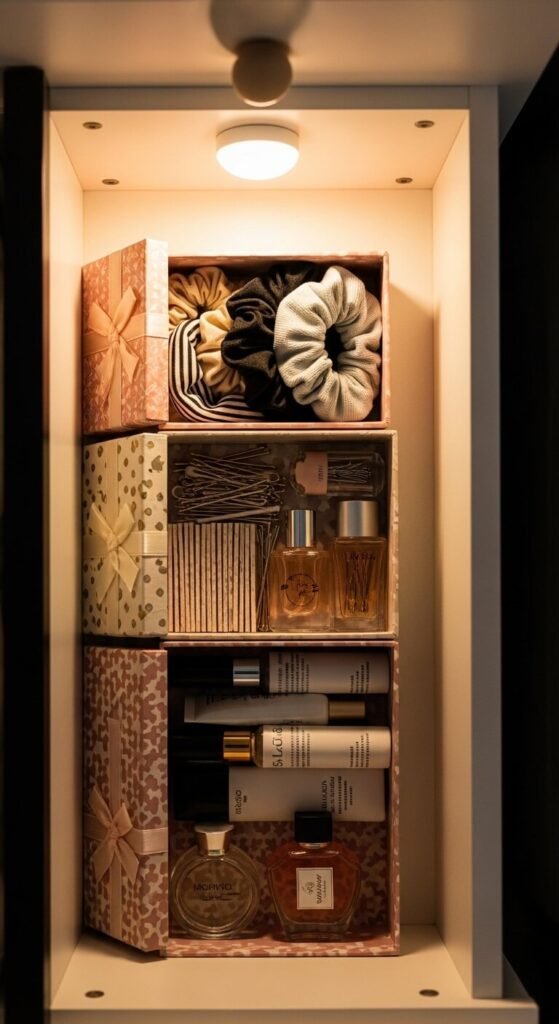
Pretty gift boxes — the small ones from jewelry stores, soaps, or holiday gifts — work perfectly as drawer organizers when you remove the lid. Line up two or three inside a wider drawer to create compartments that actually look intentional. The patterned or colored exteriors add a decorative element most organizer bins lack. Replace them when they start to wear out or just when you get new ones. Zero cost if you are already saving gift boxes. Works especially well in vanity or bedside table drawers.
23. Cork Sheet Divider Walls
Cork sheet rolls are sold at craft stores for about $3 to $6 and can be cut cleanly with scissors or a box cutter. Cut strips to match your drawer depth and use them as standing divider walls. Cork is grippy enough to stay in place without glue, and the natural texture looks warm and organic. It is also soft enough that it will not scratch the bottom of delicate items. This is a good option for office drawers holding stationery or kitchen drawers holding lightweight cooking tools.
24. 3D-Printed Custom Drawer Inserts
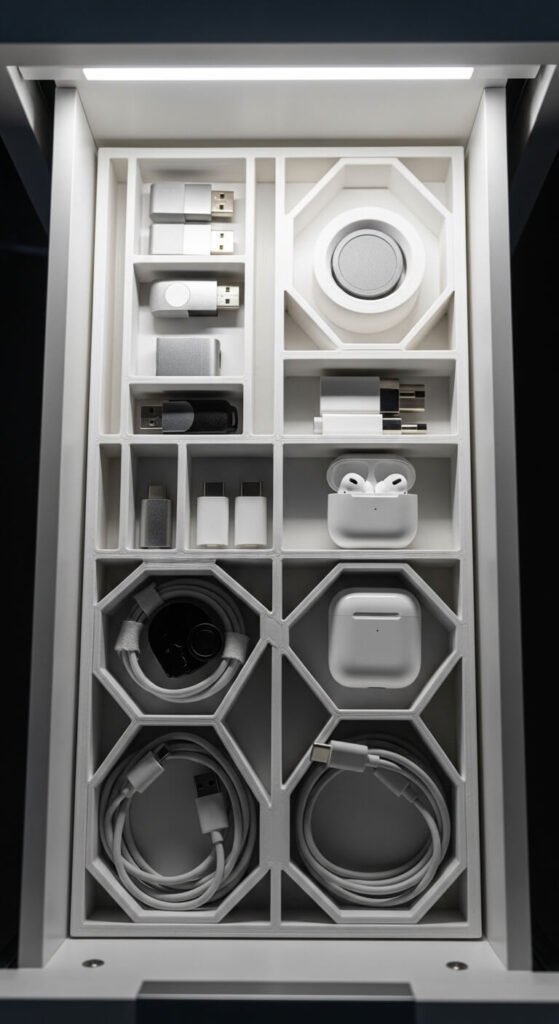
If you have access to a 3D printer — at home, a library, or a maker space — custom-printed drawer inserts are the most precise solution on this list. Free design files are available on Thingiverse and Printables for everything from kitchen utensil holders to desk organizers. You can also design your own in free tools like Tinkercad. Printing a small insert uses about $1 to $3 in filament. The result fits your drawer perfectly with no cutting, trimming, or adjusting. This is the highest-effort option, but the payoff is a drawer that looks completely custom.
Conclusion
A messy drawer does not stay messy because you are disorganized — it stays messy because nothing in it has a designated spot. These 24 DIY drawer divider ideas prove that fixing a junk drawer does not require a big budget or a lot of skill. Whether you are cutting cardboard, dropping in a muffin tin, or building a notch-and-slot plywood insert, the principle is the same: give every item its own place. Pick one idea from this list that matches what you have on hand right now, spend 20 minutes on it this weekend, and see how different it feels to open that drawer and actually find what you are looking for.